
So buttery and garlicky and so easy to make, I know you’d never say no to these Indian garlic naan bread. Fair warning, you’re never going to buy naan from stores ever again.
Making the dough
You can use either hand kneading or a machine to make this dough. Just note that I’m using a small quantity just enough for 6 naan bread. If your machine is too big, say bigger than 5QT, then you might have a hard time kneading this dough. I recommend doubling the recipe in that case.
I use instant dry yeast/rapid rise yeast but you can easily substitute with active dry yeast. Make sure your milk is lukewarm when you add yeast to the milk and sugar mixture.
Yogurt is absolutely necessary for this recipe to get that unique hint of sourness. What I use is full-fat yogurt. The fat and milk make the naan soft and add flavor at the same time. You can also use curd or low-fat or nonfat yogurt as a substitute.
I add a little bit of oil as it makes the bread tender and it’s easier to work with the dough too. Oil also increases the shelflife. But adding oil is completely optional. I make the naan without oil sometimes and they still turn out wonderful. You can use ghee for extra flavor too.
To get the naan to puff up nicely it’s important to use a flaming hot skillet. Do not use non-stick coated skillets as they are not meant for high-heat cooking. A cast-iron skillet would be ideal. But if you don’t have a cast-iron skillet then use any other heavy bottom, high-heat safe skillet.
To get the top of the naan brown, you can use either of these methods.
- Turn your oven broiler on. Put a tray on the top rack of the oven. When the naan puffed up on the stove, transfer it to the tray in the oven. Cook it under the broiler for few seconds until the top gets nice and brown. Take the naan out using tongs/spatula and apply butter immediately. (this is the method I use)
- You can turn the naan upside down on the pan as you’d do with any other flatbreads. The problem with this method is only the puffed up bubbles touch the surface of the pan and get brown. But the taste is still the same.
- You can directly hold the naan bread over the fire upside down using tongs (you have more control this way) or place it directly on the fire for a few seconds. This is method is also quick and gives out really good charred naans. But you cannot do this with an electric stove or electromagnetic stove.
- You can apply a little bit of water on the back of the naan before you place it on the pan, on the stove. This would stick the naan to the paan. And then when the naan is puffed up, you can turn the pan upside down and directly hold it over the flame and let it brown. Keep in mind, this method wort work with non-stick coated skillets as the naan desnt’ stick to the pan. Also woould be hard to hold any high weight pans, like cast iron.
- Use a blow torch.
Freezing and reheating
These naan bread freeze so well. For freezing, portion the naan as you wish, stack them, wrap the whole stack with aluminum foil, and then put them into a freezer bag/zip bag and freeze them.
For reheating, place your wrapped naan without removing the foil in a preheated oven and bake for about 15-20mins until every naan bread is heated through. No need to thaw you can directly put the wrapped naan into the oven.
Serving ideas/ suggestions:
This recipe yields 6 medium size naans and is enough to serve 2 -3 people. Naan bread is best to serve hot. They can get tougher as they dry out. I love to have these buttery garlic naan bread with Butter chicken, Chicken korma, or vegetable korma. You can also make this for your next Indian Biryani party. Great to make naan pizza too.
If you’re not a fan of garlic naan, try my simple butter naan recipe.
I hope you enjoy this Easy buttery garlic naan recipe. If you try that out please leave feedback below in the comments. I’d love to hear back from you.


Easy Buttery Garlic Naan
Description
So buttery and garlicky and so easy to make, I know you'd never say no to these Indian garlic naan bread. Fair warning, you're never going to buy naan from stores ever again.
Ingredients
For the dough
Other
Instructions
Making the dough
-
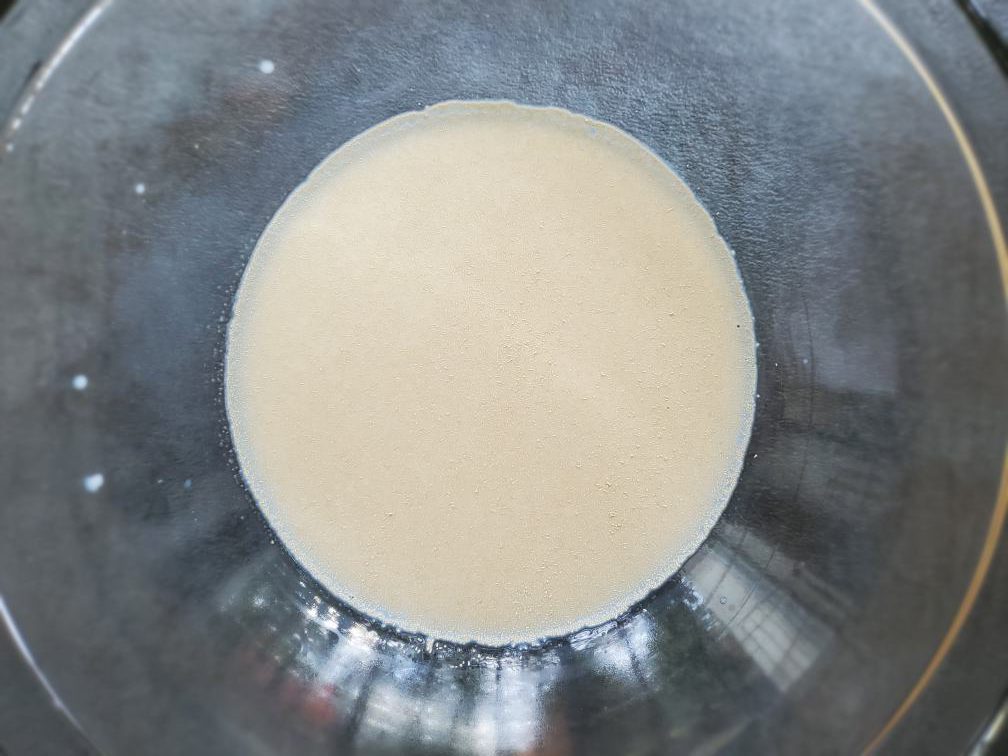
Add lukewarm milk into a large bowl. Sprinkle sugar. And then sprinkle your Rapid Rise Yeast/Instant dry yeast let it sit for a couple of minutes. Yeast should make tiny bubbles and become foamy. If not start with some newly bought yeast.
-
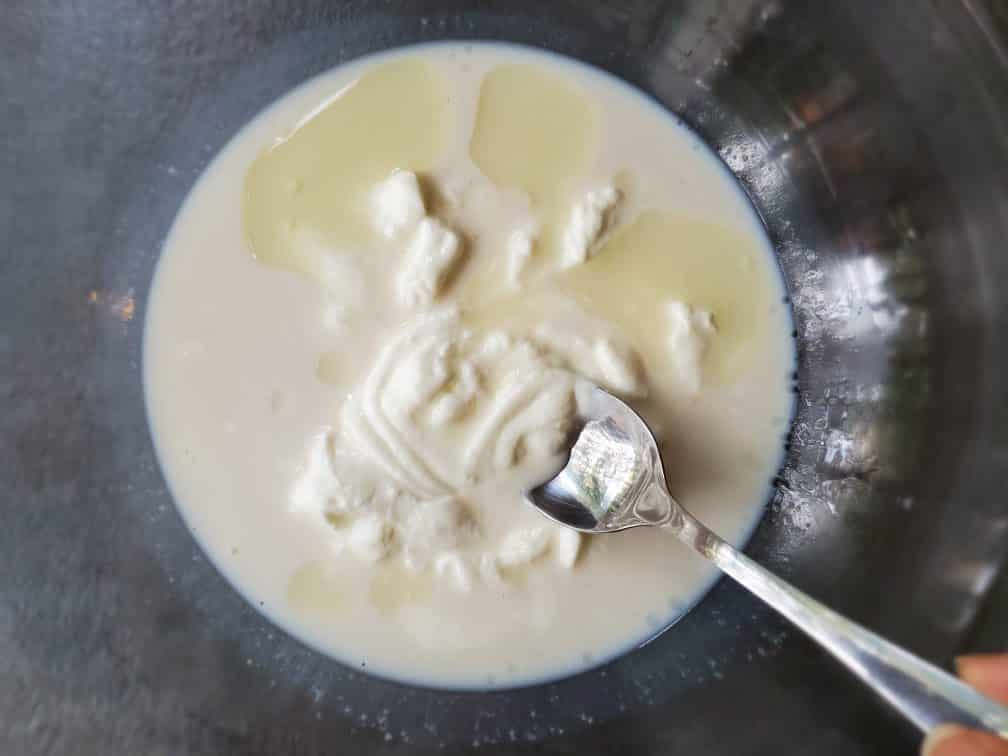
Next, add your yogurt and oil to the bowl and dissolve it in the milk mixture using a spoon. Oil wouldn't mix very well but that's okay.
-
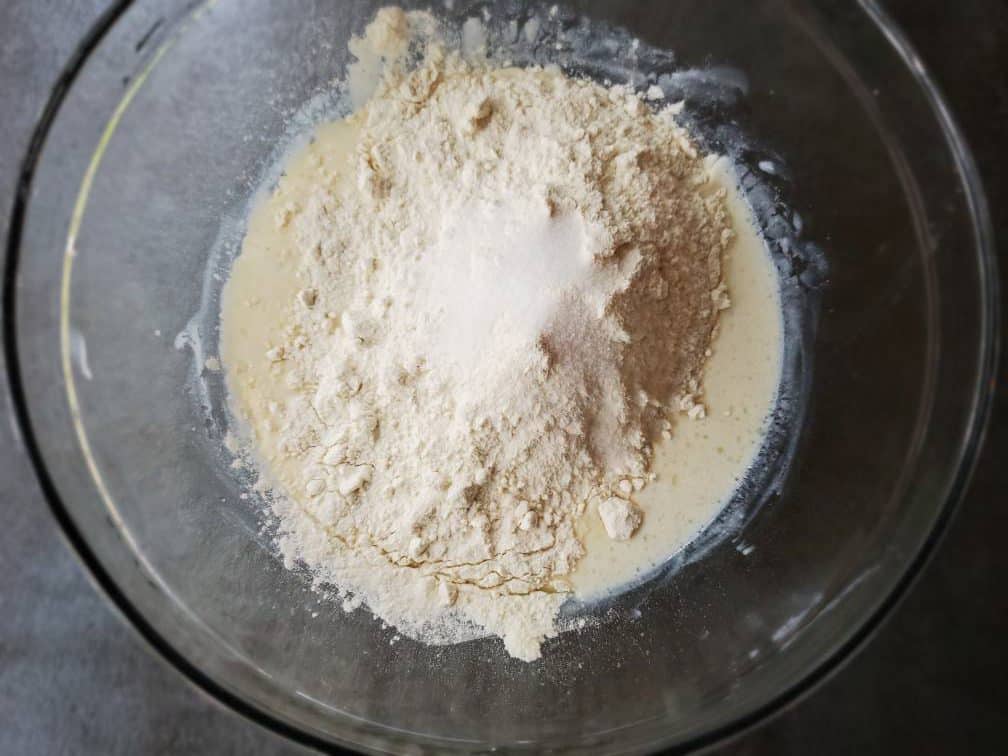
Then add salt and flour.
-
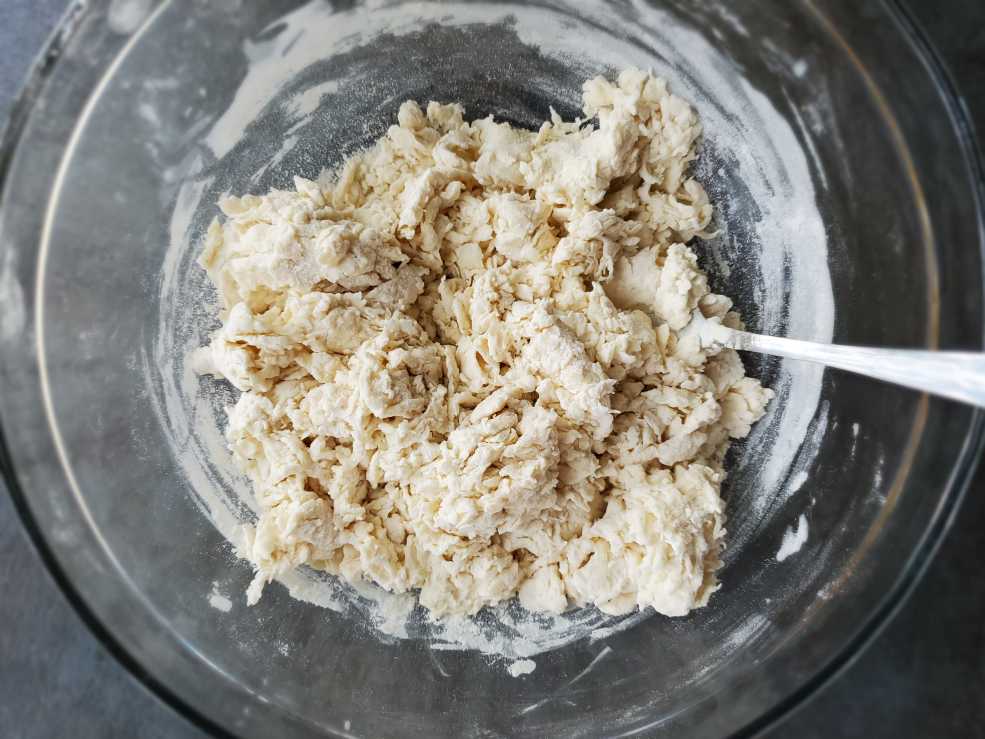
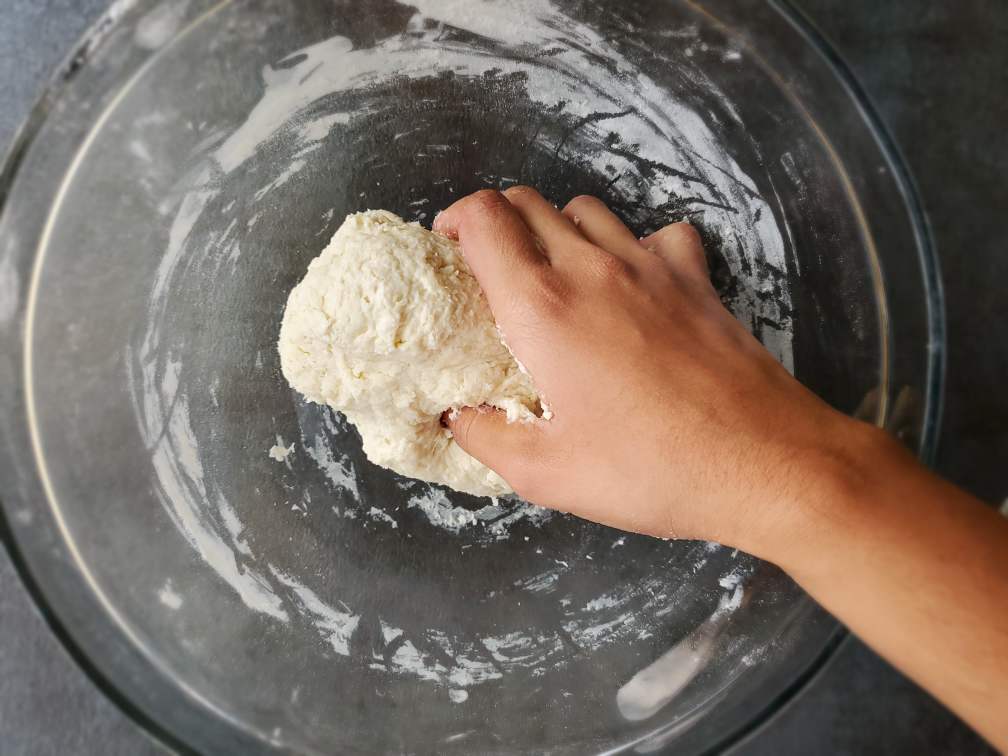
Mix well using the spoon until they become lumpy and no loose flour is left in the bowl.
-
Using your hands, push all the lumps together and make a rough dough ball.
-
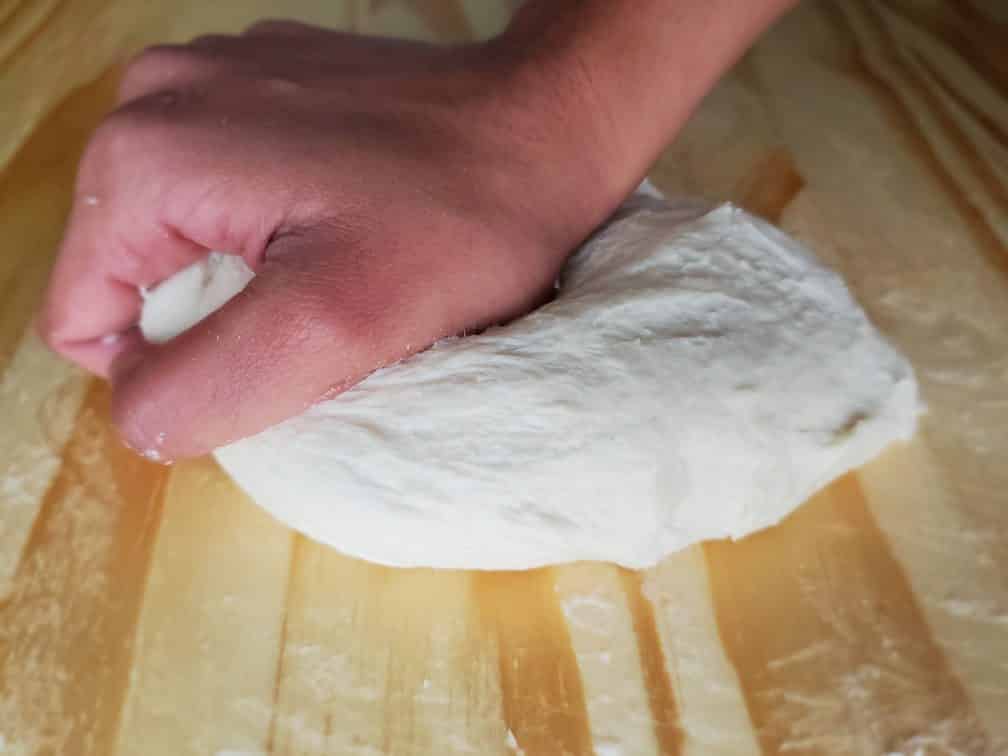
Transfer the dough ball to a benchtop and knead the dough until smooth and stretchy for about 15 mins. If the dough is too sticky add about a tbsp of flour at a time while kneading. You should get a slightly tacky dough and should be able to stretch the dough without tearing or breaking the dough.
-
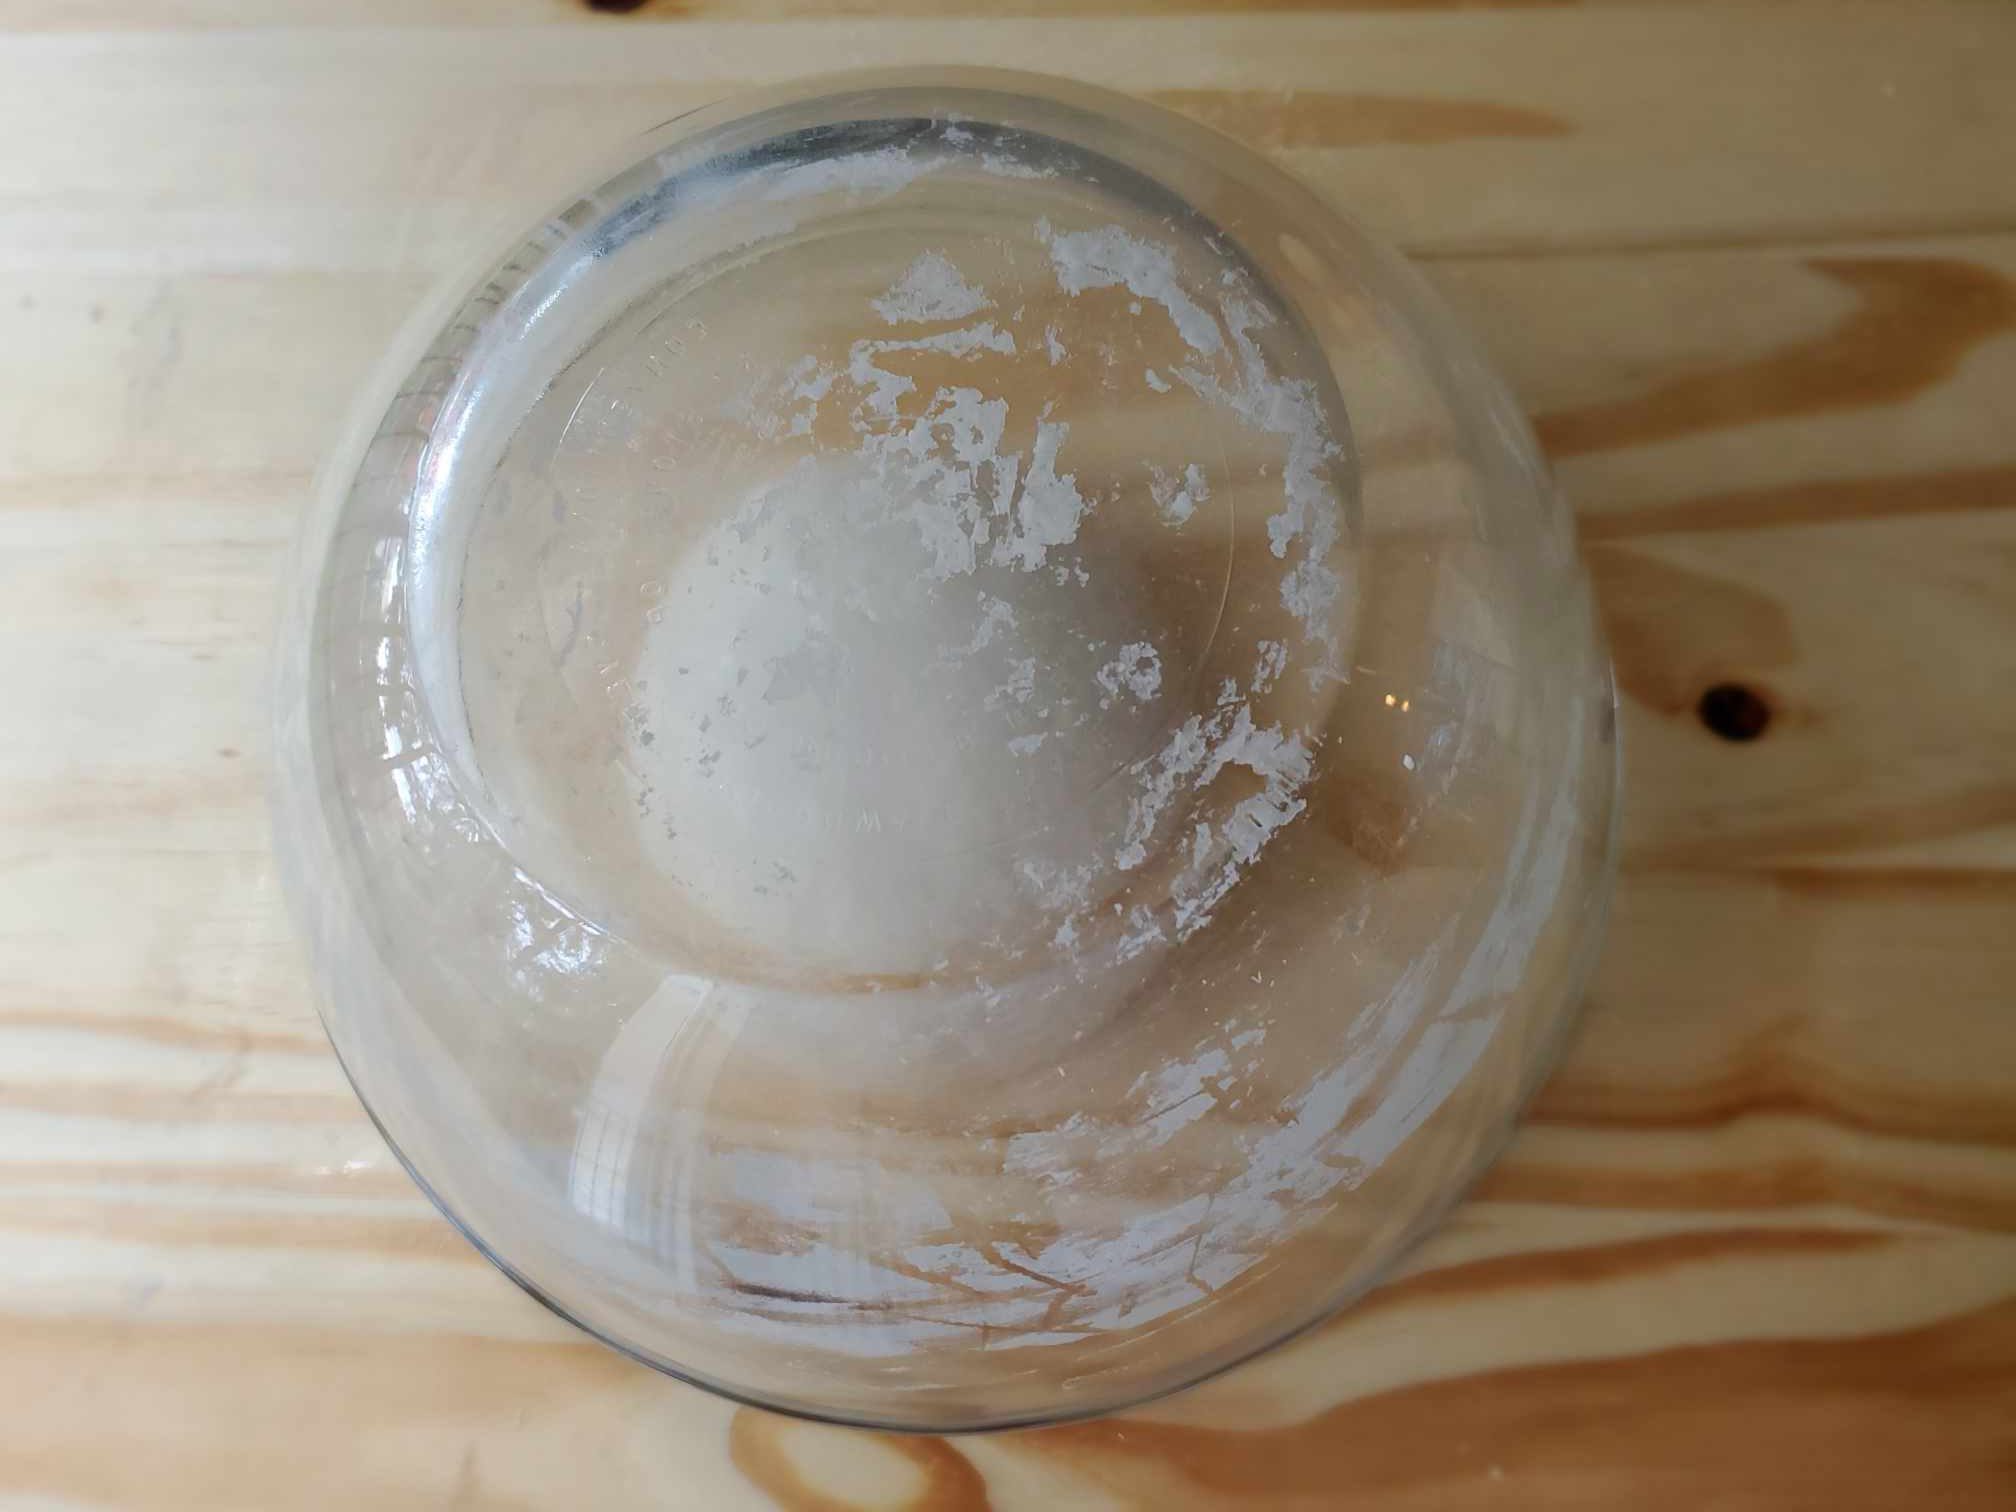
Apply a little bit of oil all around the dough ball and cover the dough. You can transfer the dough back to the bowl and cover it with a cling wrap. Or simply cover the dough with the bowl you used while it's still on the counter.
-
The dough should be doubled in size. This would take roughly about an hour.
-
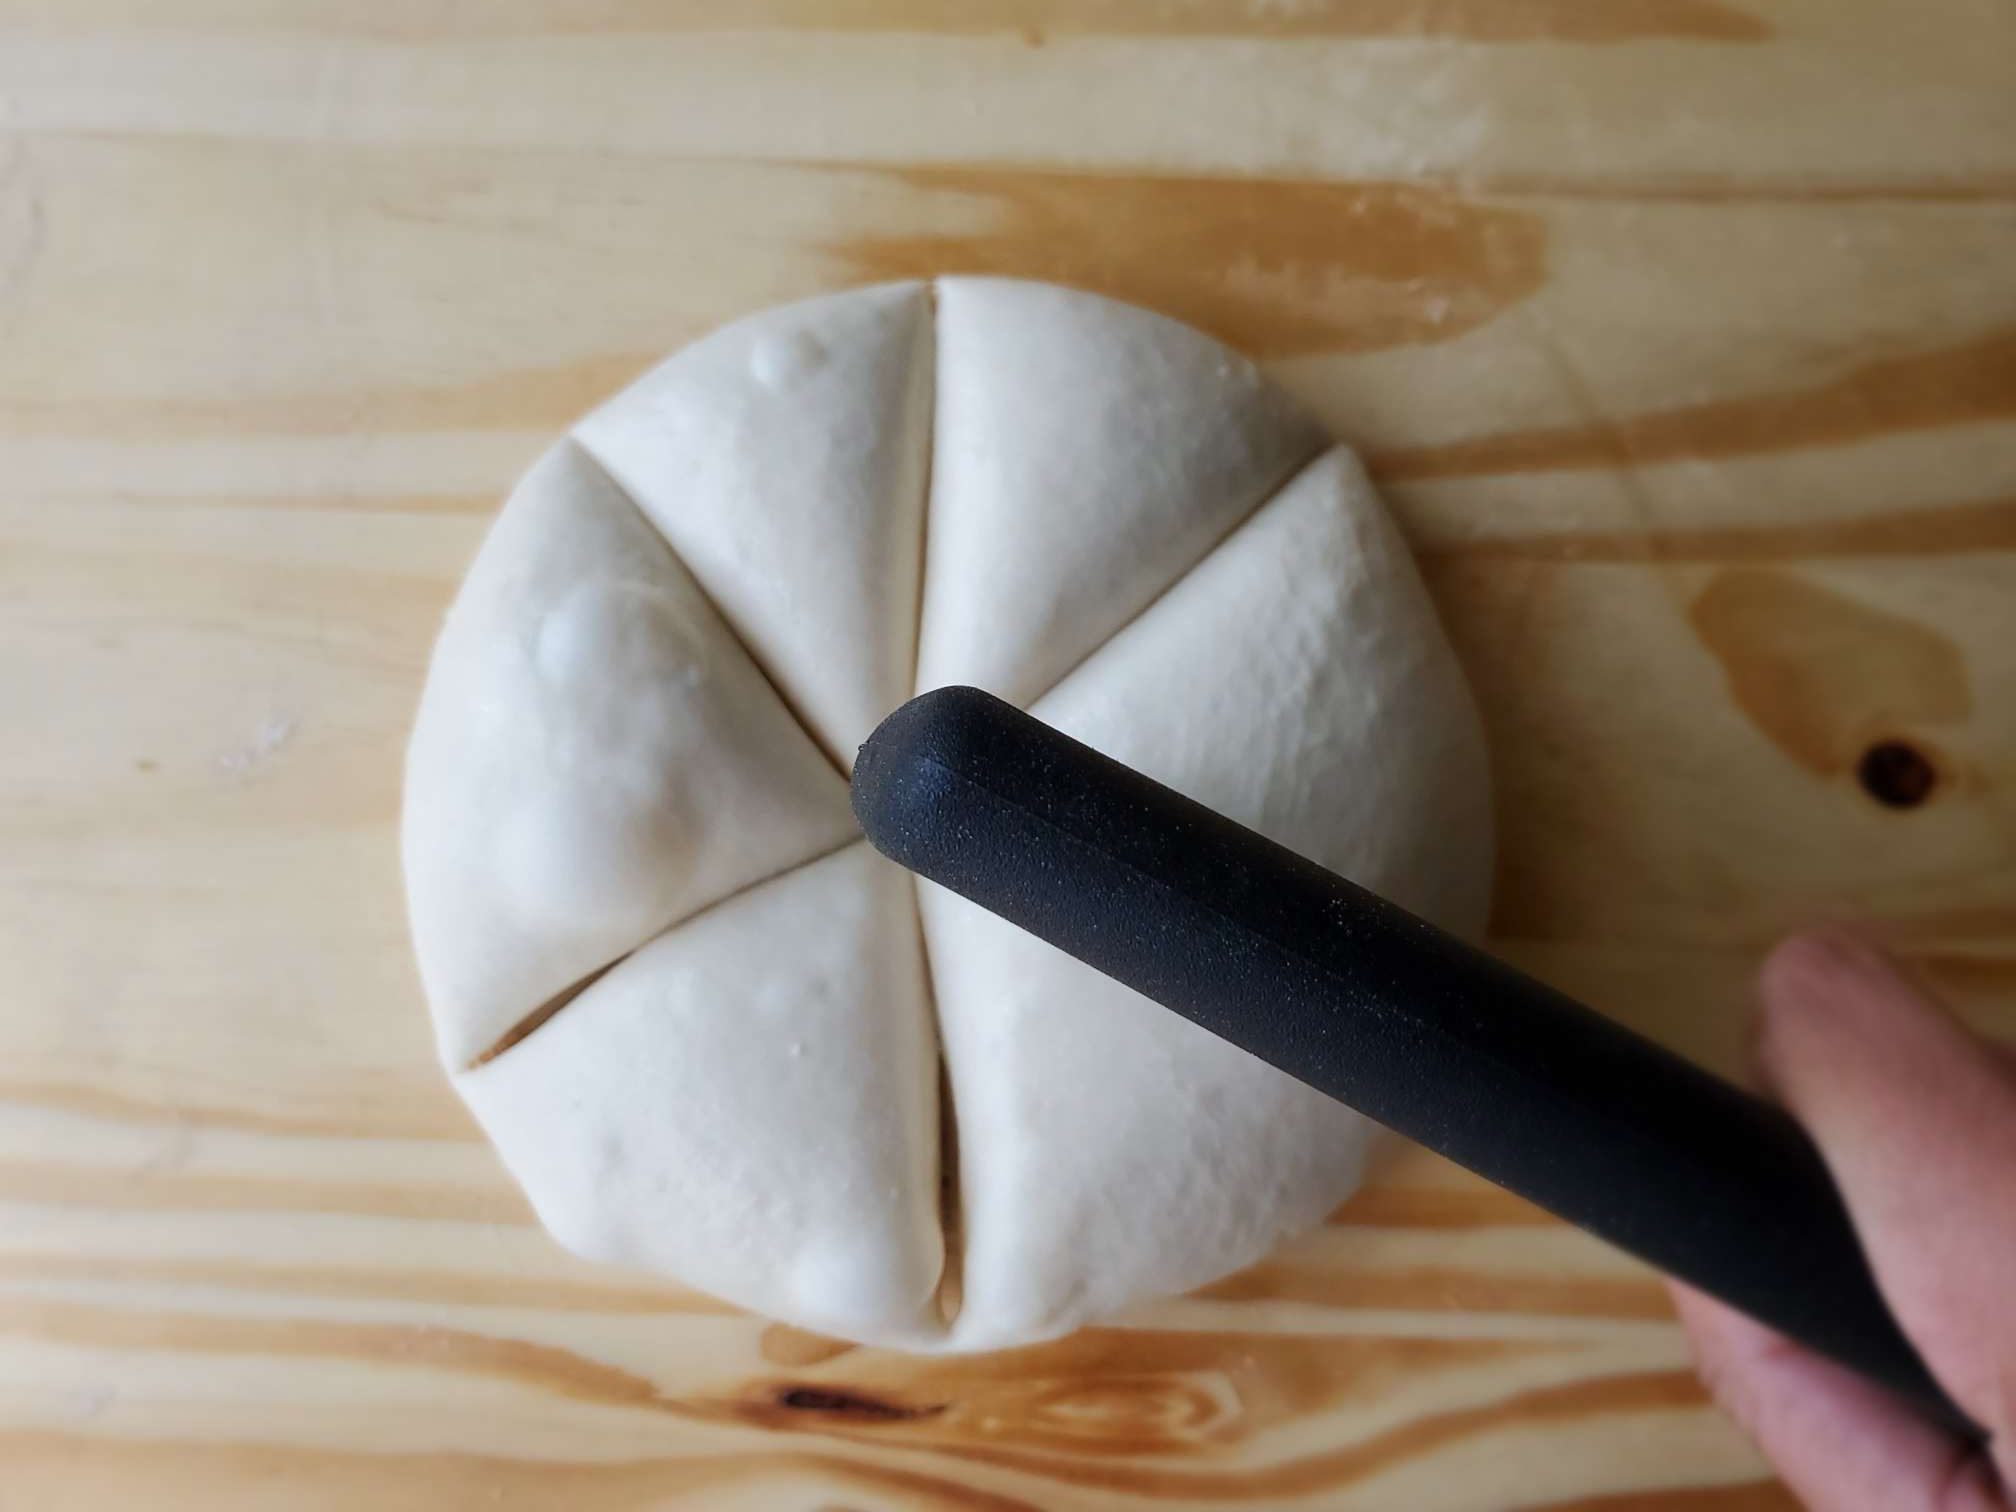
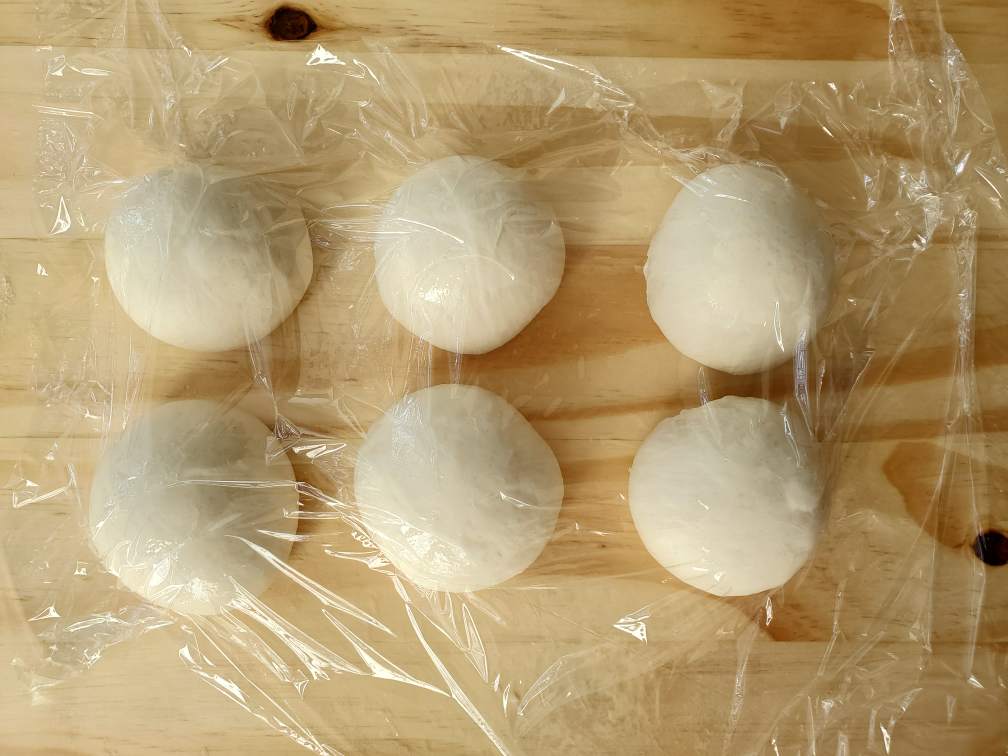
Cut the dough into 6 equal pieces. You don't have to punch down to remove the air. It would degas as you cut them and, shape them into small balls in the next step.
-
Shape the dough pieces into small dough balls. Cover them with plastic wrap to prevent them from drying out.
-
Let them rest for about 30 mins so it's easier to spread them out. They would also proof backup.


Shaping and making naan
-
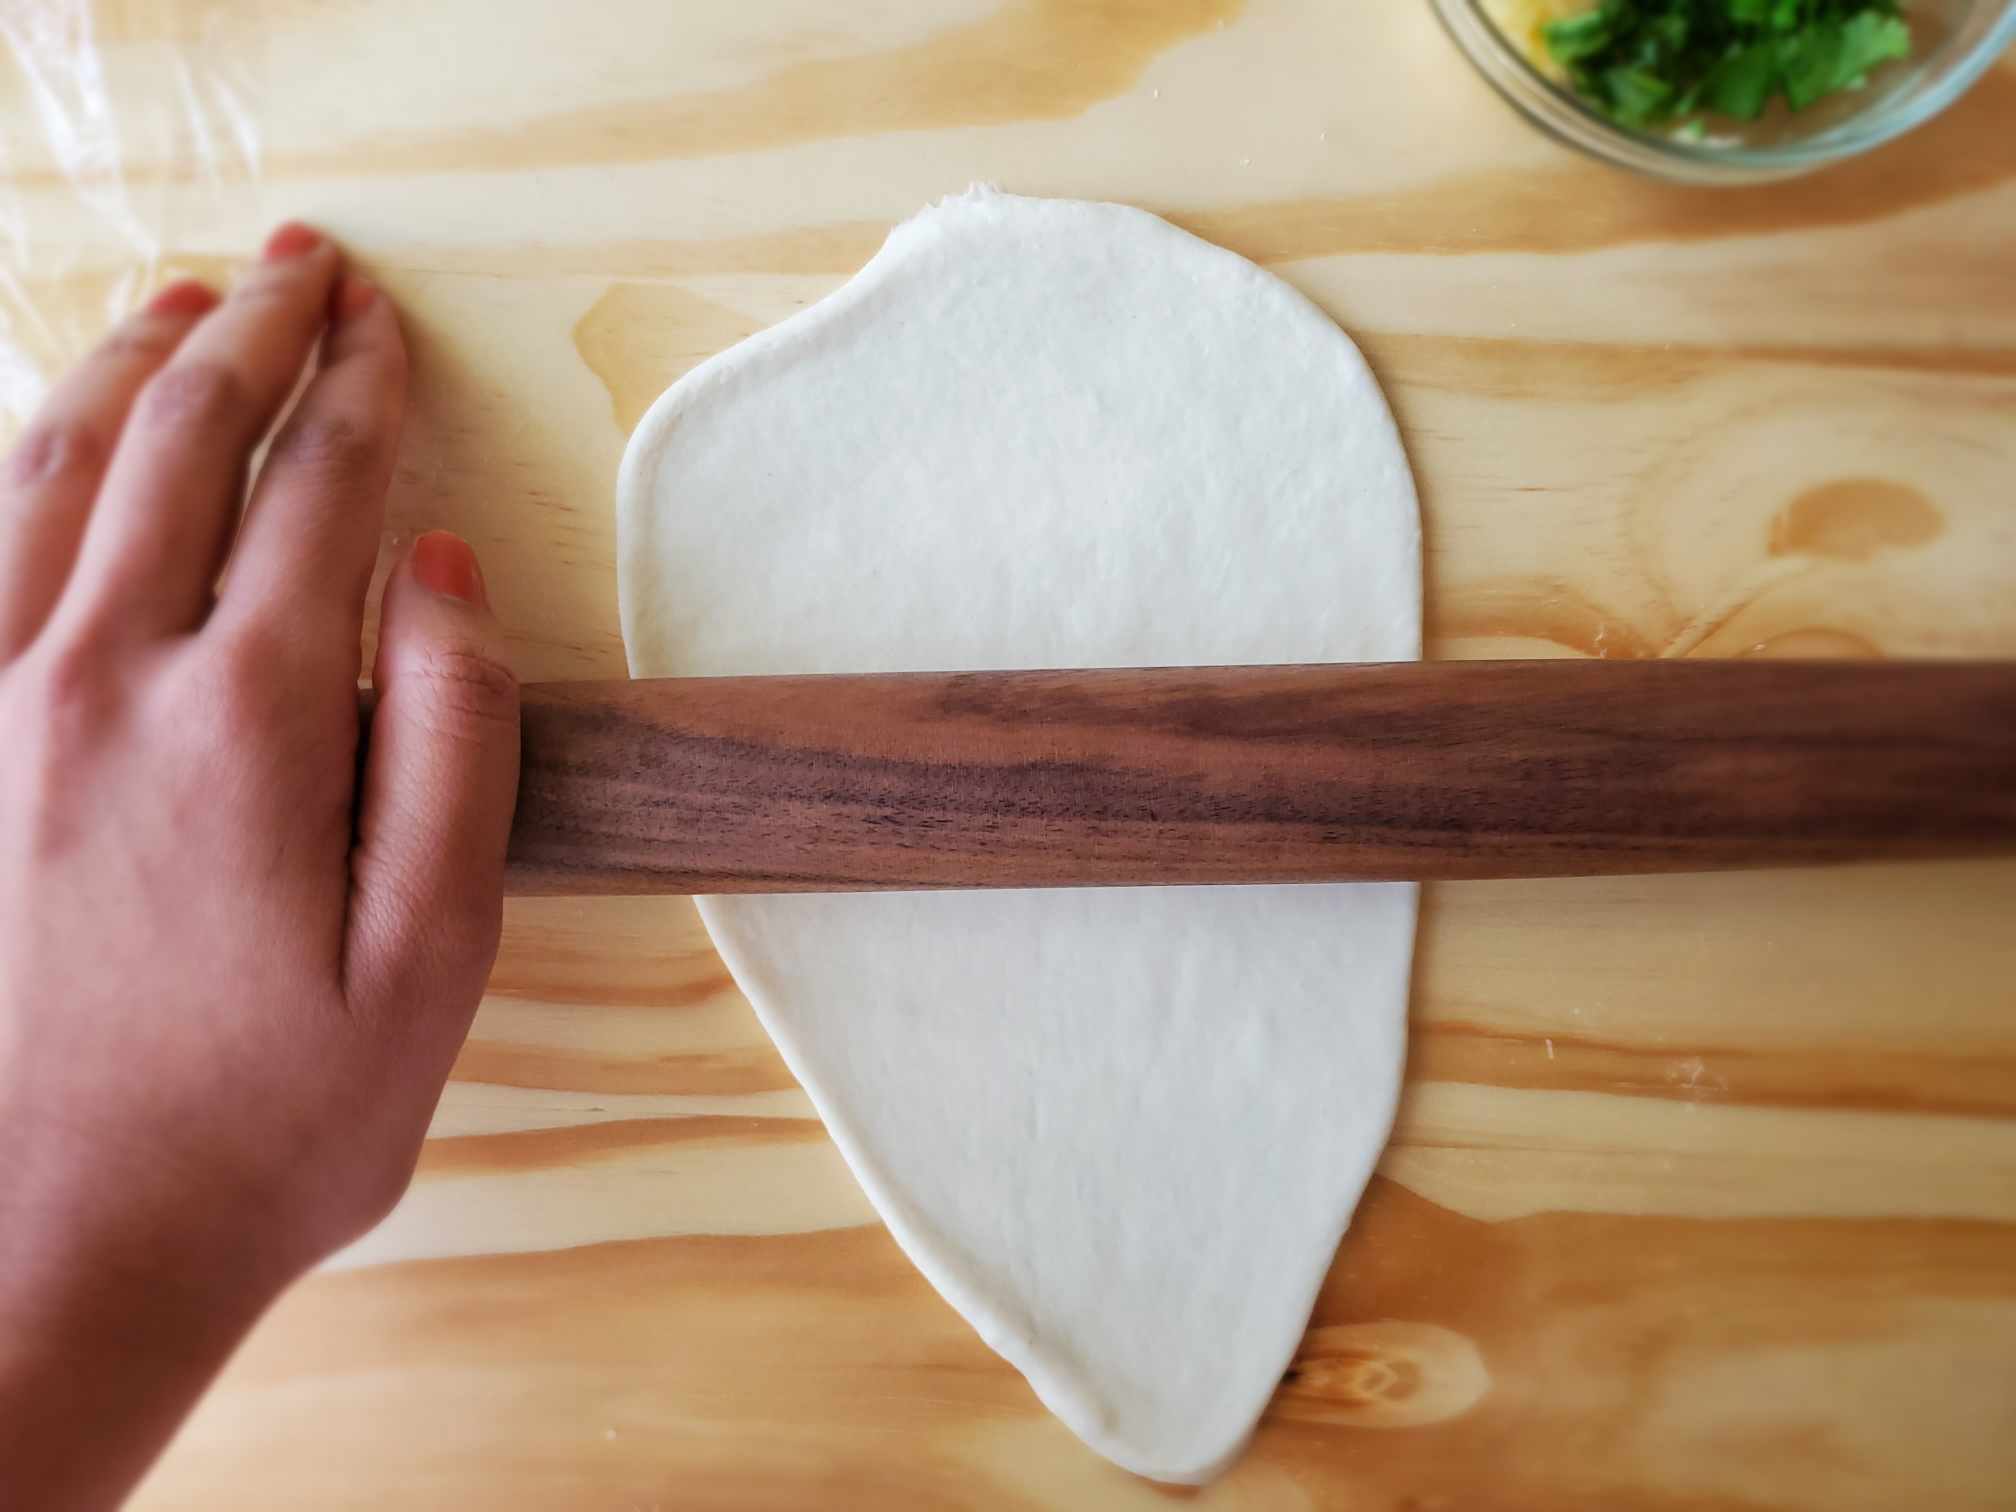
After 30 mins, take a ball out. Put it on the benchtop. Flat the dough a little bit with your hands. And then using your rolling pin, roll the dough to a triangular or oval shape. The thickness should be about 2.5mm.
-
Meanwhile, put your heavy-bottom skillet (cast-iron/ clay work the best) on the stove and let it heat. The skillet has to be smoking hot when you put the naan in. Also, put a large baking tray/cookie tray on the top rack of your oven and start the broiler.
-
spread about a clove of grated garlic on each bread. Also, sprinkle 1 - 2 tsp of chopped cilantro and gently press with your fingers so they stick to the dough.

-
optional step if you need the traditional long triangle or tear-drop shape.
Lift the flattened-out dough with one hand and place it on your palm. Stretch the dough slightly from the narrow side of the dough using your other hand to get the tear-drop shape.
-
Place the naan on the well-heated skillet. You should see some air bubbles popping up from the bread. Leave the naan until the bottom of it gets nice and brown.

-
Then transfer the naan to the tray which you placed under the oven broiler. You can use a spatula or tongs for this. Let the top gets brown too. The naan would puff up furthermore. ( read the recipe description for alternative methods). Do not let it sit there for too long, 1, it gets brown so quickly under the broiler, 2, the bread can dry out and become hard.

-
When the top is brown, transfer the naan to a plate and apply butter generously. If the naan seems crispy on the top at this moment it's going to get soft after you apply butter and leave it for a few minutes. Serve warm or freeze for later.


Leave a Comment