Sri Lankan vegetable roti or “Elawalu Roti” is a must-try Sri Lankan short-eat that is filled with a spiced vegetable filling wrapped in a charred thin flaky flatbread.
These Sri Lankan vegetable roti (Elawalu Roti) are my husband’s all-time favorite snack. Whenever I ask him what he’d like to eat, it’s always either these vegetable Rotis or coconut roti and chicken curry. So I at least make them once a month. I always get rave feedback from my family and even when I share them with friends.
Since I’ve been making these vegetable rotis for a really long time with different methods each time, I can safely say that I figured out the perfect recipe for both filling and the outer wrap.
The Filling
The secret ingredient for my filling is a little bit of dried tiny shrimp aka “Koonisso” in Sri Lanka. These tiny shrimps are so umami, they add a really good savoriness to the filling. It’s a little tip I learned from the restaurant that was closest to my home back in Sri Lanka. Vegetarians, don’t worry I have made this filling many times without shrimp and it’s still delicious. Make sure to keep your vegetables pretty chunky without making it to a mash. Especially your potatoes. Curry leaves mask the smell of dried tiny shrimp so be generous with them. Also, adjust the amount of roasted curry powder to your taste. (dry roast regular chili powder until dark brown if you don’t have this ingredient)
The wrap (Roti)
The usual way of making these rotis is to make the dough, then make small balls out of that and then dunk those balls in a bowl of oil for a few hours to overnight. But I found the method I use here makes the dough relaxes more and takes less time. And the dough becomes super-stretchy and doesn’t shrink back because it’s relaxed in few stages.
Does your dough shrink back when you stretch it?
If your dough shrinks back when you stretch it that means the gluten in your dough hasn’t relaxed. Gluten is a protein and an extremely important component in bread making that makes the structure of the dough. Gluten makes the dough stretchable. When you stretch any dough, if it springs back that’s actually a good sign. That means you’ve made a good gluten network in your dough. But to make the gluten to stretch and not spring back, your gluten has to become very relaxed. So you get the ability to stretch the dough without tearing it apart.
Dough-making process and key points
What I do here is, make a nice soft and pliable dough first to activate the gluten and to make a good gluten network. And then I cover it with oil and plastic wrap to keep it from drying out. And leave it for 30mins to relax. It’s extremely important to cover the dough directly (not the bowl that it is in) to keep the dough from drying out. If you leave it on the counter a skin forms on the dough and that skin can crack and become grainy when you stretch the dough.
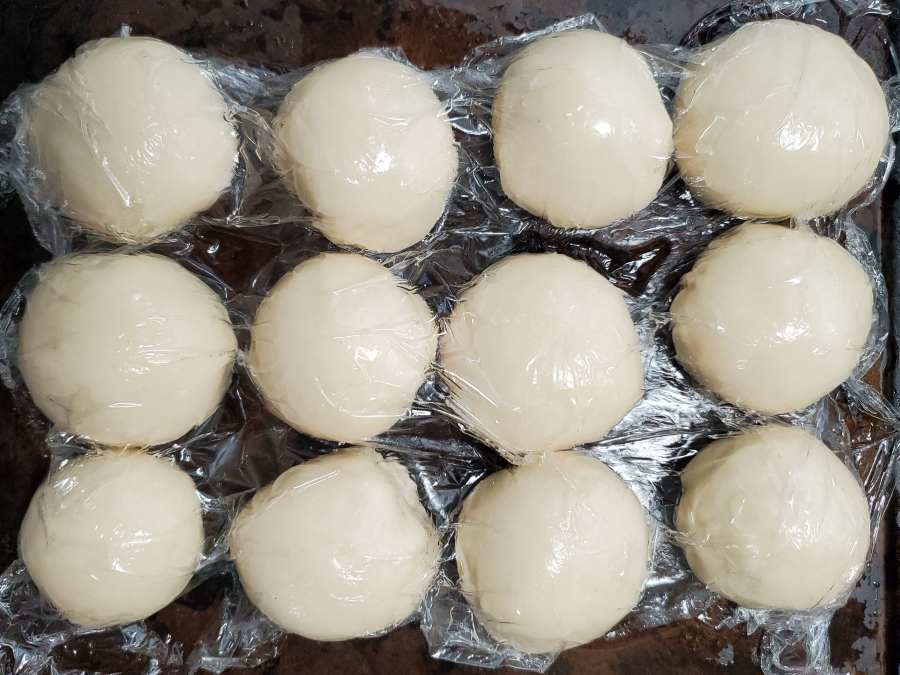
After 30 mins you’d notice a significant difference in the texture of the dough. It should be relaxed and more pliable. Then I break the dough to make small balls. And then cover the balls really well with oil and leave it for another hour. You need to leave space between each ball so they don’t stick together. Also make sure to cover each and every dough ball really well by laying a plastic cover over them. Again, it’s important not to let the dough dries out.
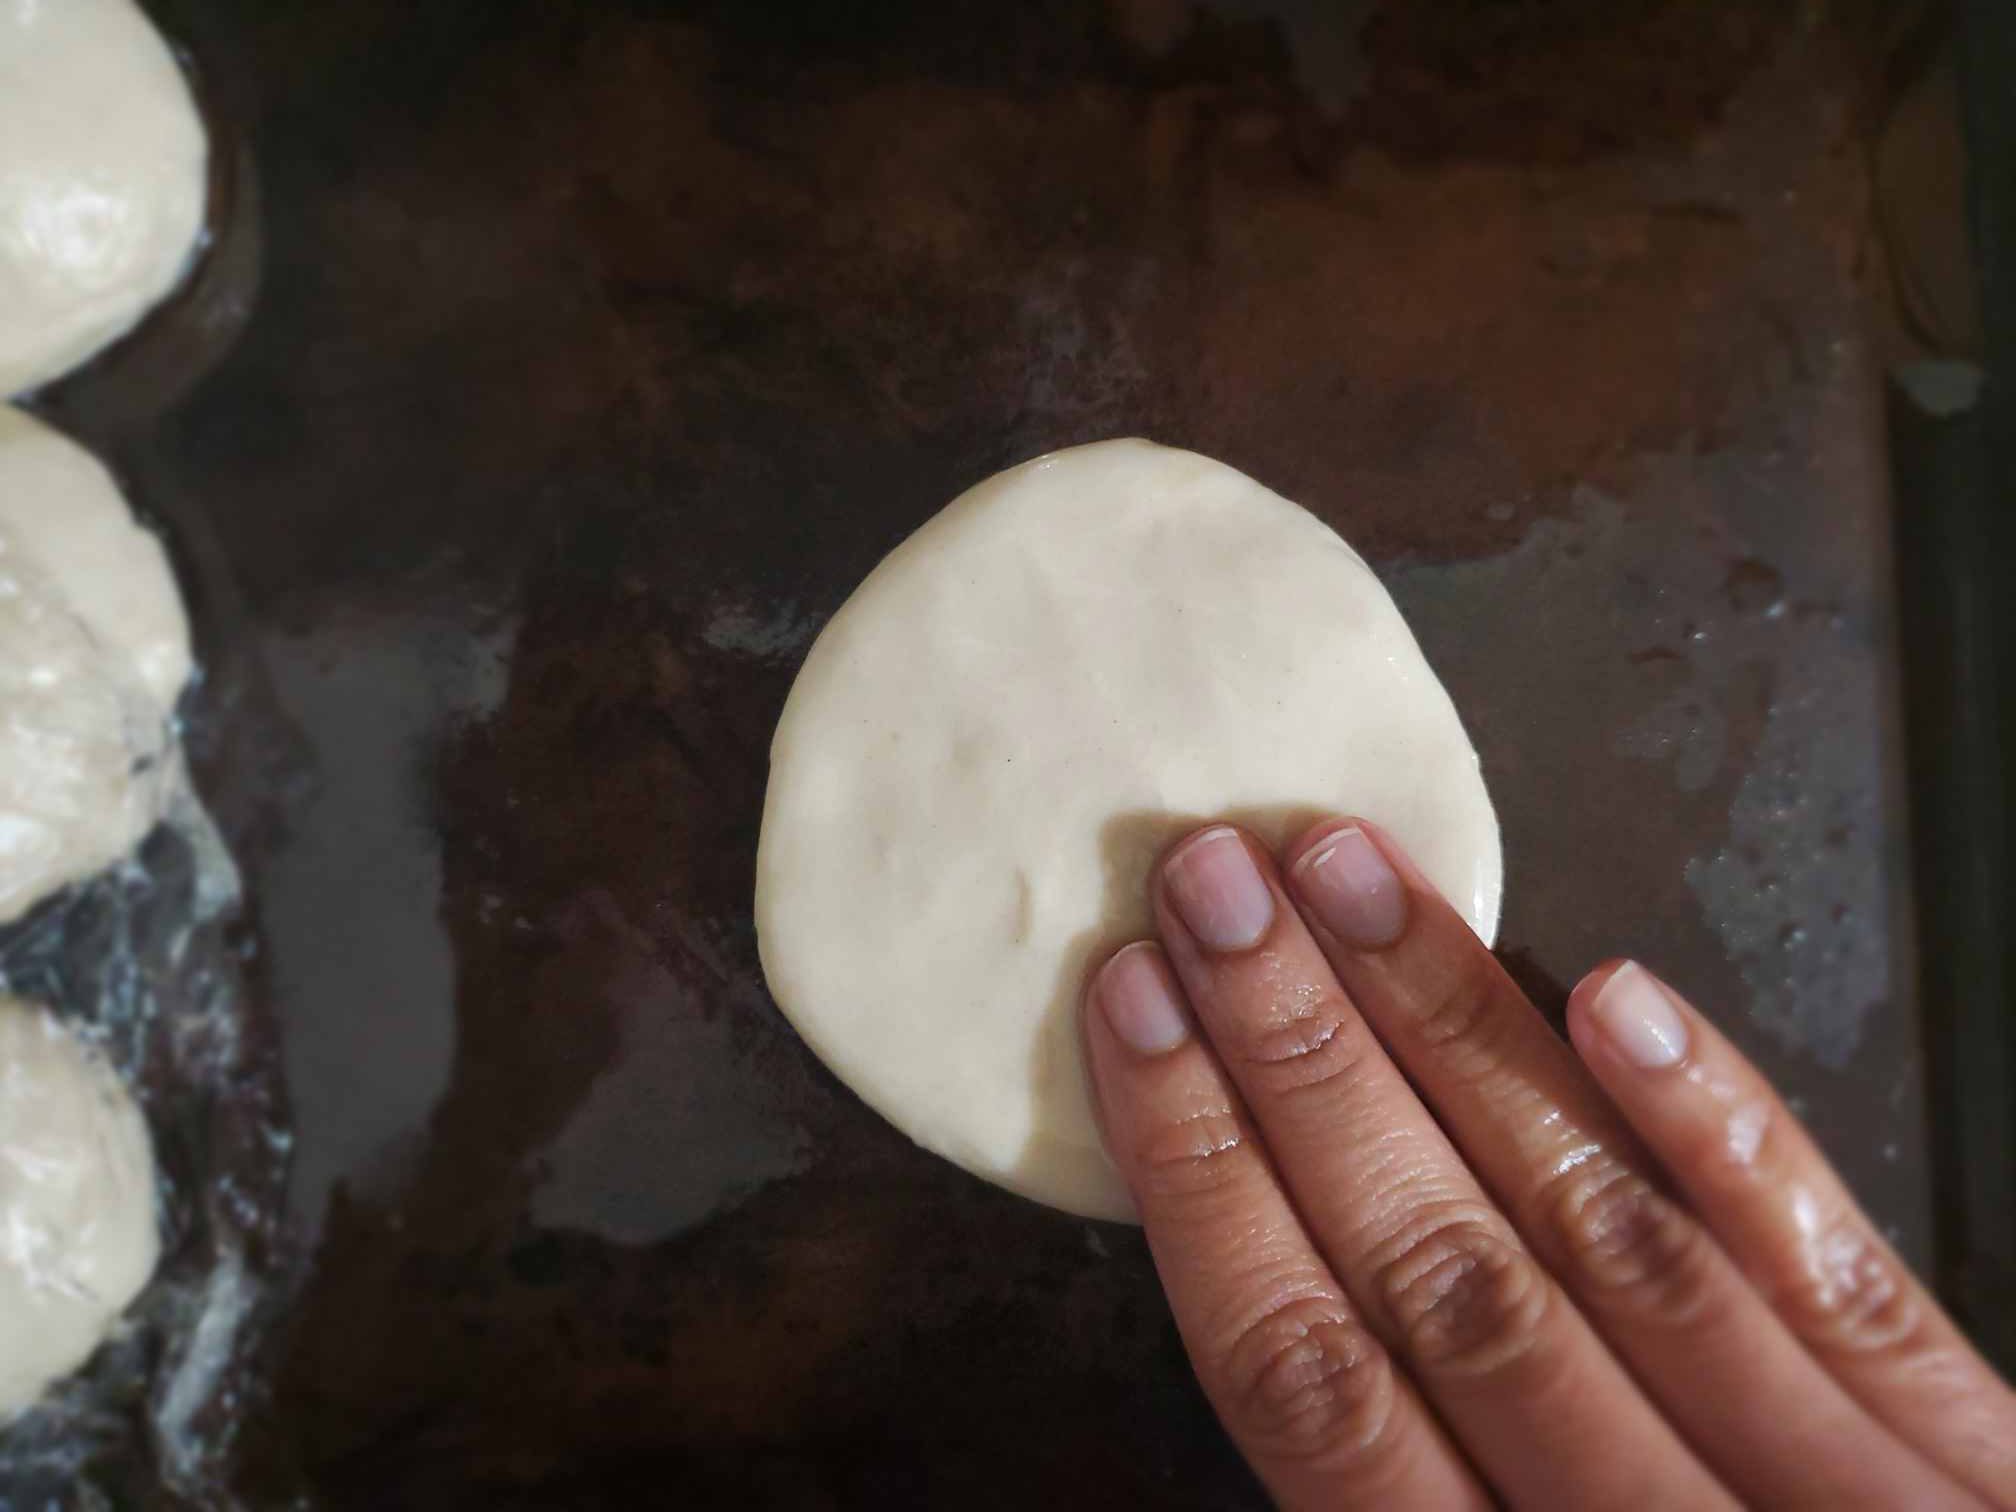
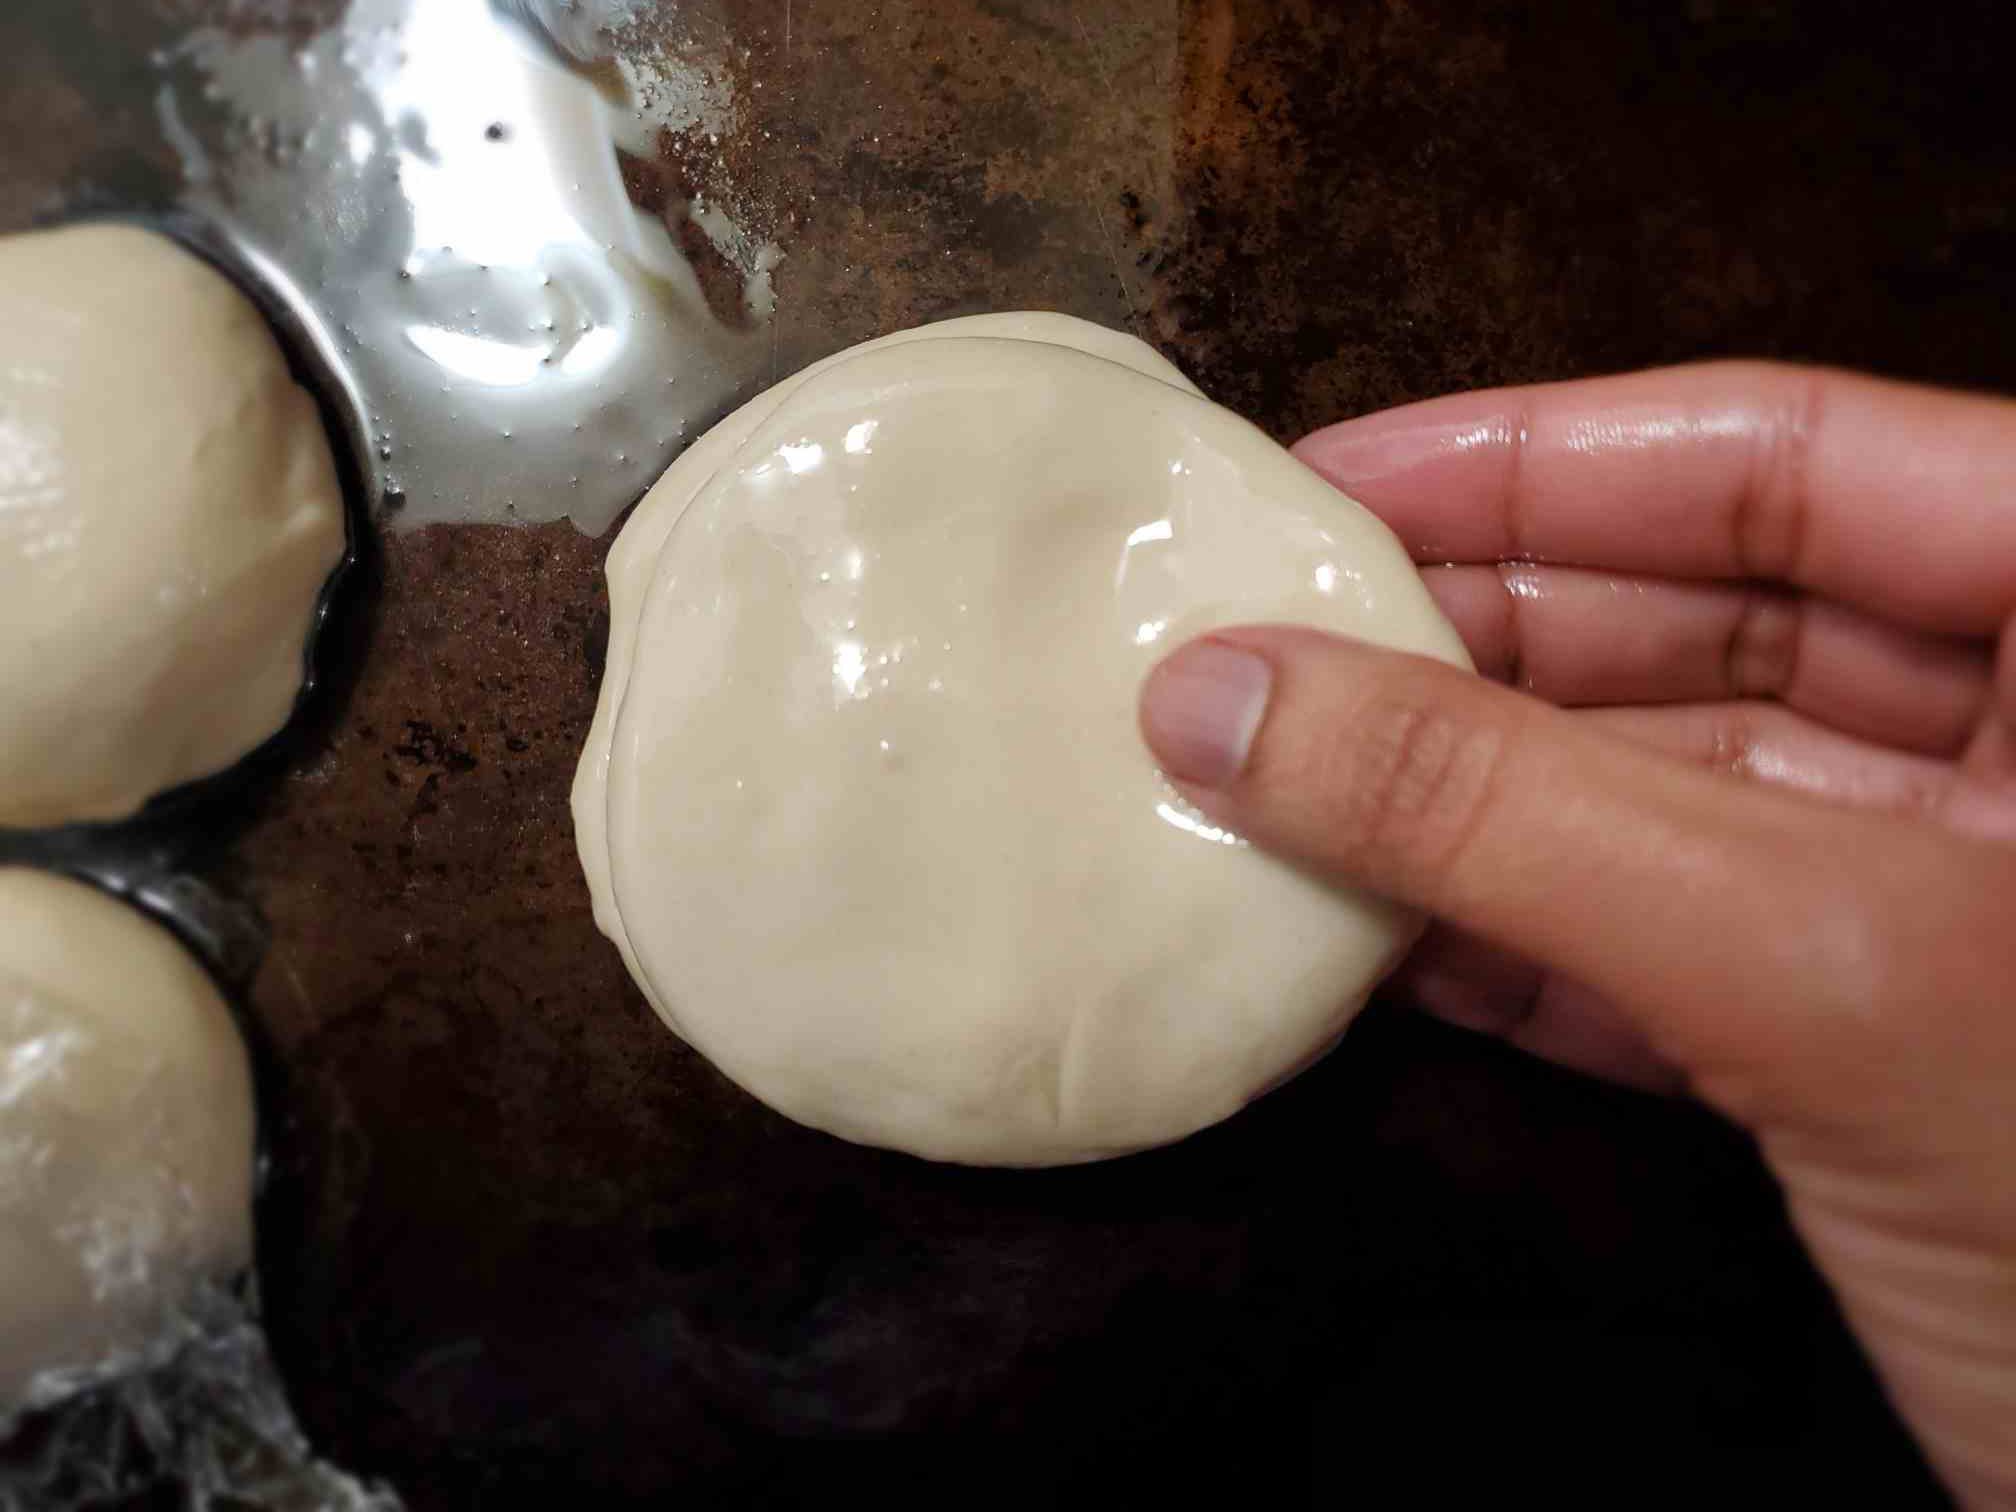
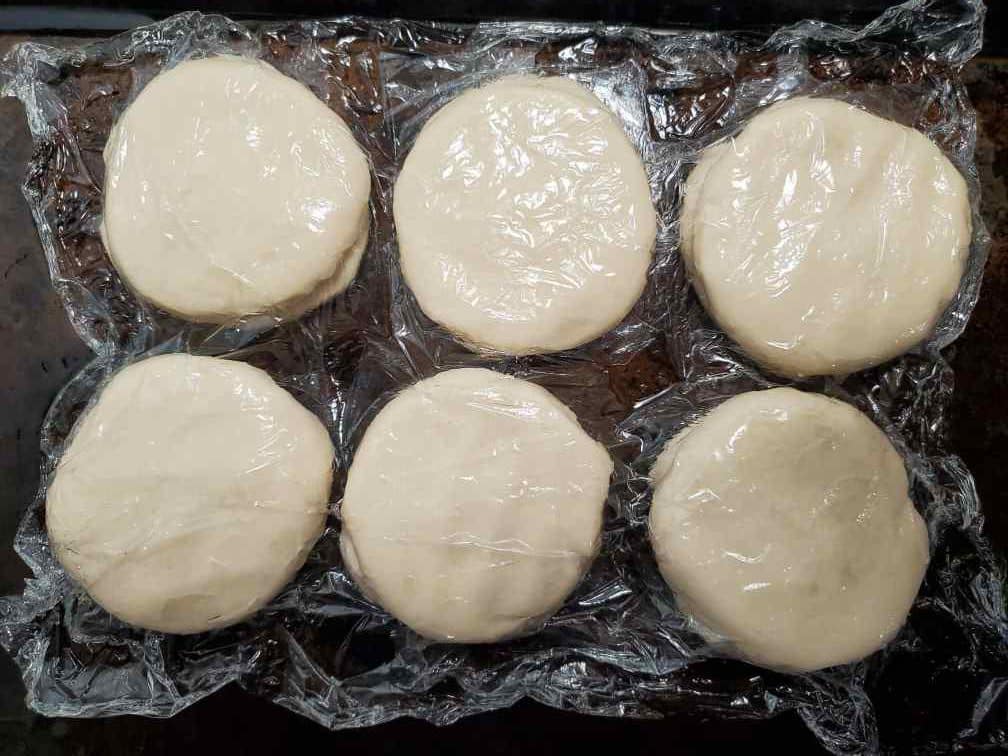
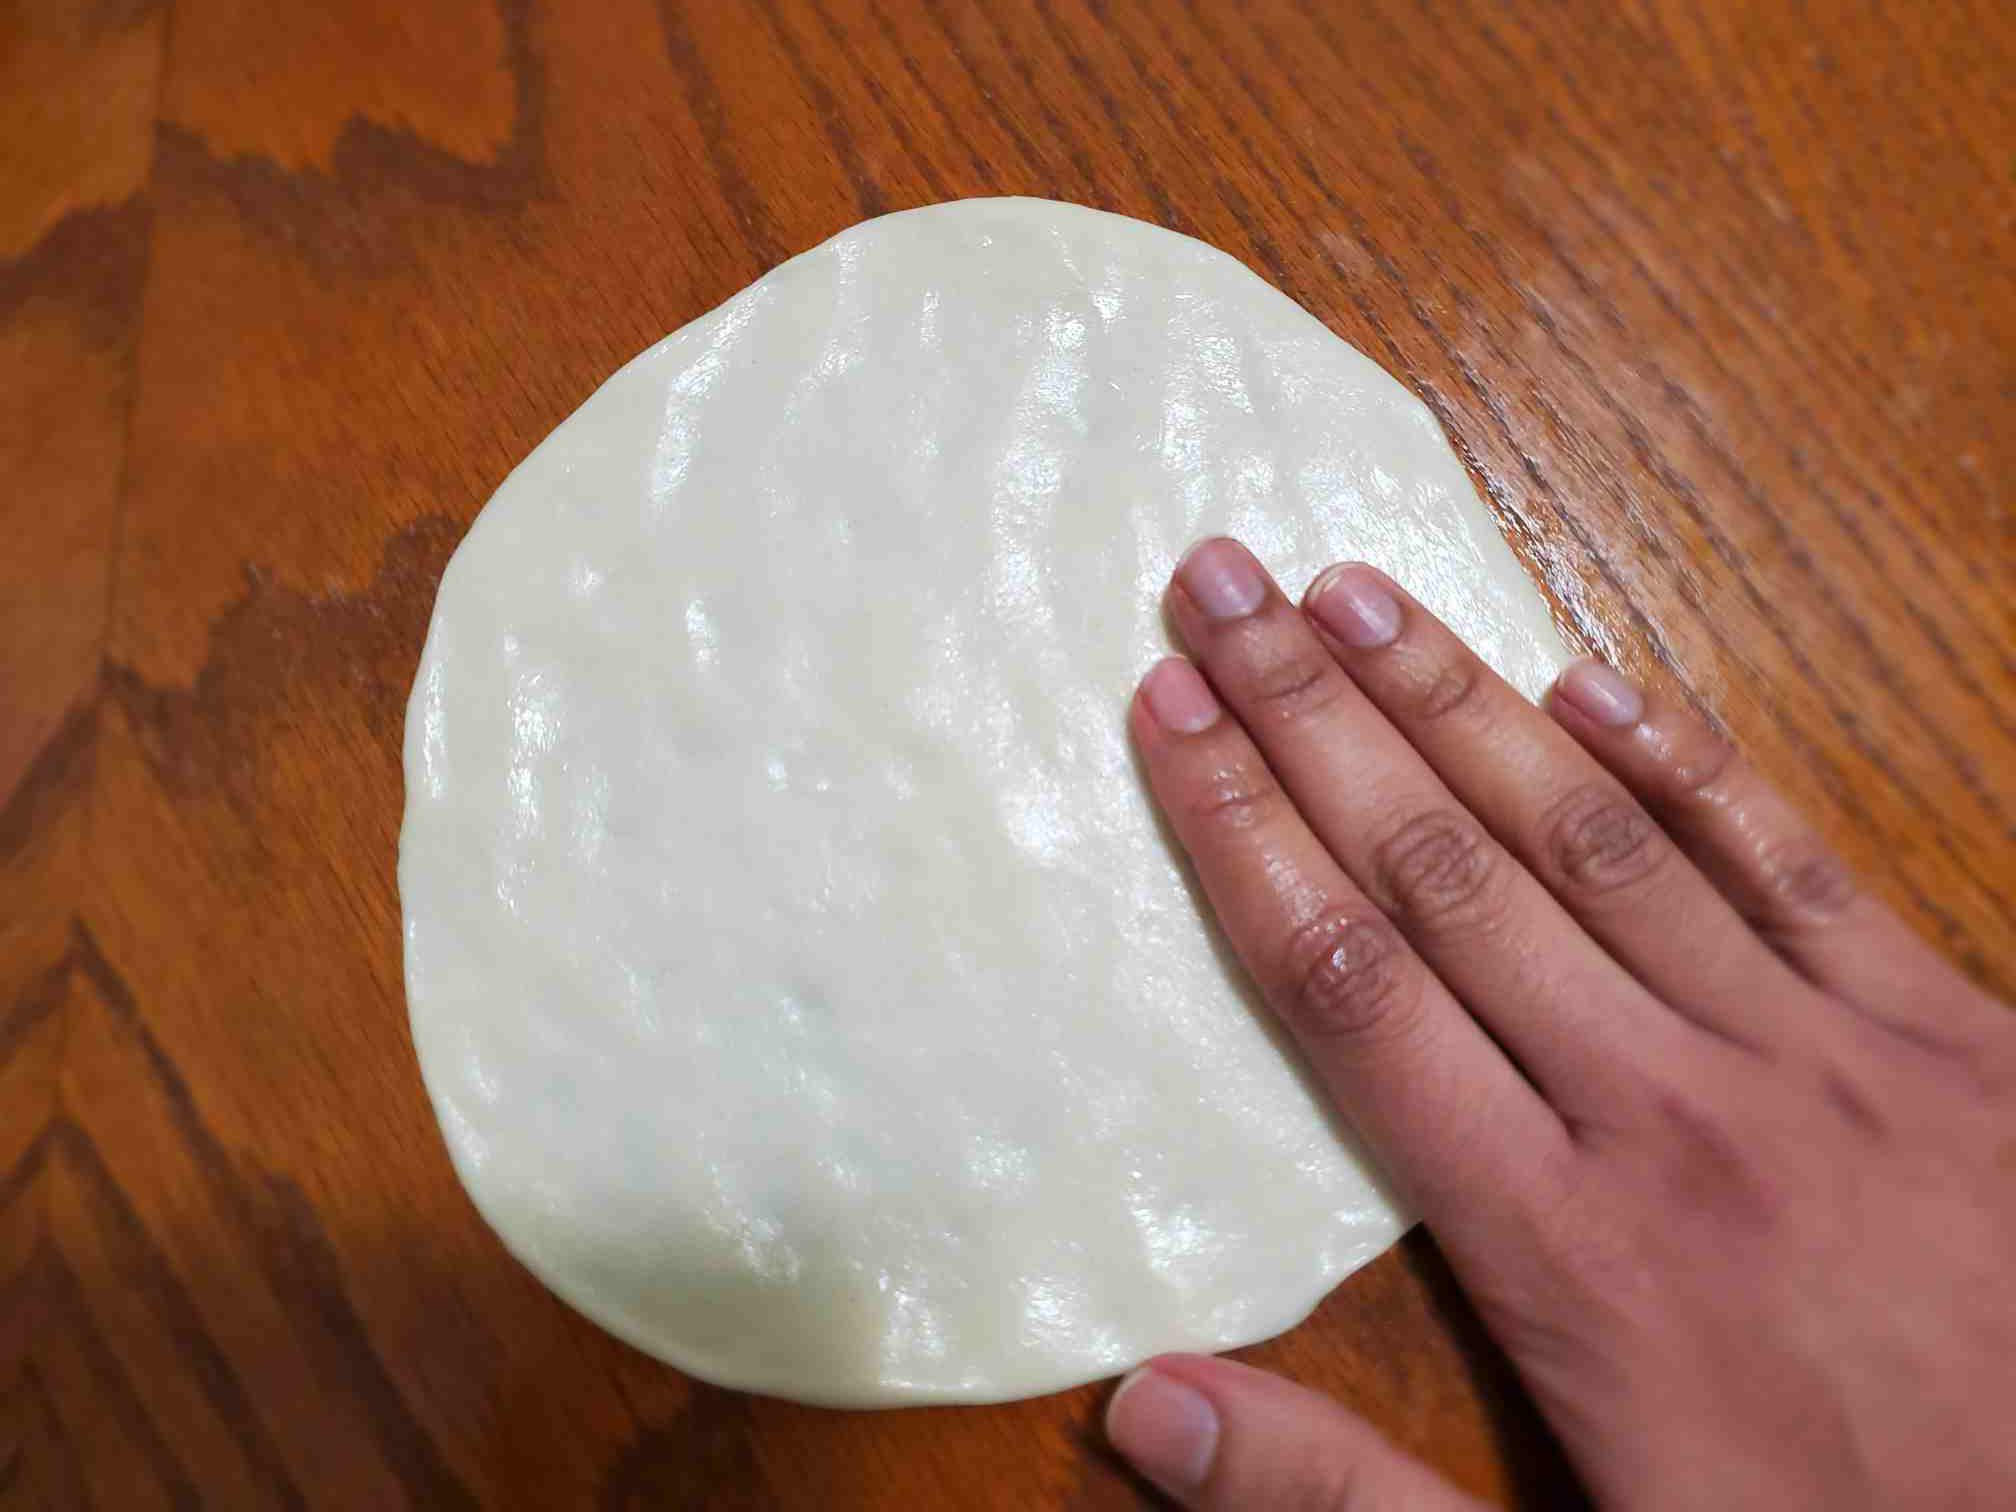
After about an hour (30 mins is enough if you’re in a hurry), I take each ball, and flatten it out a little bit to make it a disk that is about 3 inches in diameter. And then I apply oil really well on both sides. And stack the disks into two. You can leave them as one layer without stacking. The purpose of stacking is to save some space. It doesn’t contribute to the stretch-ability of the dough. I cover it back again. And leave it for about 15 mins. Make sure to apply oil generously when you stack the dough discs. At least on the surface where one dough touches the other one. Otherwise, they can stick together. And don’t leave them stacked for more than 30 mins. The dough is going to absorb the oil and they would stick together.
Stretching the dough
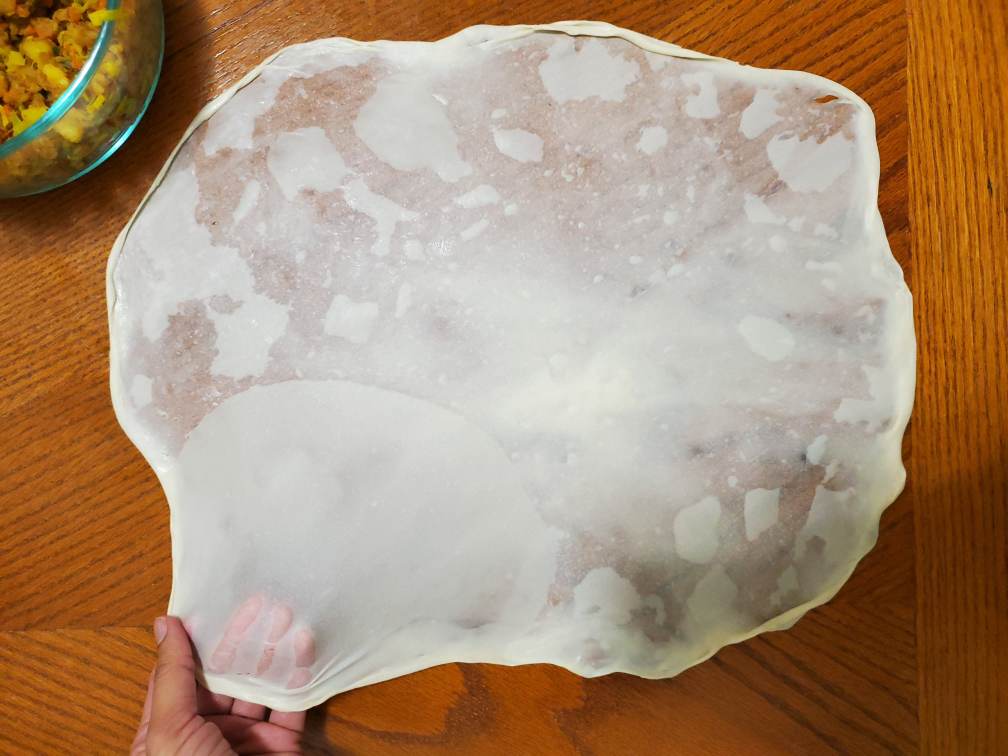
If you did the process I’ve mentioned above correctly, you should have a very stretchy, very relaxed dough by now. Take each disc of dough and put it on the working table/ benchtop/counter. Carefully stretch the dough from one corner using your fingertips. When it stretches to the maximum limit and you can actually see through the dough, press the stretched part to the table/benchtop so it sticks to the table. Thus it doesn’t roll or shrink back. Then stretch the other corners as well and do the same. Try to stretch the dough to a rectangular shape so the folding part would be very easy. You might get tears but that’s okay. They are going to get covered when you fold the dough with the filling.
Folding method
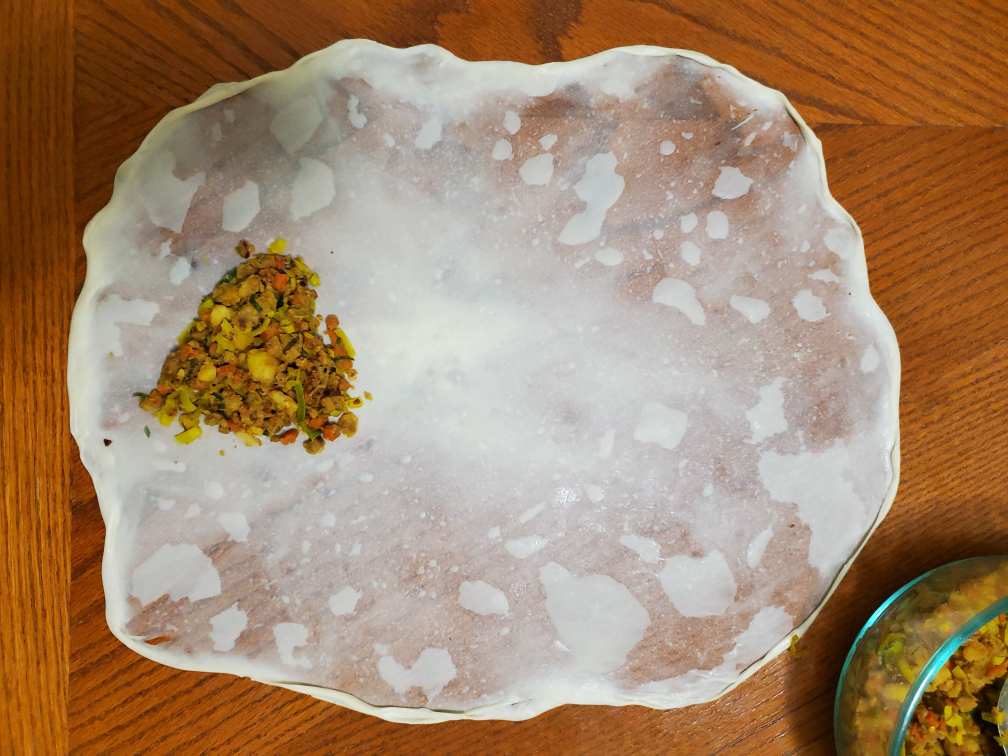
I found the folding process is very hard to explain with words. So, please refer to the photo I’ve attached below. Place your filling roughly into a triangular shape. It makes the folding process way easier. And fold along the lines I’ve shown in the photo in numerical order. Also, refer to the photos I’ve attached with the instructions.
Vegetable Roti Folding Video
(The video won’t show up with the ad blocker)
Storing – Freezing and Thawing
These Sri Lankan vegetable rotis (Elawalu roti) are perfectly fine to freeze for later. Spred them on a tray and freeze them for couple of hours. And then take them out, put them all in air-proof freezer bag or a storing box and freeze. They would last about 3 months without any problem at all.
To thaw them you can directly microwave or leave them on the counter until they come to room temperature. To make the wrap crispy again, heat a pan and pan-fry without any oil, turning all the sides. They taste just as good as freshly made Vegetable Rotis.
Serving options:
The amount of dough and filling I’ve given here is enough to make 12 – 16 good size vegetable rotis.
I love to serve it with tea or Sri Lankan Milk Tea.

Sri Lankan Vegetable Roti (Elawalu Roti)
Description
Sri Lankan vegetable roti or "Elawalu Roti" is a must-try Sri Lankan short-eat that is filled with a spiced vegetable filling wrapped in a charred thin flaky flatbread.
Ingredients
For the filling
For the dough
Other
Instructions
Make the Filling
-
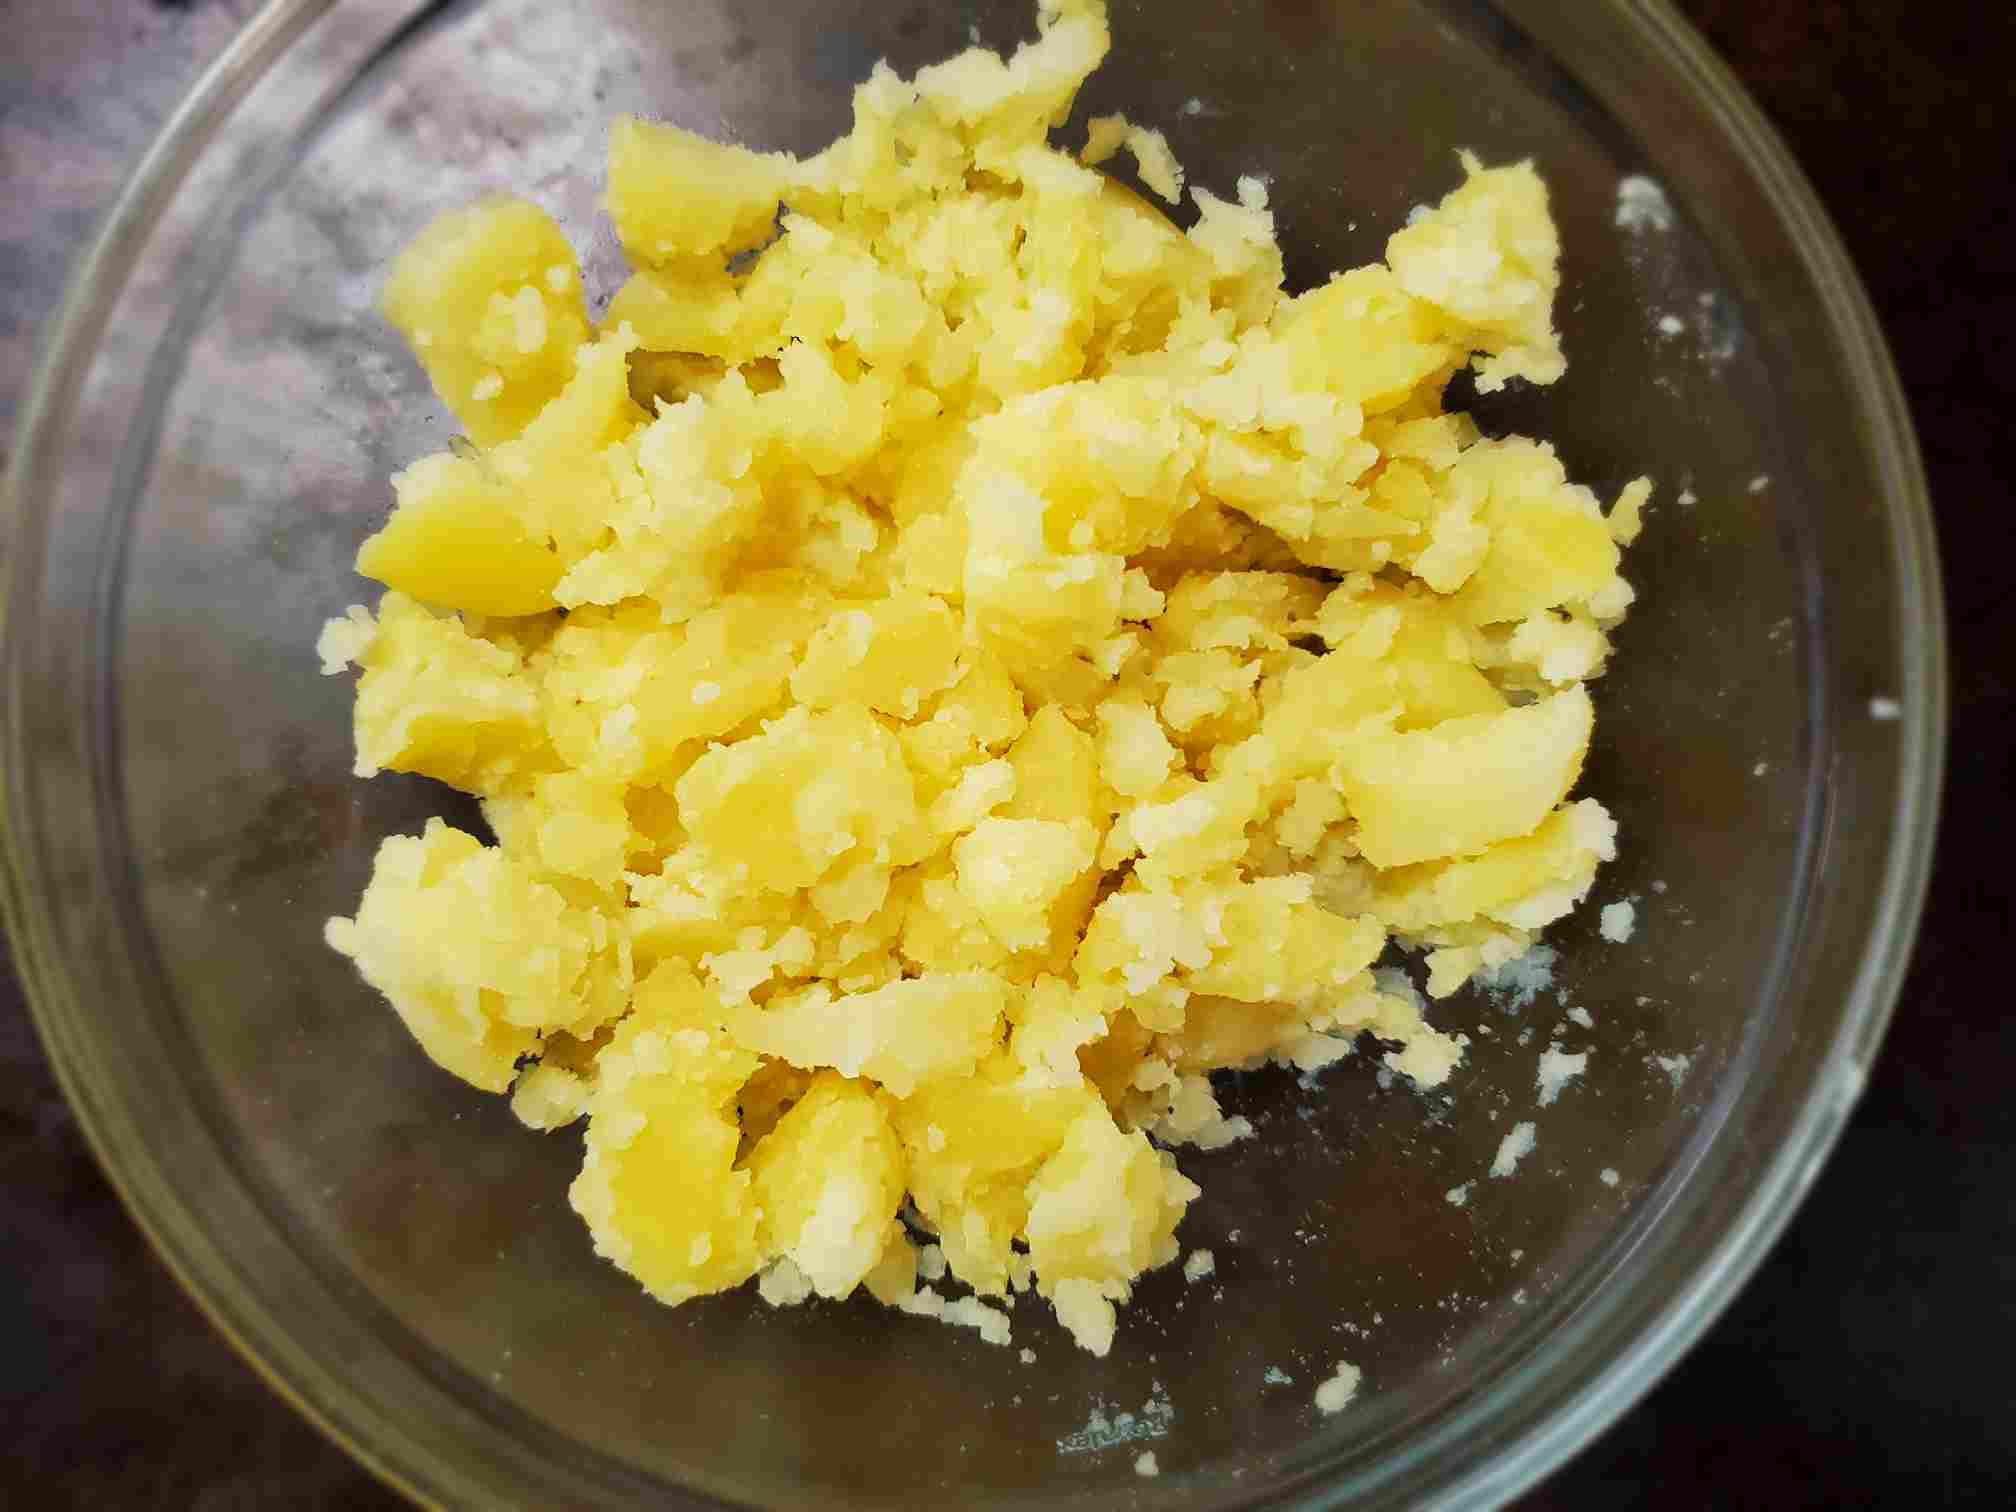
Peel and cut potatoes into quarters. And boil until fork-tender with some salt. Drain water and mash them into chunks using a fork.
-
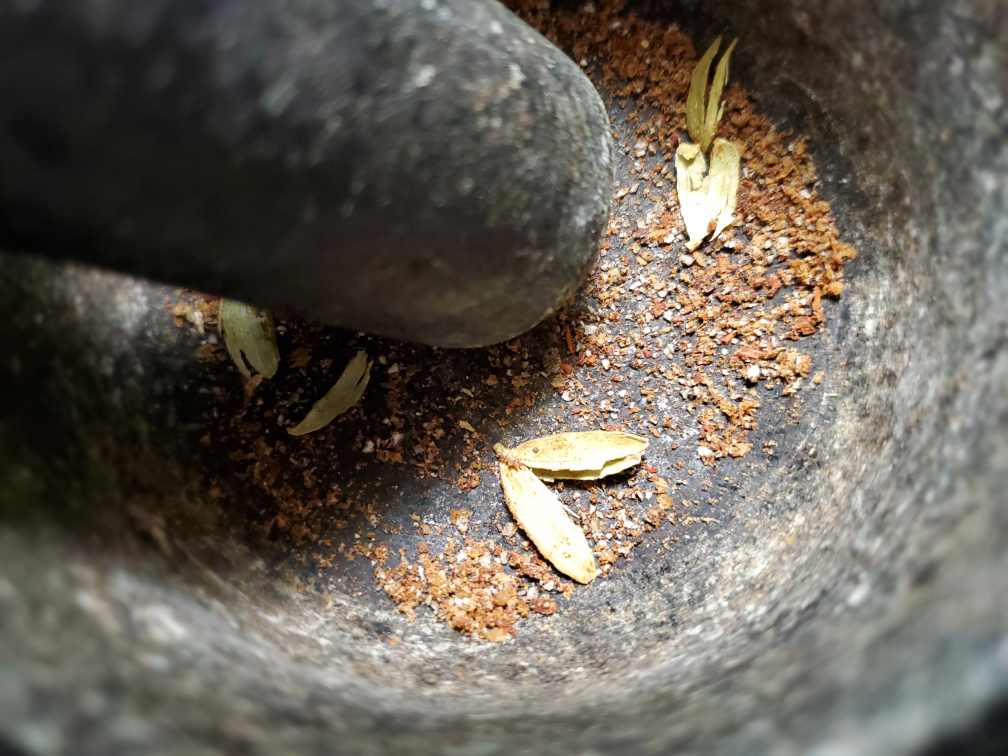
In a mortar and pestle, grind cardamom and cloves until they become a powder. Remove the cardamom shells which are harder to grind.
-
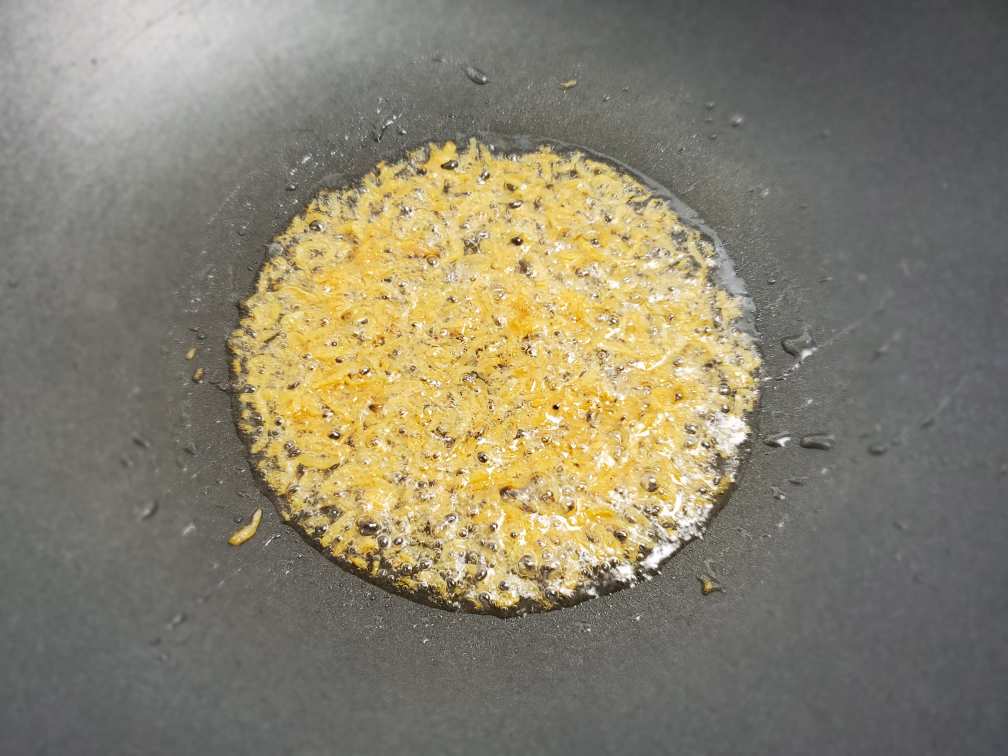
Heat a large pan or a wok in medium heat and add coconut oil. When the oil is heated add your washed and drained dried tiny shrimp (Koonisso) and fry them until they're light golden brown. make sure to chop them finely if you're using the larger variety of tiny shrimp. Vegans and vegetarians can skip this step
-
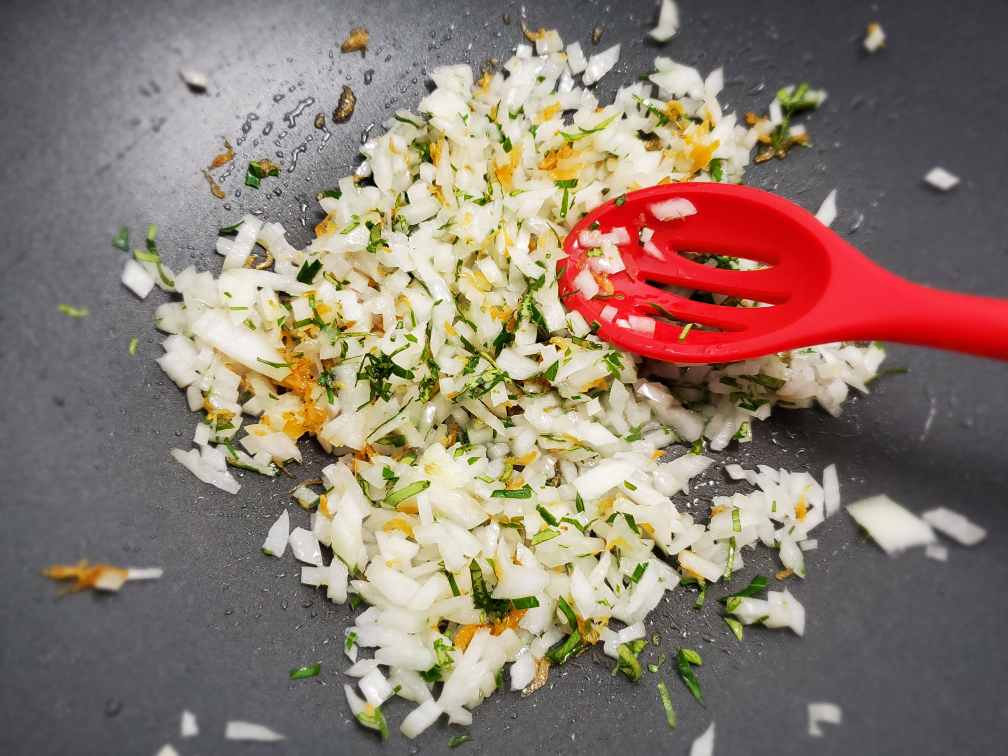
When dried tiny shrimp turns light golden, add chopped onion and chopped curry leaves. Mix really well and fry until onions become sweaty.
-
Then add your chopped carrot. Also, add the cardamom and cloves powder you just made. Stir-fry until carrots become tender.
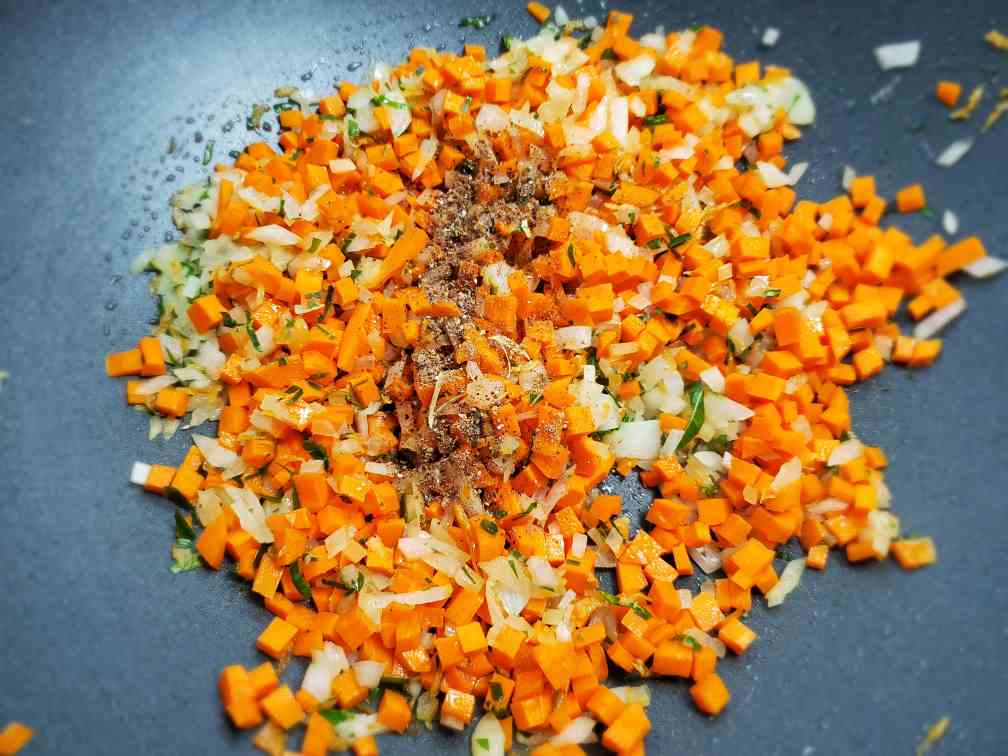
-
Then add roasted chili powder, roasted curry powder, turmeric powder, chili flakes, and salt. (Adjust the chili flakes and roasted chili powder to match your taste)
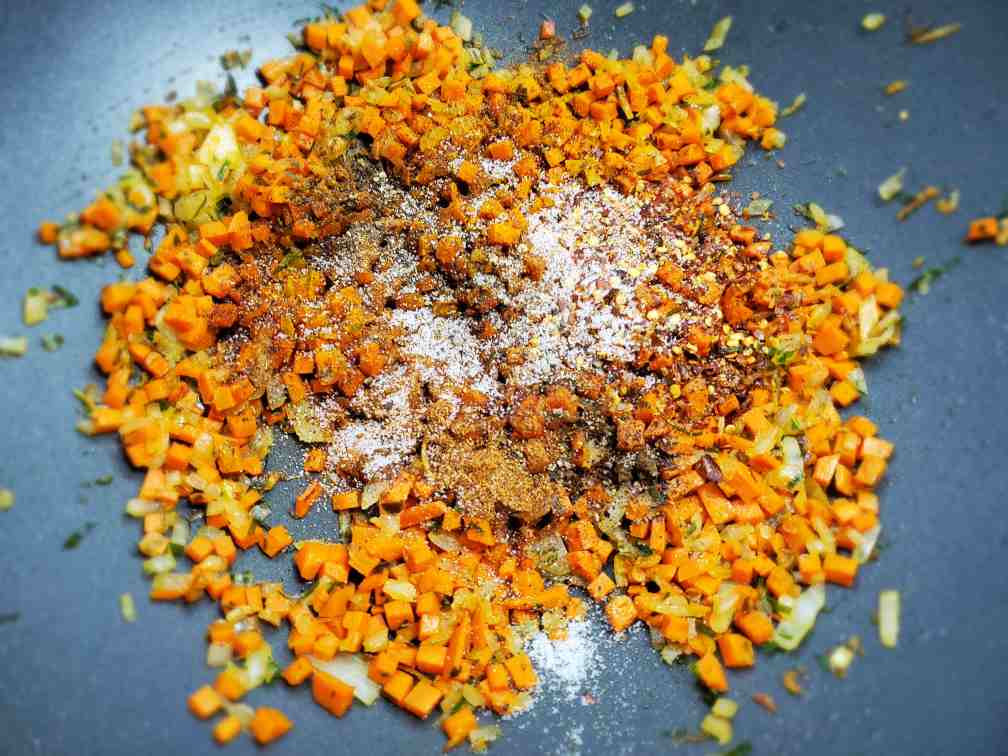
-
Mix well and stir- fry for 3 - 5 mins.
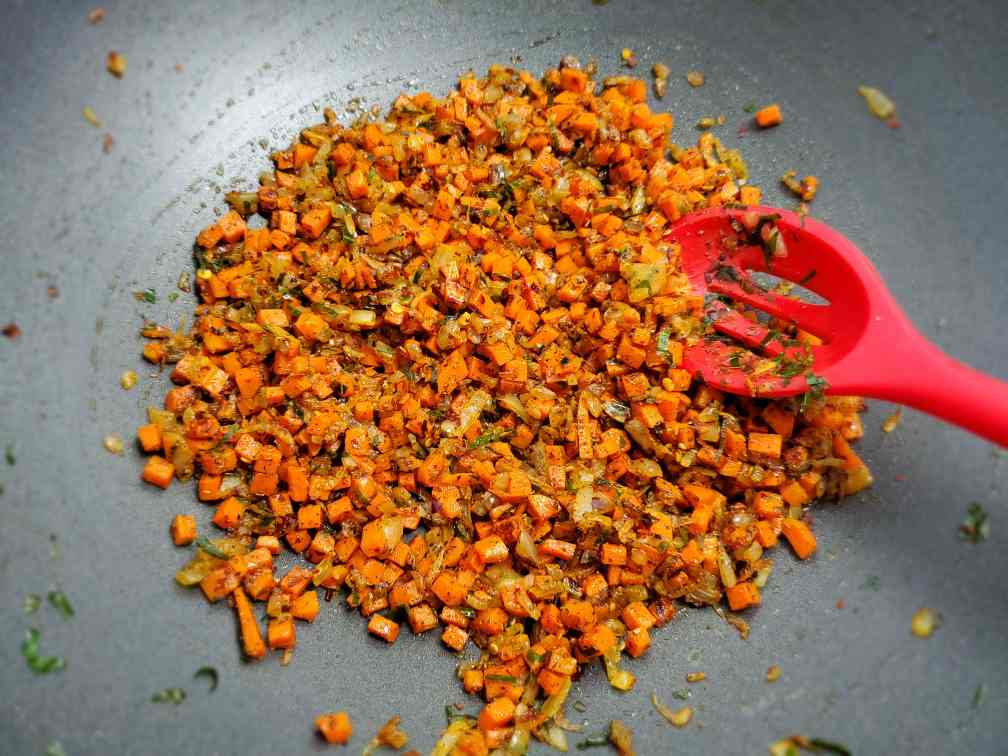
-
Then add the mashed chunky potatoes. Mix really well with the mixture and stir-fry for about a minute.
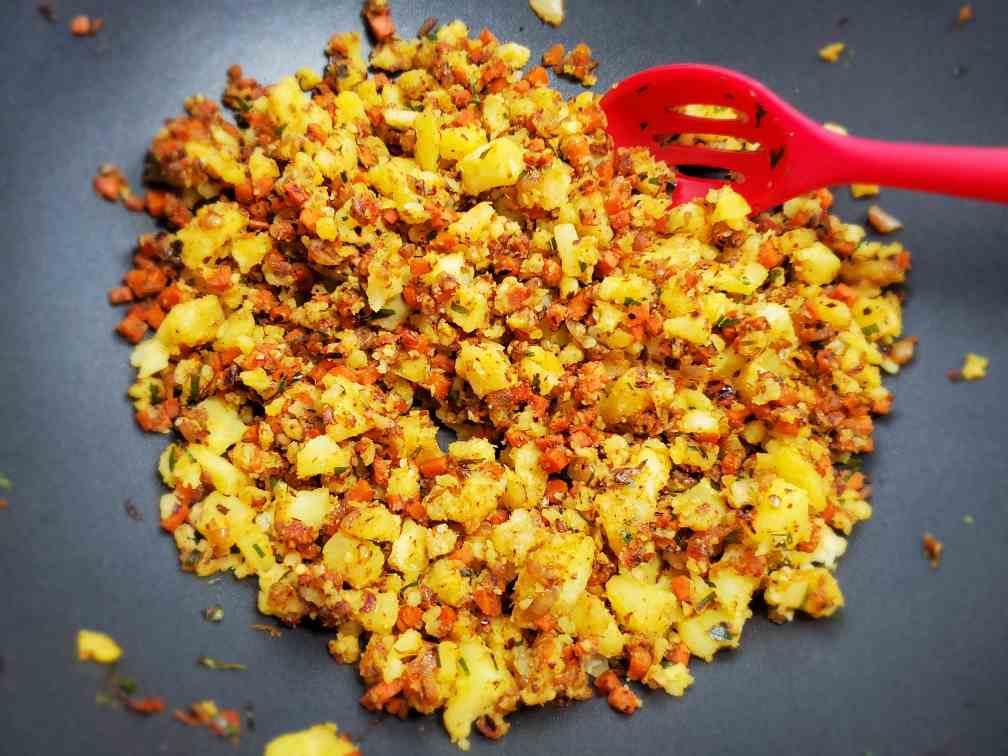
-
Finally, add your sliced leek and mix well. And turn off the heat. Add your crushed black pepper and also salt if needed.
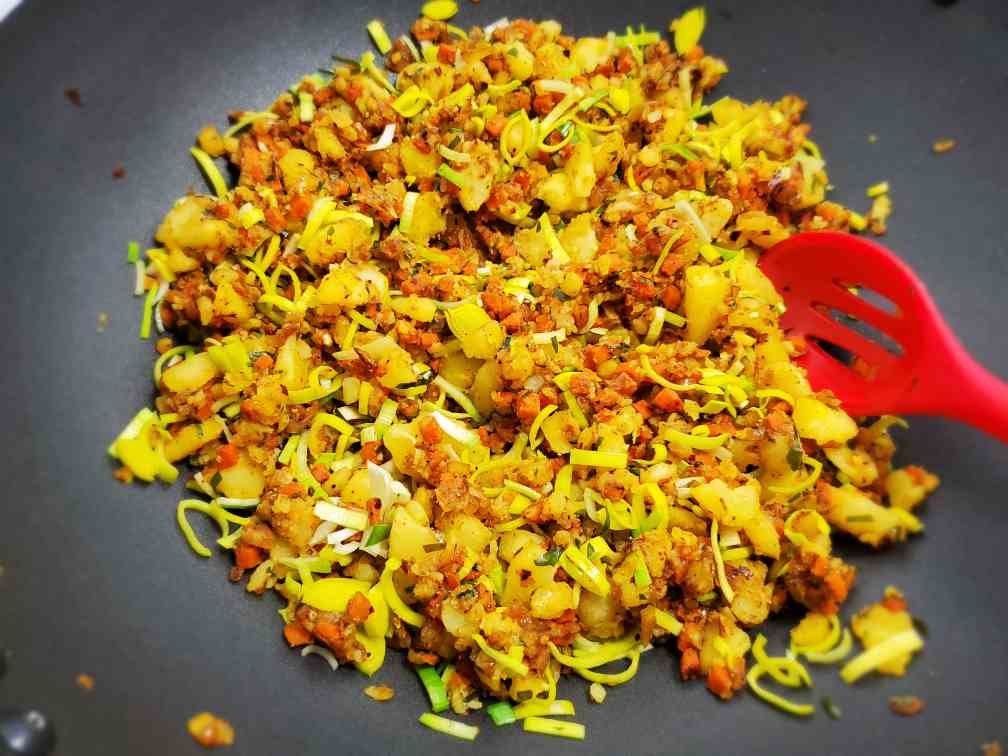
Make the dough and wrap the rotis
-
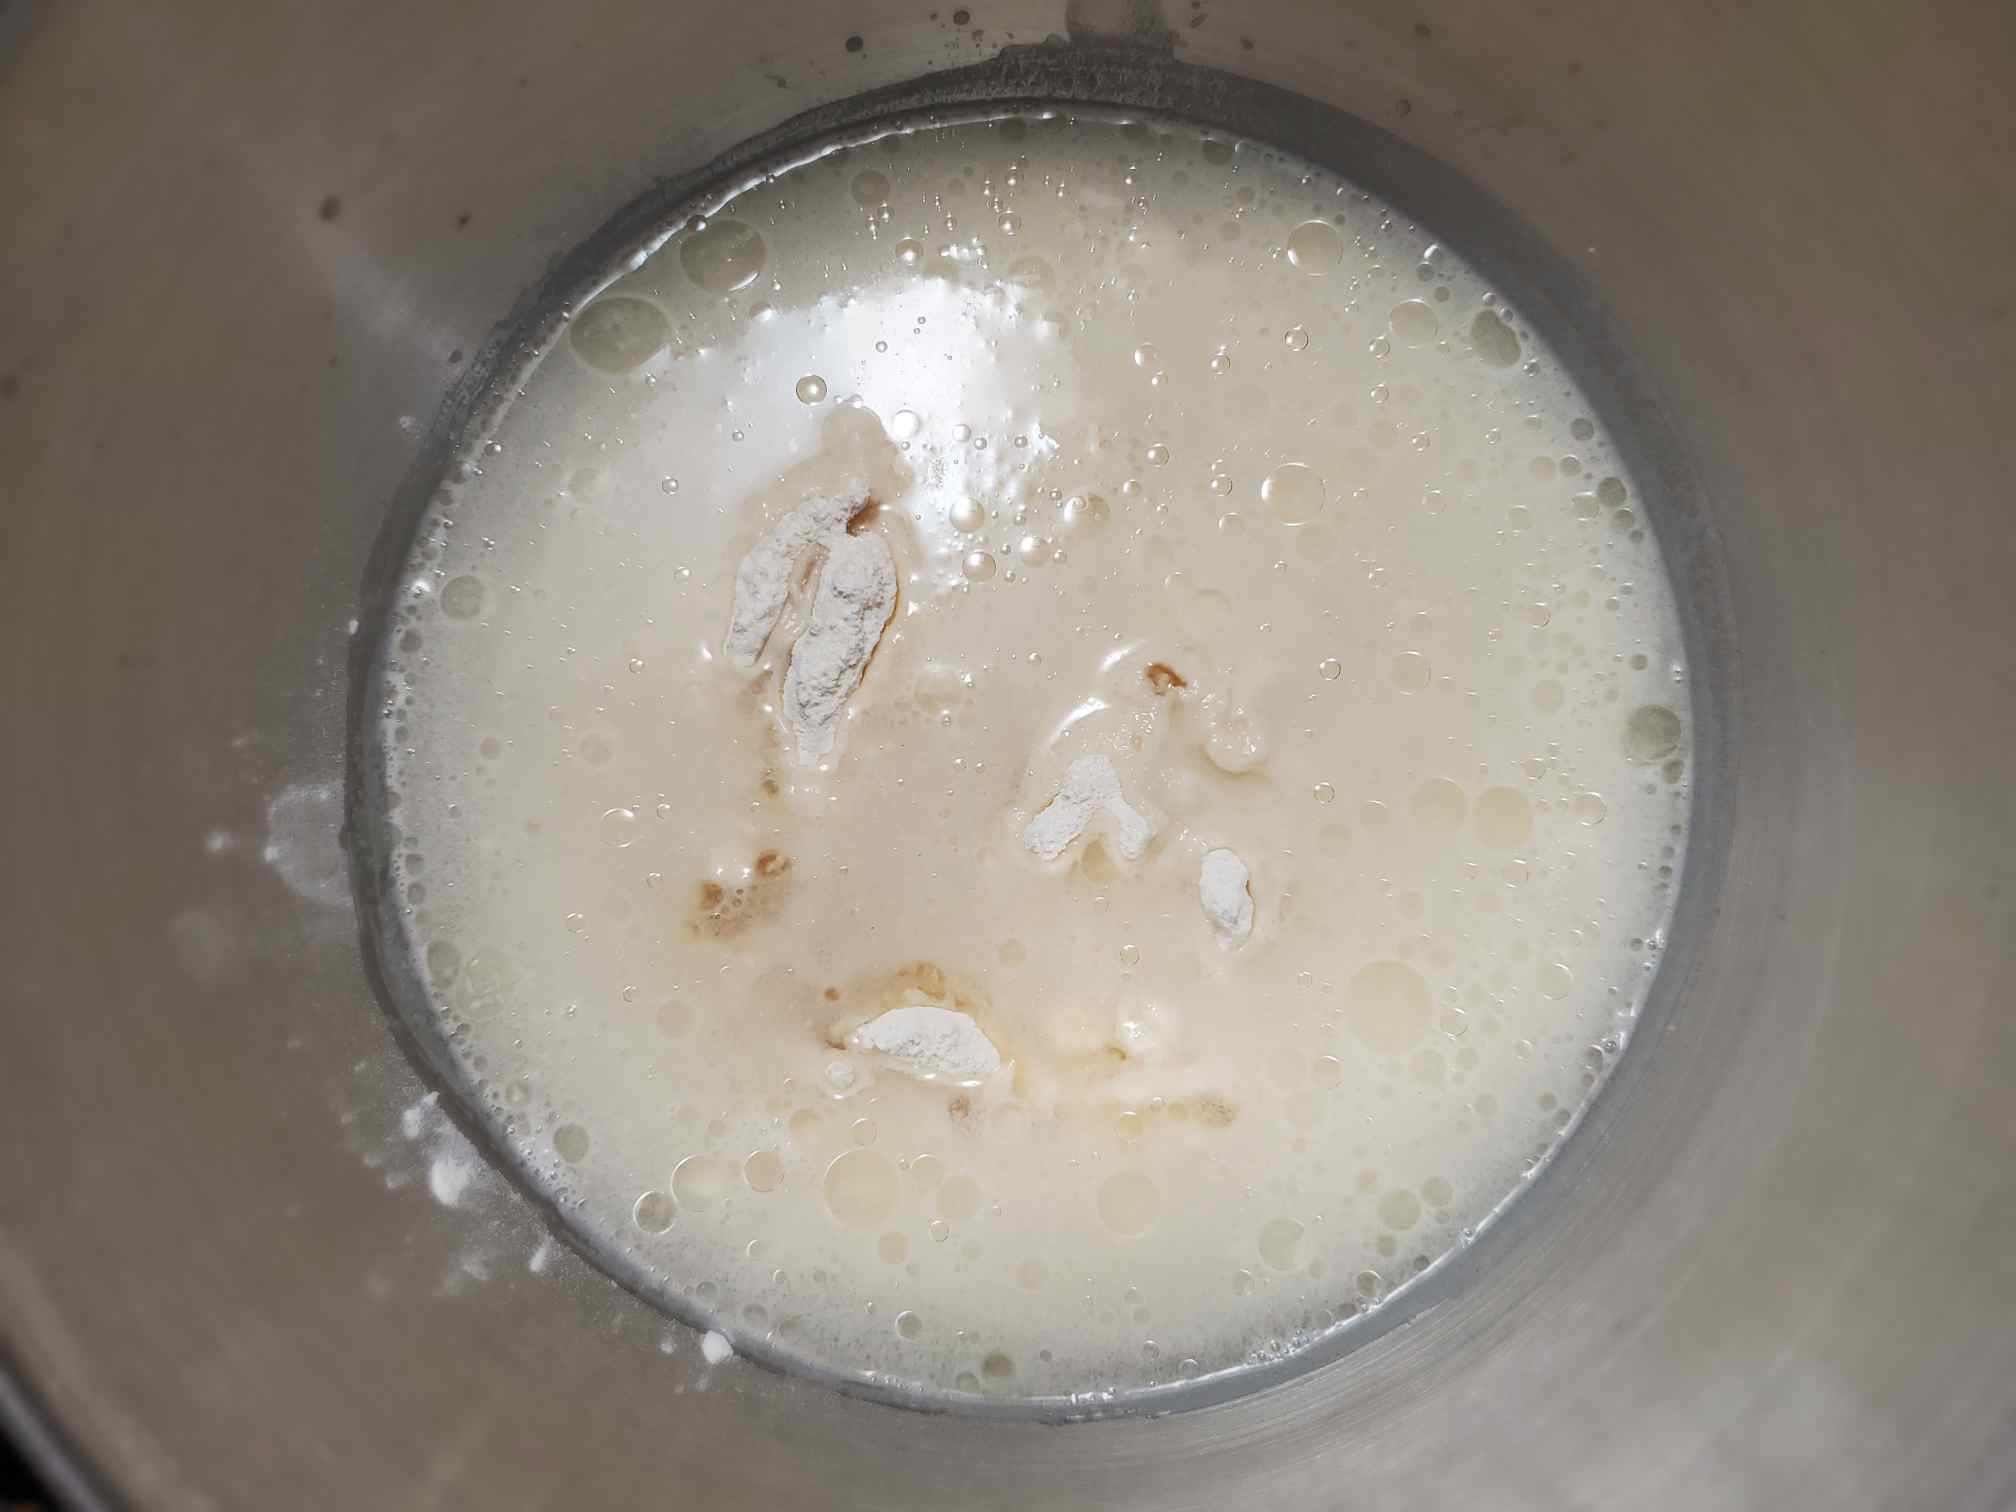
Add flour, water, salt, and oil to the bowl of your mixer.
If you knead by hand, take a bowl and add water first. And then add oil and salt and mix. Then add your flour and mix with a wooden spoon until everything combines and makes big lumps. Then put everything into a workbench/counter and start kneading.
-
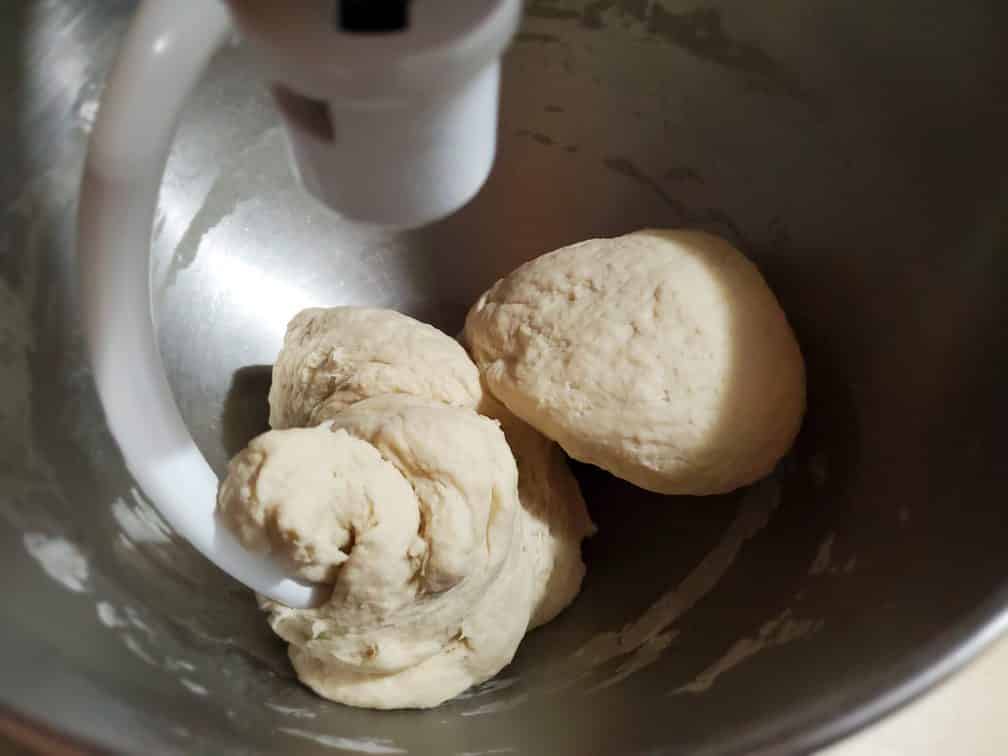
In the mixer knead for 8 mins (on speed level 2).
If you knead by hand then knead for about 15 - 20 mins until there aren’t any lumps left and the dough is very smooth and pliable.
-
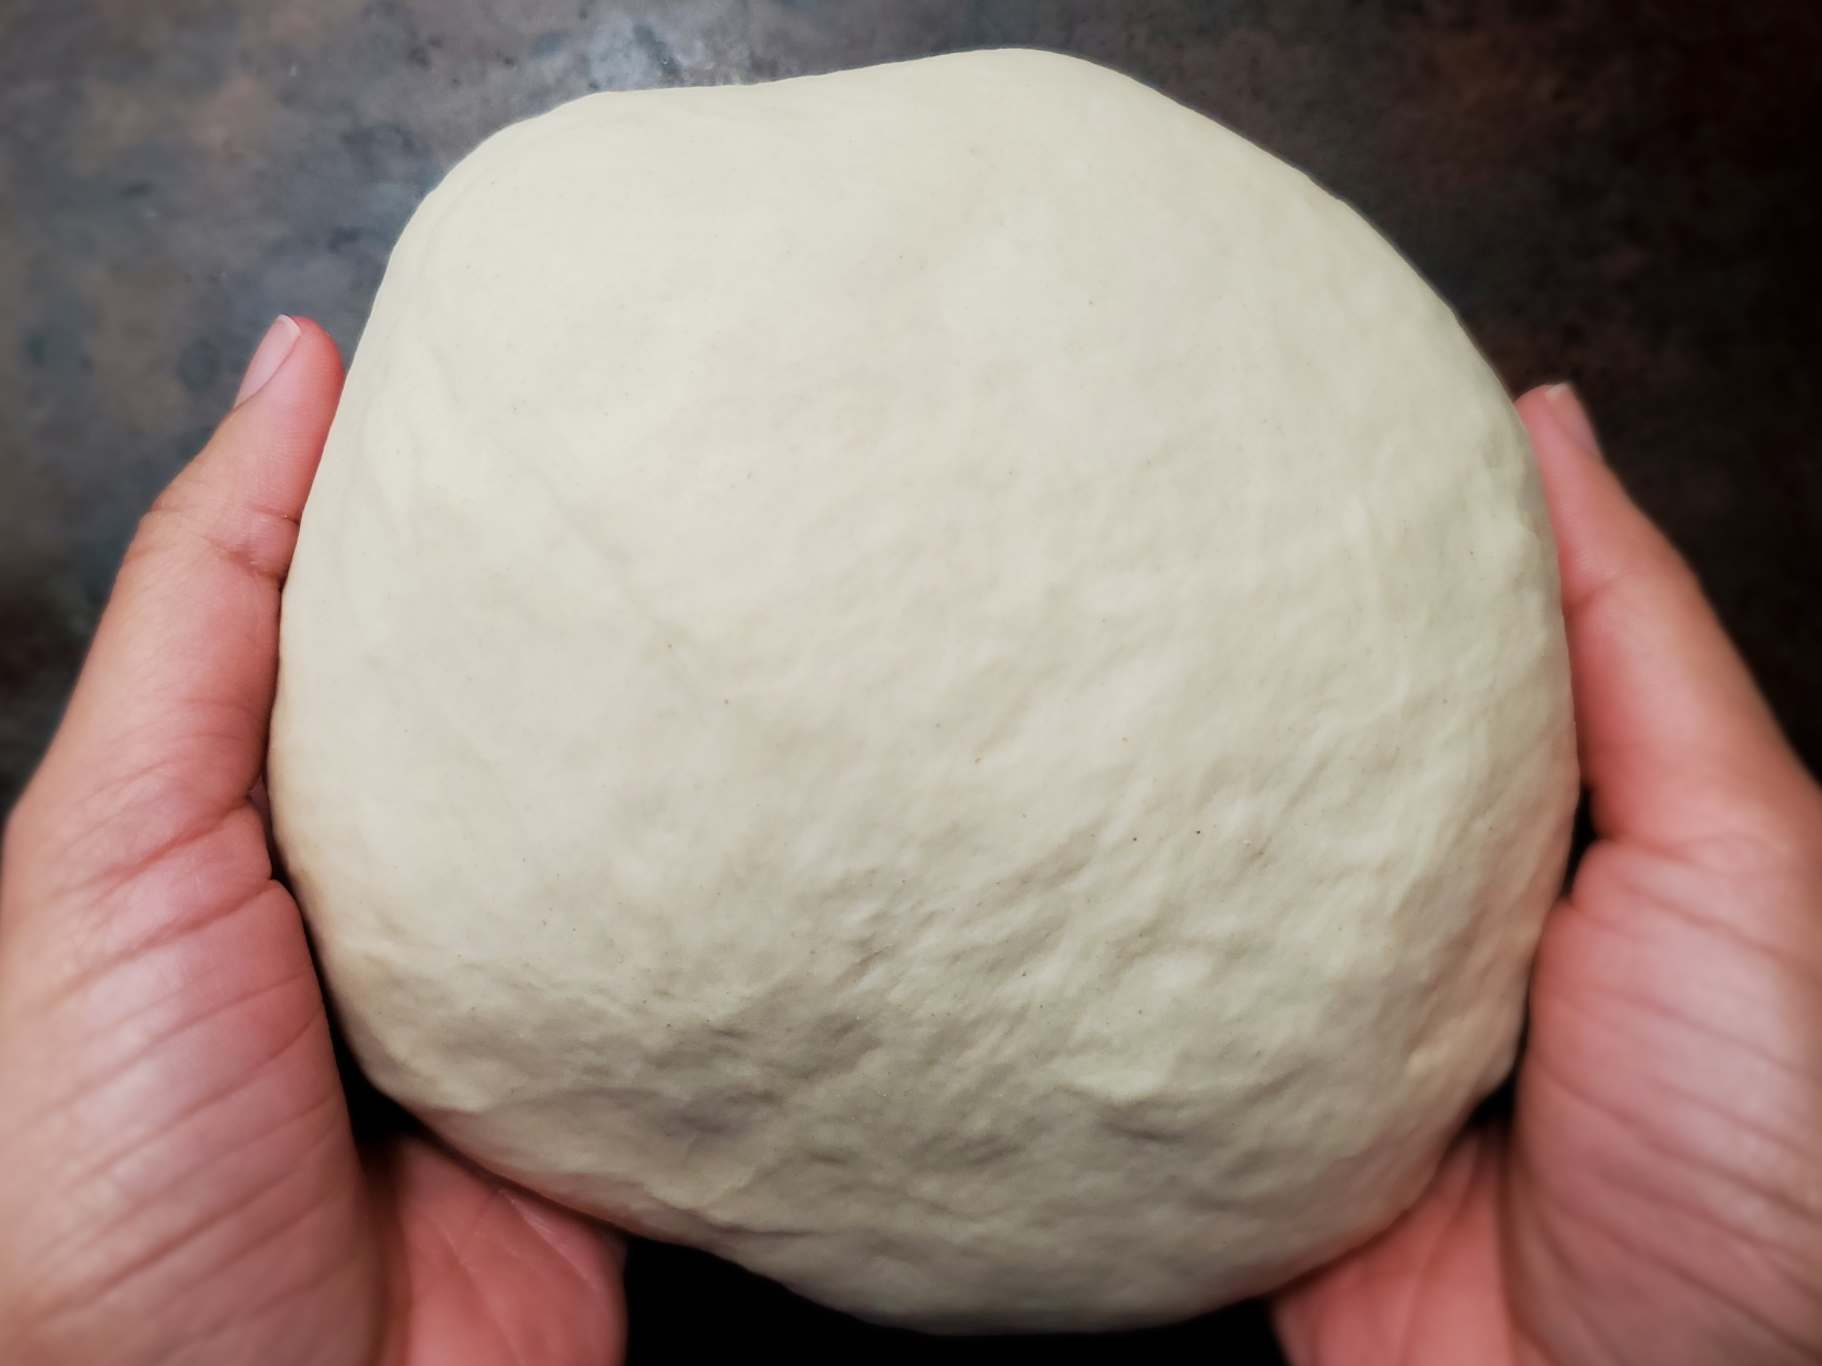
Take the dough from the mixer bowl and make it into a ball using your hands. Then flatten it out a little bit to a thick disc.
-
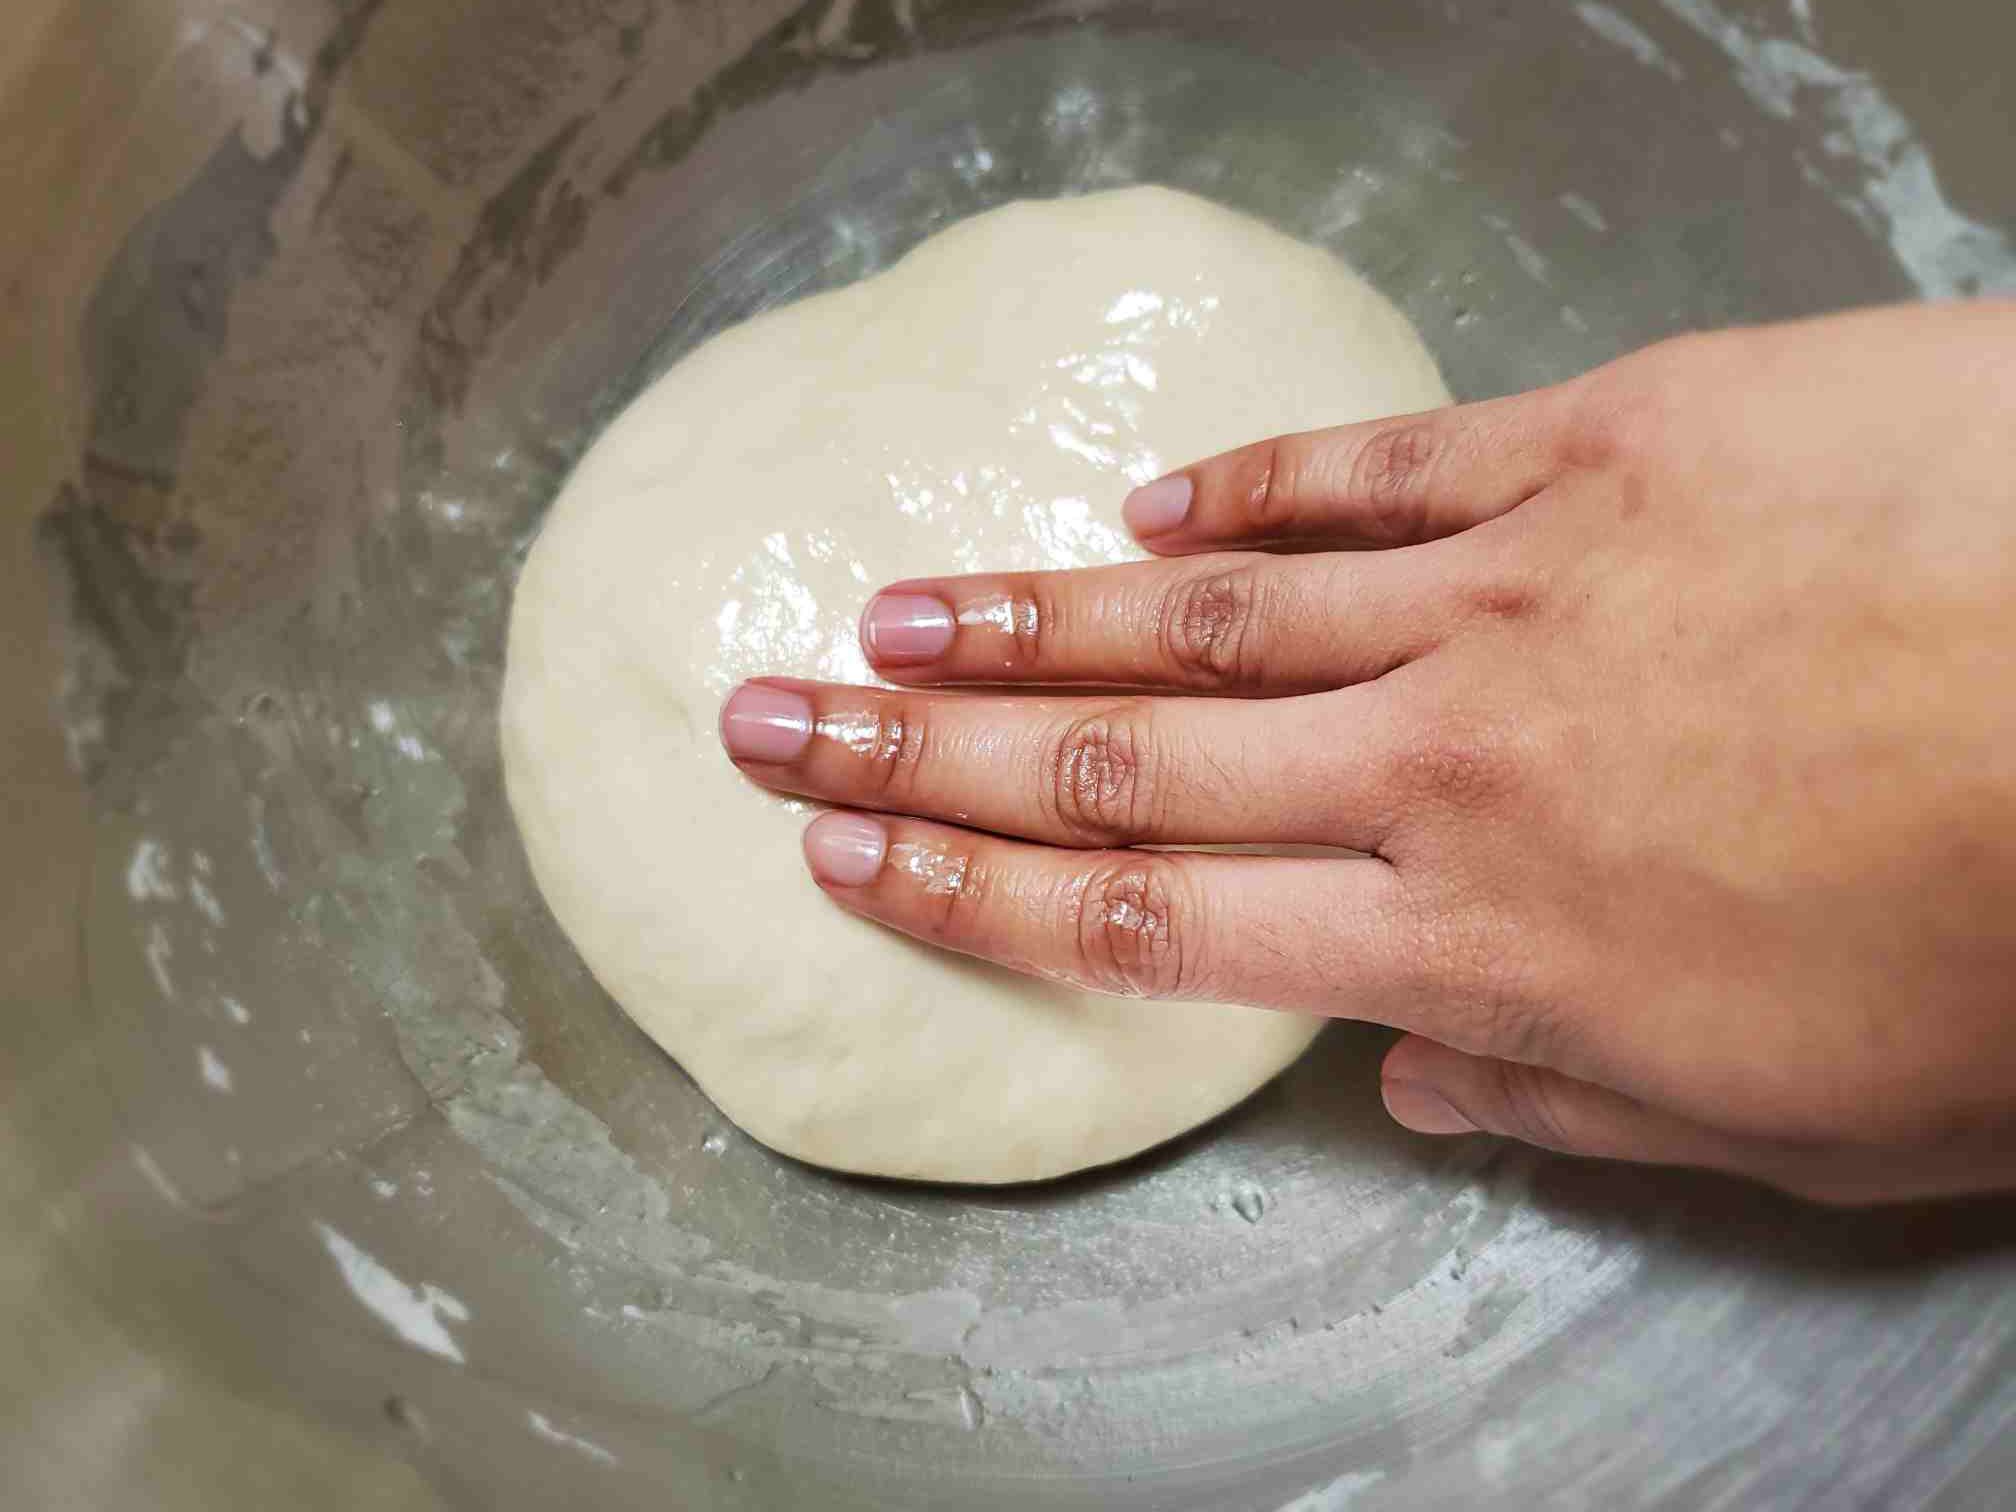
Apply some generous amount of oil to the bowl you used to mix the dough. Put the dough in. Apply some more oil to the surface of the dough.
-
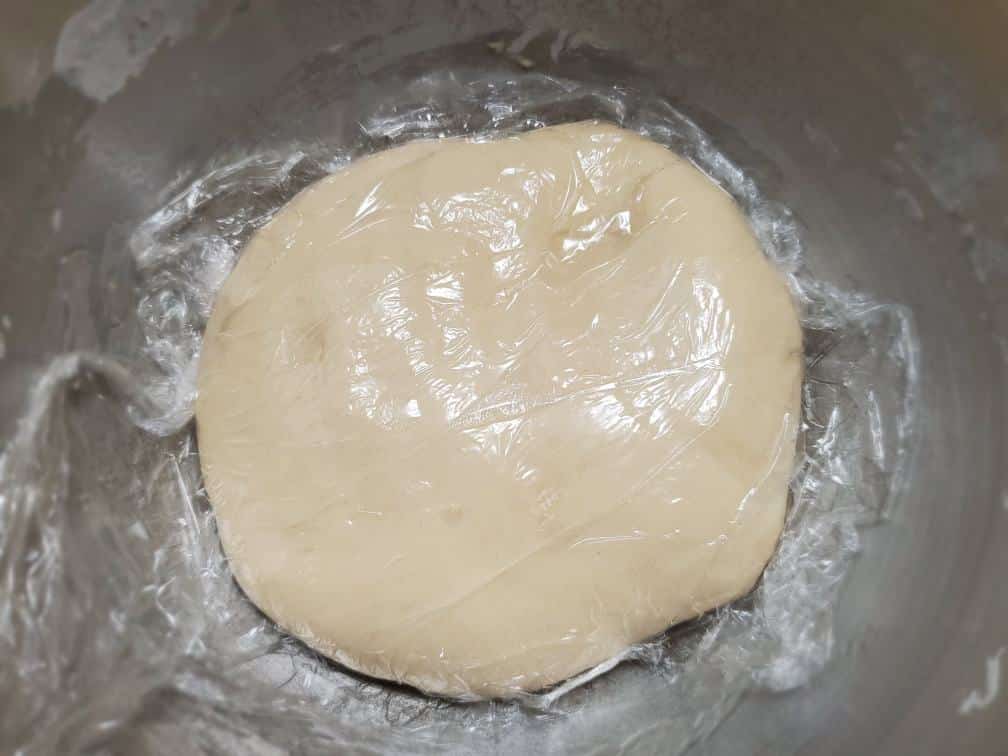
Cover the dough directly with plastic wrap. (NOT the bowl you put the dough in. It’s important to keep the dough from drying out.
Leave it for 30 mins to rest.
-
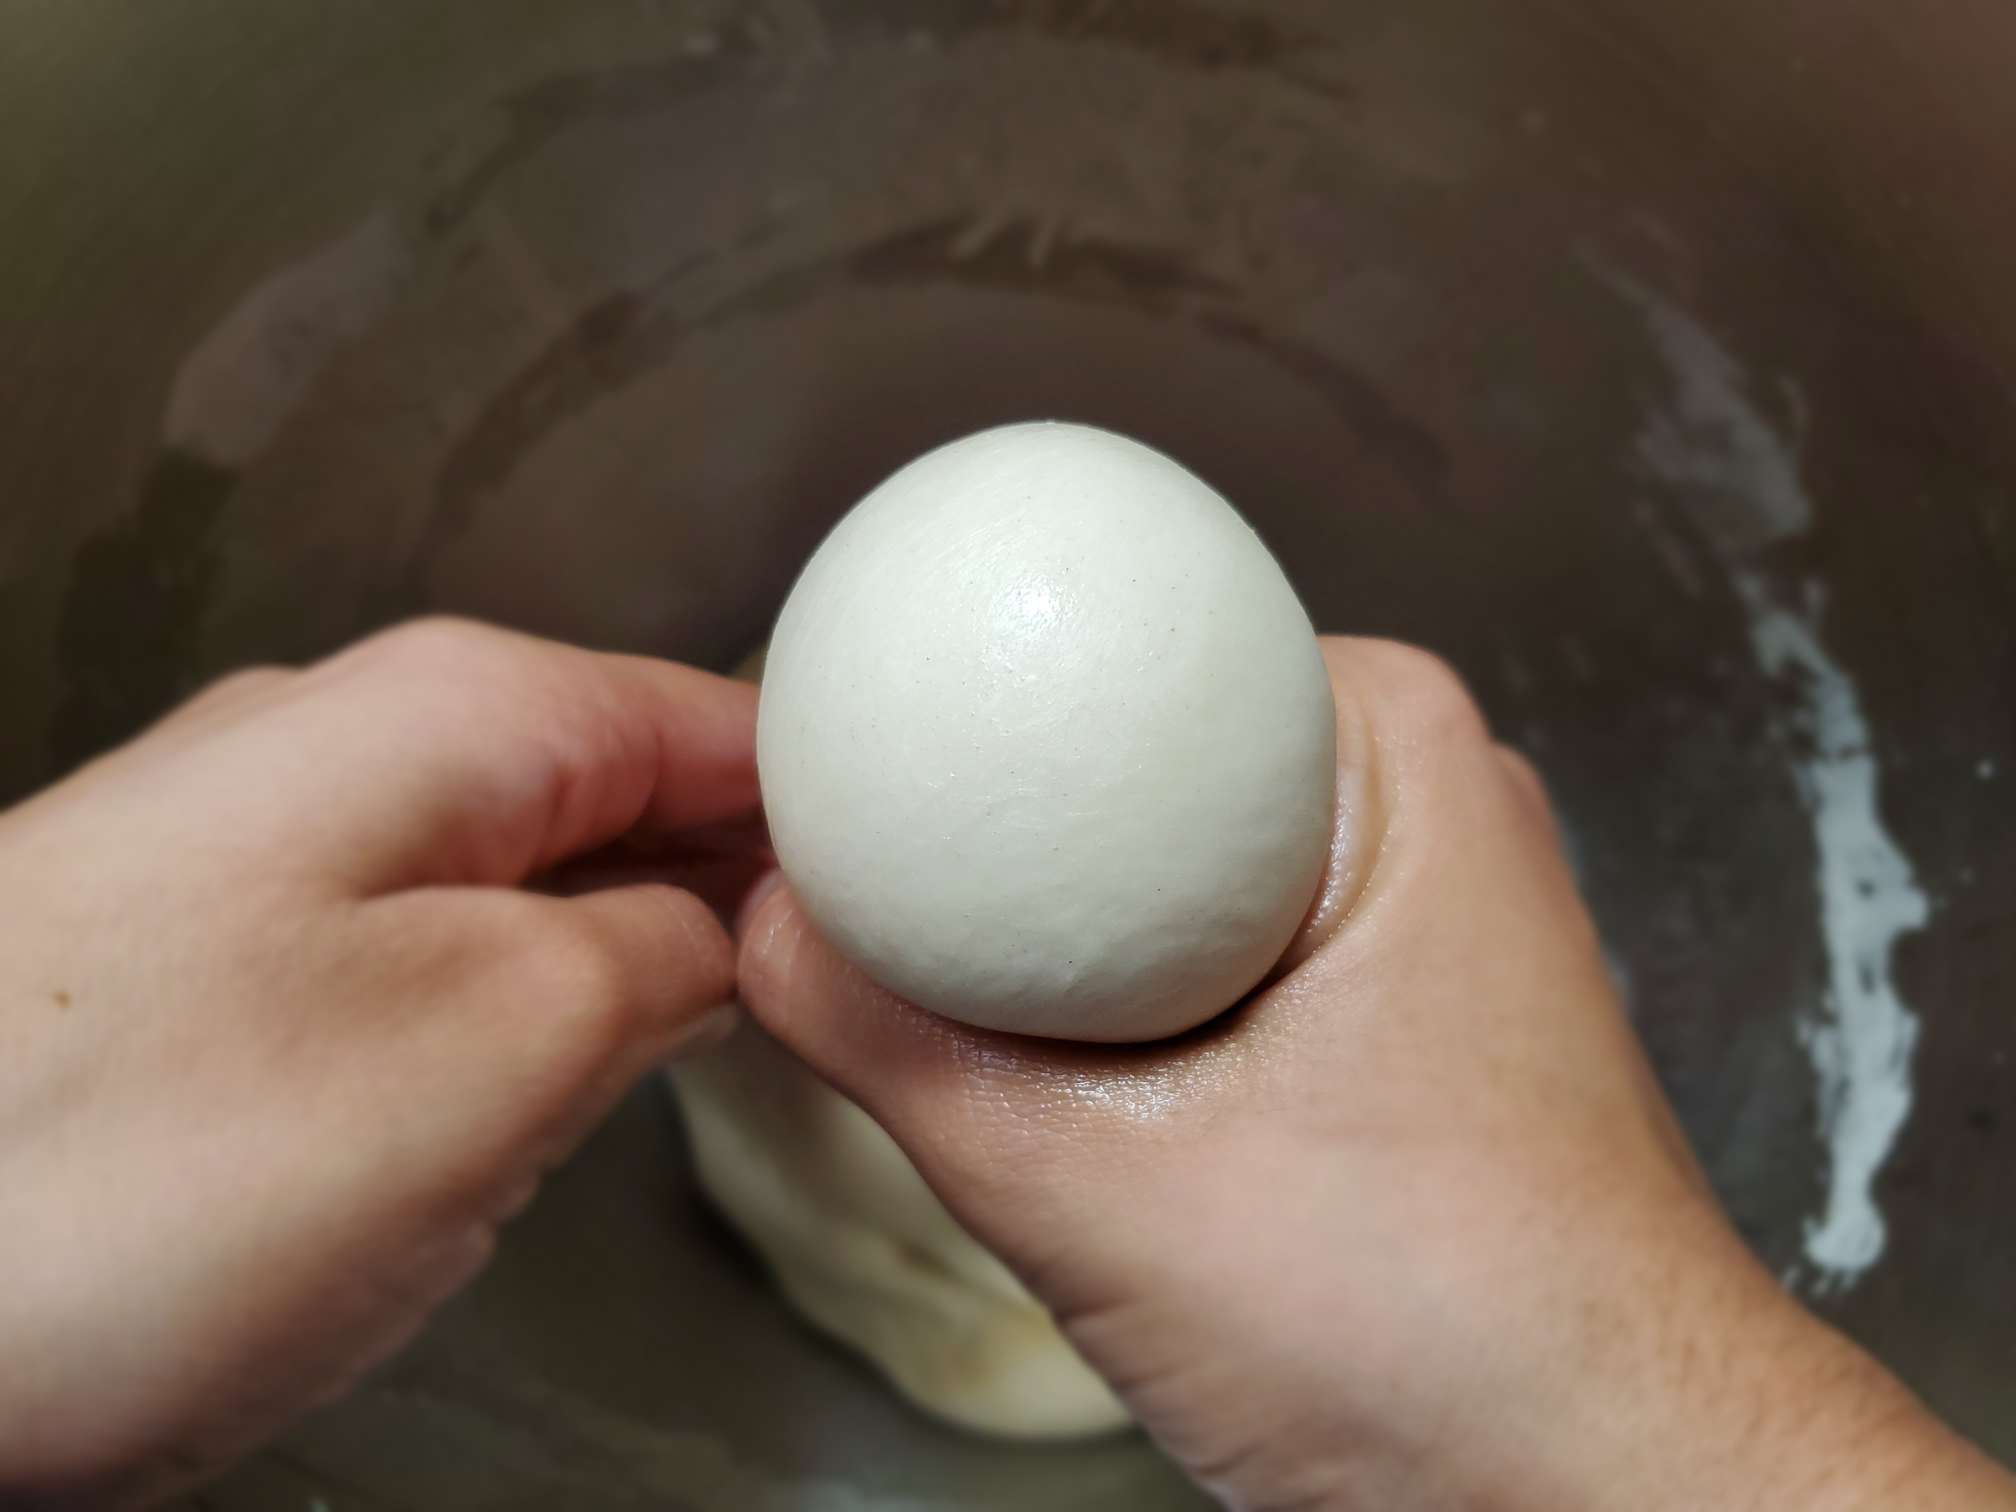
After 30 mins, remove the plastic wrap and make lime size balls out of the dough. You can squeeze one corner of the dough with your index finger and thumb and then pull the ball break out using your other hand. (Alternatively, you can use a bench scraper and cut the dough and make them into balls too.) Arrange them on an oiled tray or on your oiled counter.
-
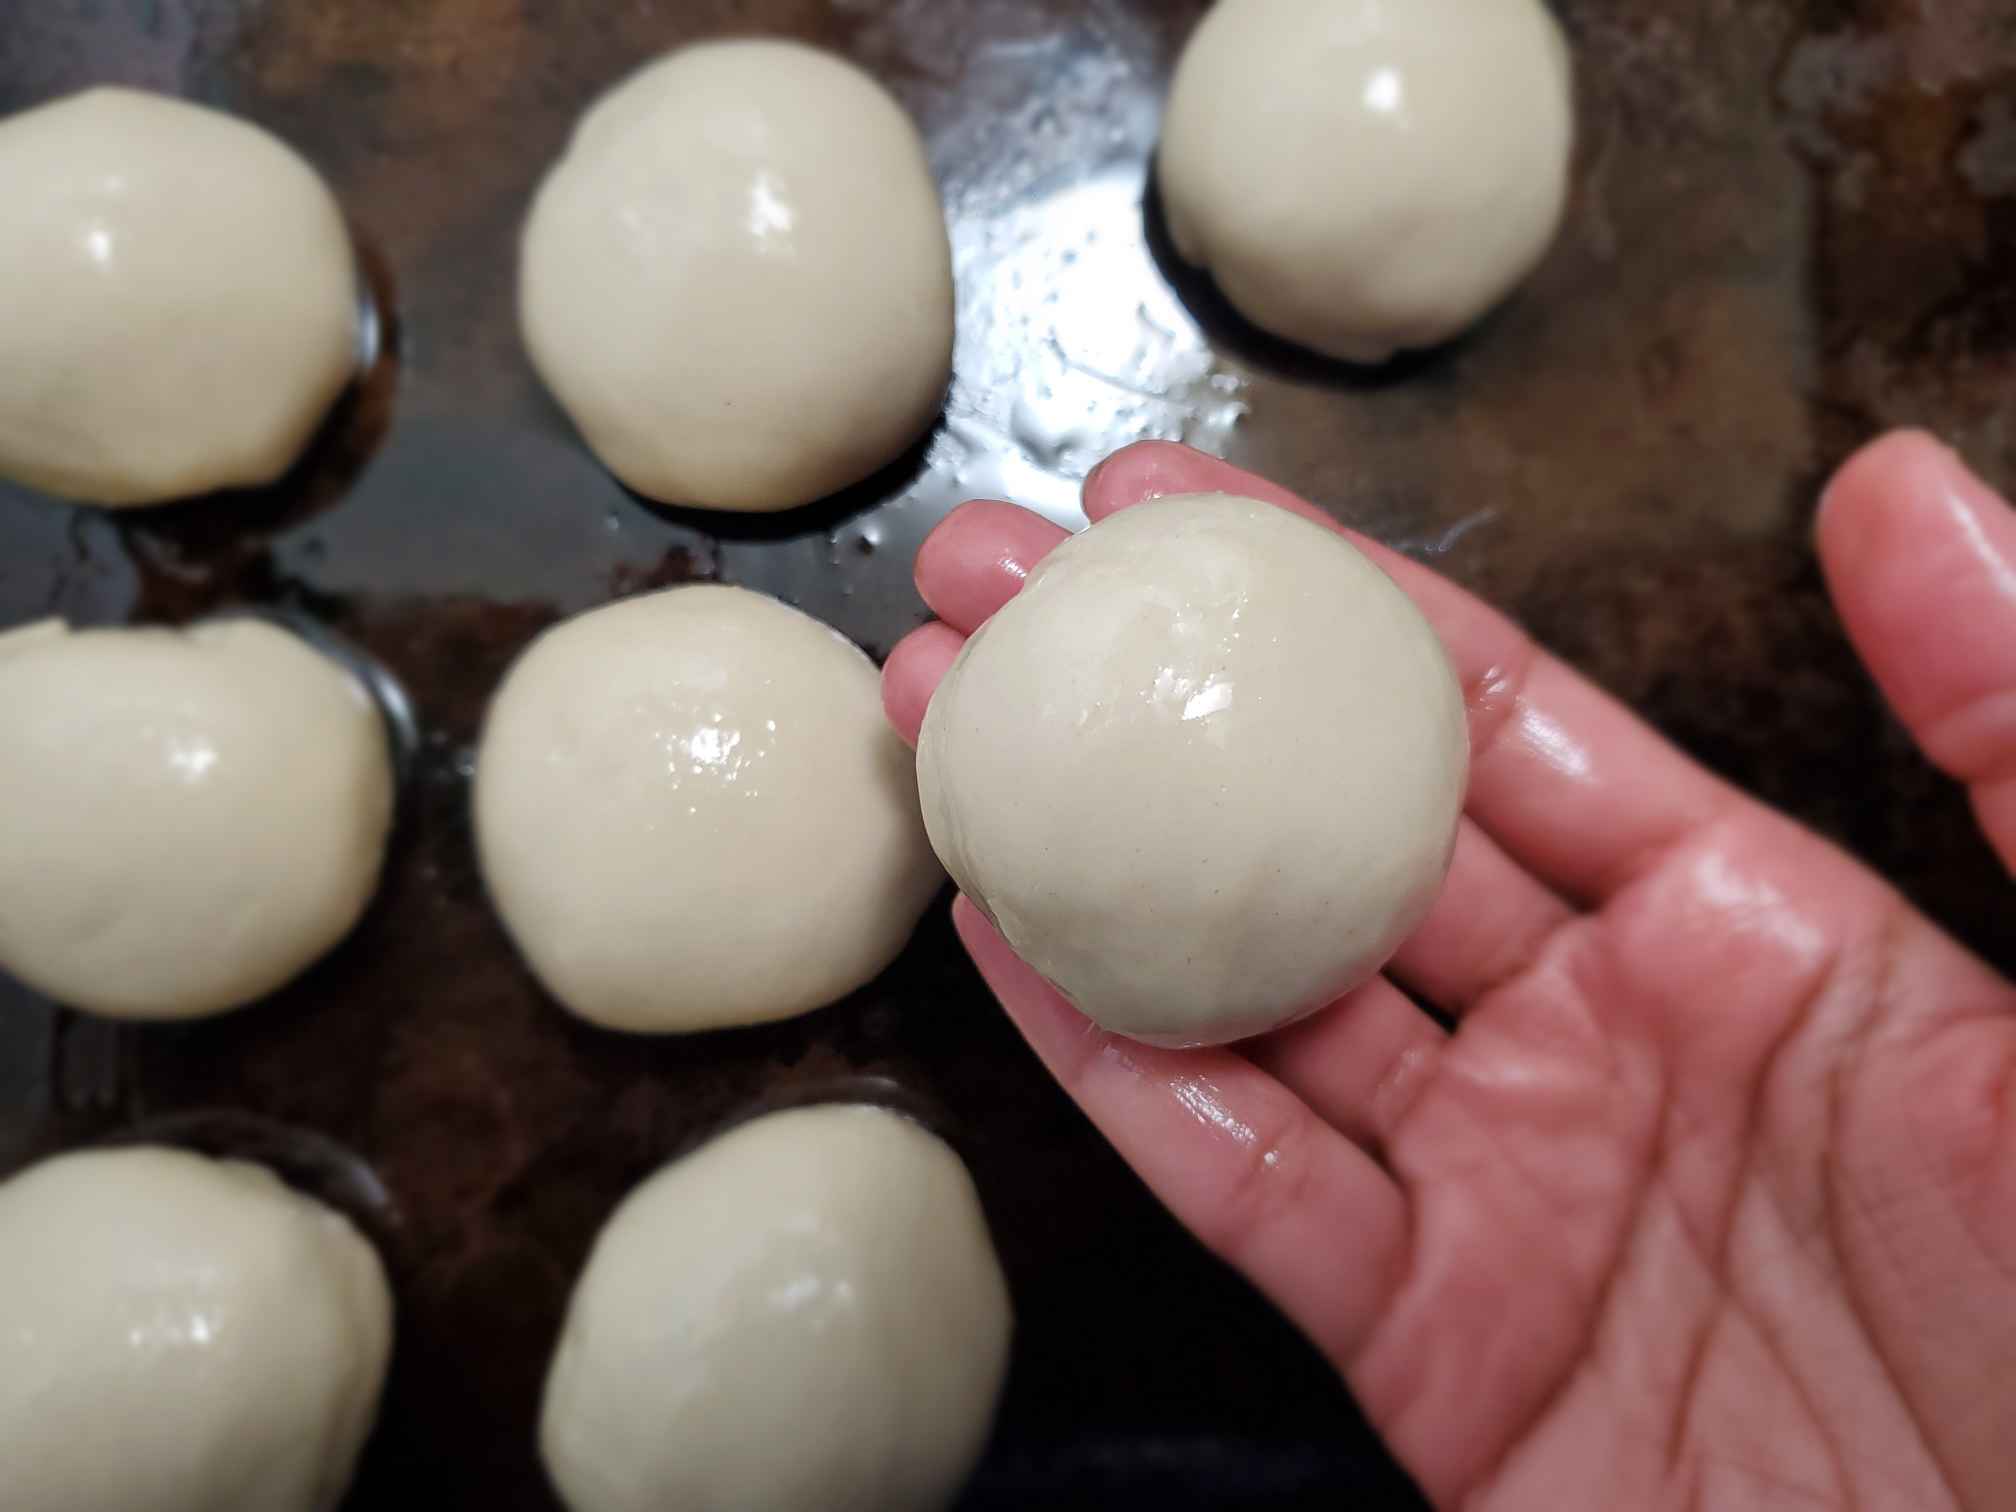
Take each ball and apply oil very generously to cover the whole ball with oil. (You can take a small bowl of oil and dunk the dough ball for a second and then take it out.) arrange them back on the oiled tray/counter leaving some space between each dough ball.
-
Lay a plastic wrap over the dough balls and cover each of the balls really well so they don’t dry out. Leave them for 60 mins to relax. (or at least 30mins)
-
After an hour, take one ball out, flatten it out to make a small disc about 3 inches in diameter. Apply oil generously on the top and the bottom of the dough disc.
-
Then take another dough ball, flatten it out and apply oil just as you did in the previous step. And stack two of the discs together (you don’t have to stack them if you have enough space to lay them in one layer. The purpose of stacking is just to save some space) Do the same to all the balls and stack them in two layers.
-
Lay a plastic wrap again over the dough pieces and leave it for 15 mins to rest. Do not leave them more than 15 mins, the dough pieces/discs would stick together.
-
After 15 mins, take one dough disc/piece out. Flatten it out to a 6-inch diameter round by pressing with your fingers.
-
Then using your fingertips, carefully pull out and stretch the dough out starting from one corner. When you stretch one part of the dough, press that stretched part to the table using your hand so it doesn’t roll or spring back. Do this to the whole dough round. Try to stretch it until it reaches the level where the dough becomes transparent. It’s okay to have small tears as they would get covered when you fold the dough to make the roti. Also, try to stretch it to a rectangular shape rather than a round shape.
-
Put the filling in closer to the middle corner of the rectangular dough and shape it roughly like a triangle so the folding part would be easier in the next step. (please refer to the diagram I’ve posted in the recipe description)
-
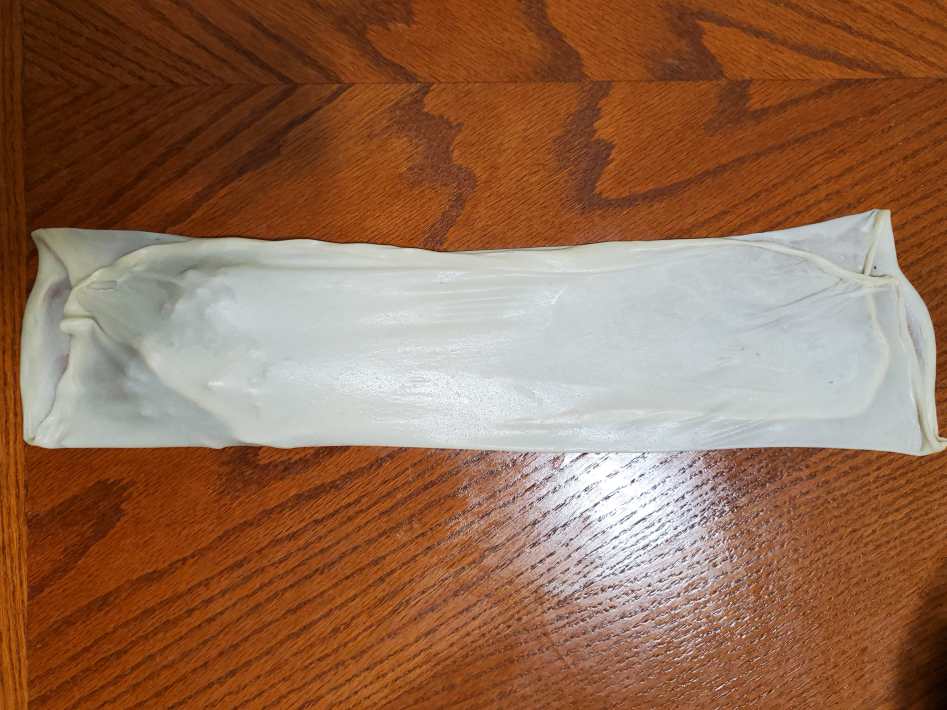
Then fold the top ⅓ of the rectangular dough to the middle ⅓ of the dough to cover your filling. And then take the bottom ⅓ of the rectangle and fold it to the middle ⅓. It should look like a long wide strip. Secure the filling in place by pressing the dough around the filling with your finger.
-
Now stretch the top left corner of your dough strip and fold it at an angle over the dough part where you placed your filling. (please refer to the diagram in the description)
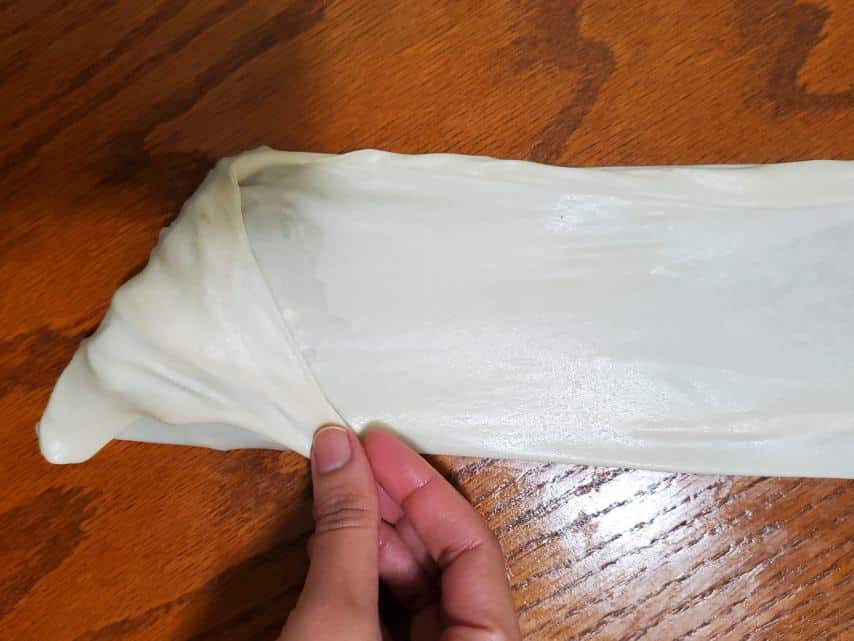
-
Keep folding the dough strip in the shape of the triangle. Please refer to the photo diagram I’ve included in the recipe description for a clearer view.
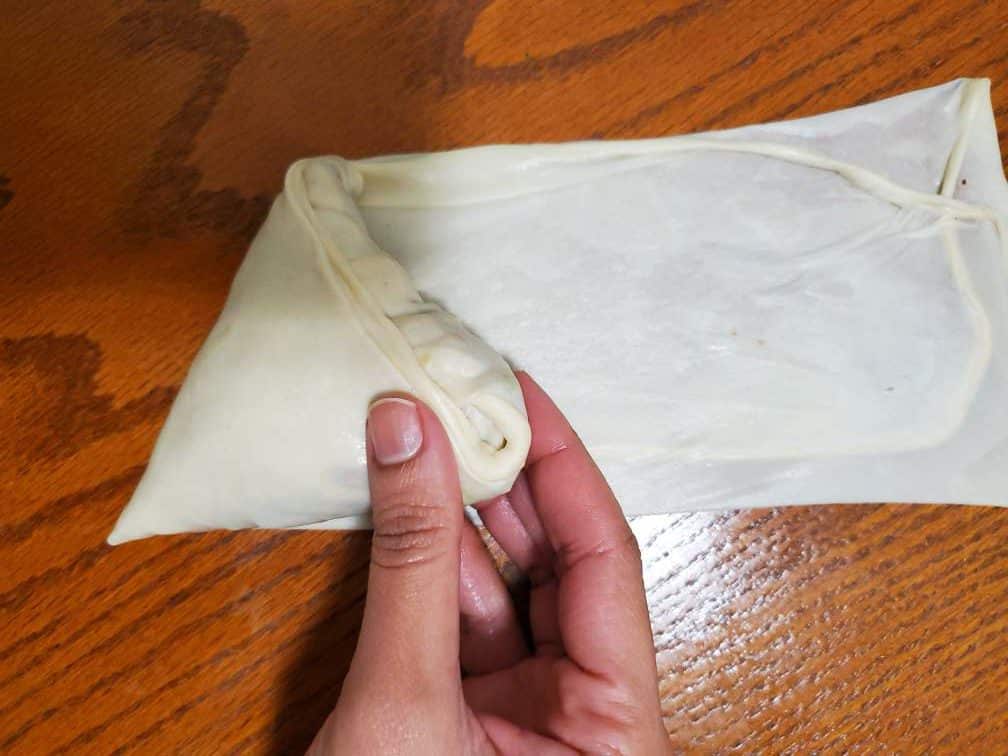
-
When you fold the triangle to the end of the dough strap, stretch the dough flap at the end corner with your hand and cover the triangle. Lay all your wrapped Rotis on a tray and cover them with plastic wrap until you’re ready to grill.
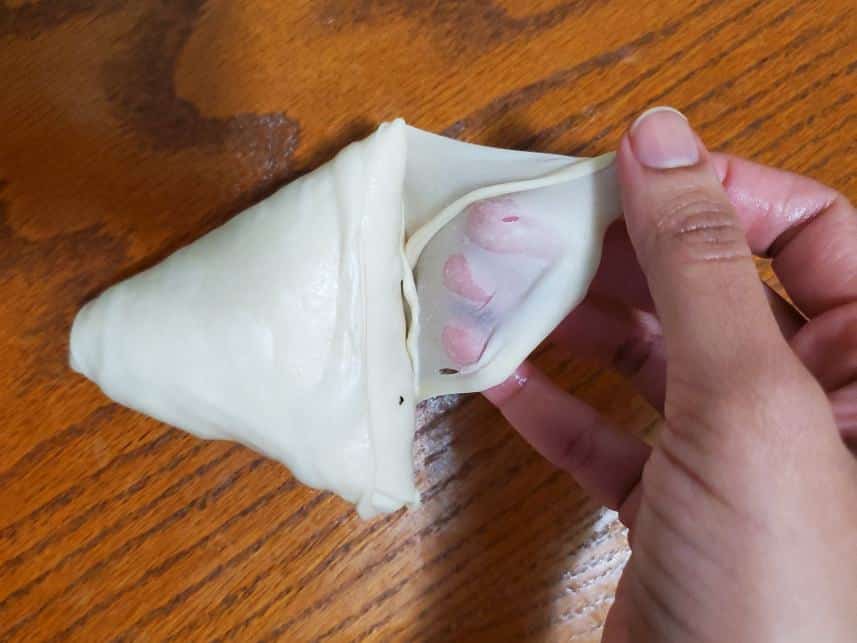
-
Heat a skillet on medium heat. Cast iron skillet works best but you can use any griddle or skillet you have. And lay the Vegetable Rotis. Do NOT add any oil. Grill it for about a minute or until they get nice char marks or brown spots (depends on the skillet you use and heat). And then flip them upside down and grill the other side too.

-
Also, grill the sides of the triangle by standing them up side by side to stop them from falling down. Alternatively, you can use a tong to keep them still.

-
Cool them on a cooling rack so the wrap won’t get soggy.


Leave a Comment