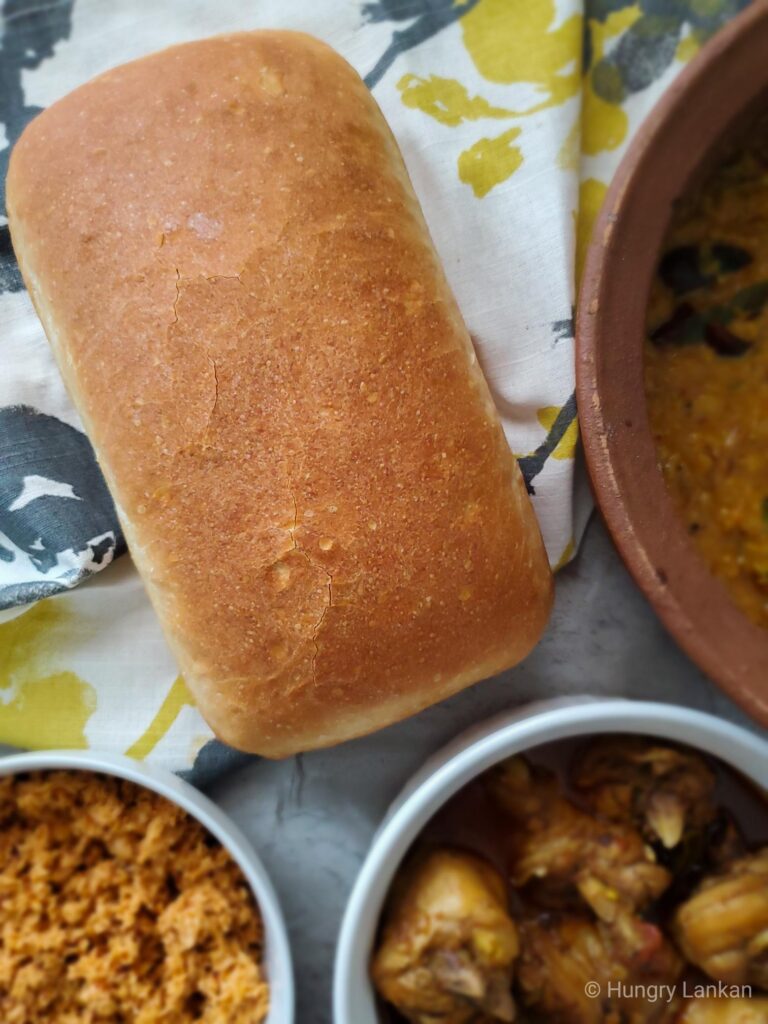
If you want to find a fool-proof recipe for Sourdough Discard Bread, you got to try this easy recipe. I included two recipes, one with 55% hydration bread recipe if you’re kneading by hand. Another with a 65% hydration bread recipe if you can use the mixer. Both these recipes are wonderful. I hope you give it a try!
Bread and many more with Sourdough Discard
When I started making sourdough for the first time last year, baking a dough each week was my target. So every weekend I made a sourdough. (I got pretty tired of consistency, so I don’t do it that much often now). And at that time, I didn’t know that I could use the sourdough discard. I threw away the discard every time I fed my starter. It was really upsetting and felt like such a waste of good flour.
So I googled up if there’s a way to use my sourdough discard. I was blown away by the results I got. I mean people use this for everything you can think that uses flour. They make bread, crackers, pancakes, waffles, pasta (YES, Pasta! I know!), and whatnot. I mean it’s crazy how many things you can do with the sourdough discard! So I started experimenting, I used them in bread, buns, and Sri Lankan hoppers. And this sourdough discard loaf bread honestly is much much better than regular loaf bread. Now I’m more excited for sourdough discard because that thing can add so much flavor to anything it goes in.
This is how I replace discard in regular recipes
It’s pretty easy to use sourdough discard in any flour related recipe. Here’s how I do it. My sourdough starter is a 100% hydration starter. Which means, if I get 100g of discard, it contains 50g of flour and 50g of water. So I substitute equal amounts of flour and water combined in a recipe with equal amounts of sourdough discard. For example, the following recipe is my usual loaf bread recipe I make using 500g flour and 325g of water. So when I converted this to sourdough discard recipe I reduced 100g of flour and 100g of water ( which is 200g combined) from the original recipe and replaced that with 200g of sourdough discard. I hope you get what I mean. You can use this same method for any bread you make. Just make sure you get the hydration of your dough calculated right.
And also note that I have used grams to measure all my liquids. And no it’s not a mistake. I measure all my liquids in grams. It’s more precise plus I don’t have to get my measuring cups out.
This is a 65% hydration sourdough discard loaf bread recipe. Which means the dough is sticky and hard to handle. I mix this dough in the mixer only, because it’s really messy to knead this dough by hand. So if you’re a beginner or you’re not comfortable with sticky doughs, go for 55% – 60% hydration which is a good hydration level for an easy handling bread dough.
55% hydration sourdough discard bread:
So here’s the recipe for 55% hydration bread dough. Use this dough recipe if you’re kneading by hand.
500g bread flour
175g water
200g sourdough discard
20g coconut oil
5g instant dry yeast
10g salt
I love using this sourdough discard bread to make sandwiches using my homemade Tuna Sandwich spread. Also check out my Sri Lankan Lentil curry recipe or this Sri Lankan Chicken Curry recipe to go with the bread.
Products I use:
Some of these are Amazon affiliate links. I get a small commission if you purchase through the link with no extra cost to you.
Instant dry yeast/Rapid rise yeast
I hope you try this easy sourdough discard loaf bread recipe. And share the photos with me too.

Sourdough discard Bread
Description
An easy bread recipe that uses sourdough discard and coconut oil for extra flavor. Make this for way better tasting bread than traditional loaf bread.
Ingredients
Instructions
Making dough
-
Combine water and sourdough discard and yeast together in the bowl of your mixer. Dissolve instant dry yeast in water. Add coconut oil and flour and salt. Knead in the mixer using hook attachment for 10 mins.
If you’re kneading by hand, or not comfortable with sticky dough, I highly recommend you to go with the 55% hydration sourdough discard dough recipe I have shared above in the description.If you’re using active dry yeast make sure to activate them using warm water and a bit of sugar.
First rise
-
Put the dough into a lightly floured benchtop. Make it into a ball. Use a dough scraper for easy handling. Put the dough ball back into the mixer bowl. Cover with a plastic wrap and let it rise until doubled in size. It would take from 1 - 2 hours depending on the temperature of your house and the yeast activity. Pay attention to the size of the dough rather than time.
Shaping
-
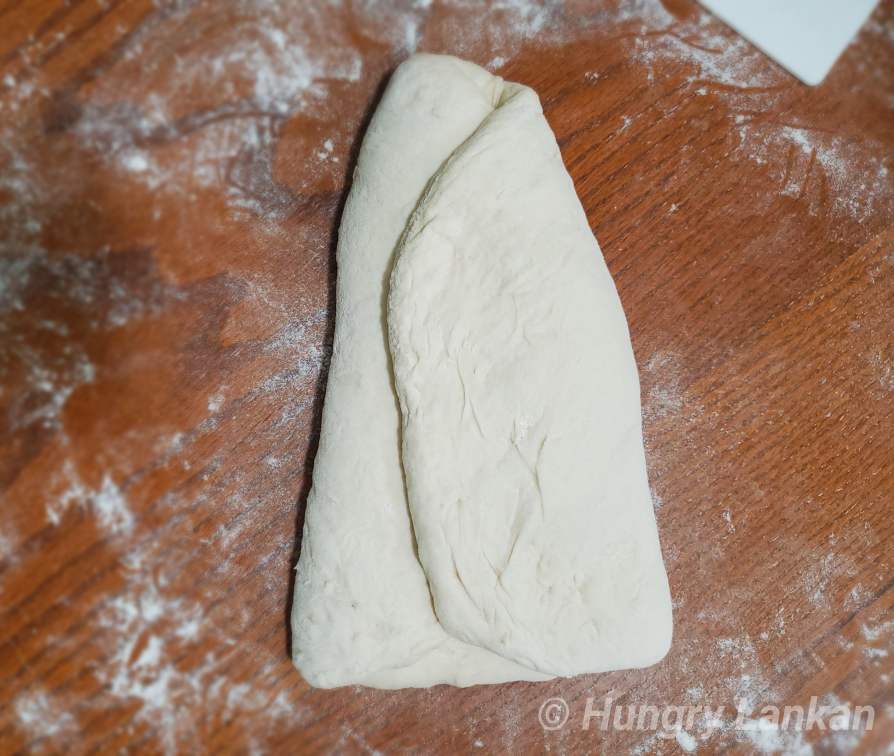
When it’s doubled in size, punch it with your hand to remove air. Put the dough back to a well-floured benchtop. Press lightly to make it into a round shape. Use more flour if it's sticking to the benchtop. Then fold the left and right edges to the middle with a slight angle to make the top smaller than the bottom. (Look at the photo)

-
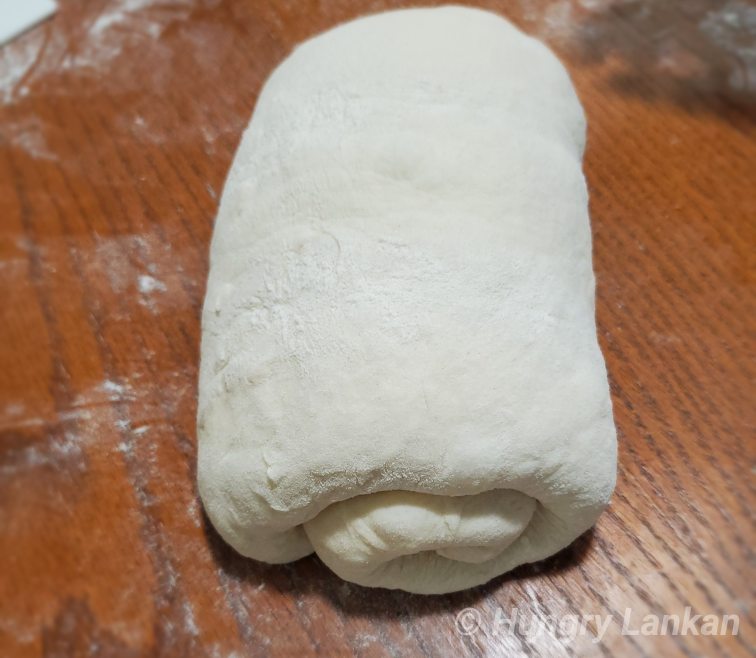
Then roll tightly from top to bottom into a log shape. Try to get the top as smooth as possible. Pinch the ends to make a nice seam.

Second proof
-
Then lift the dough up and put it into a greased loaf pan, seam side down. Cover with a plastic wrap and let it rise again. It should rise up about an inch from the rim of the pan.
you can use a little bit of coconut oil/butter or cooking spray to grease the pan
Baking
-
Meanwhile, put another baking tray into the lower rack of the oven. And preheat the oven to 375F / 190C. When the bread is ready to bake, put the bread into the oven, and pour some water to the tray. The steam it generates helps to get a nice crust to the bread. Bake for 30 - 35mins until the top is golden. Let it cool down on a cooling rack for about an hour before you cut it open.


Leave a Comment