Kiribath aka Sri Lankan milk rice is Sri Lanka’s national dish that we make for every celebration in Sri Lanka. And a classic breakfast that everyone loves. This consists of only two main ingredients: Coconut milk and Rice.
If you ask me what are the most popular ingredients Sri Lankans use for everyday cooking, it’s no other than Coconuts and rice. The largest crop Sri Lankans grow is Rice. So it’s no surprise that we have rice for all three meals. Being a tropical island, coconuts are vastly available in Sri Lanka. Coconut milk is something we use for everyday cooking. You wouldn’t find a Sri Lankan meal that hasn’t used coconuts in any kind of form in it.
Kiribath (Sri Lankan milk rice) is a dish I adored so much as a kid and even as an adult now. It’s a tradition in my house and in many Sri Lankan families to cook a Kiribath for every celebratory event. My mom cooks Kiribath for all our birthdays, Sri Lankan Sinhala and Tamil New year (which is in April), and for anniversaries, special celebrations. We didn’t have a cake for all of our birthdays but my mom makes sure to make Kiribath for all our birthday breakfasts. A tradition my mom carried for years, and even now when I’m away from home. A tradition I want to keep for myself as well.
The recipe for Kiribath is very very simple. If you know how to make rice then this recipe is just one step away from it. But there a few tips that I should mention that would definitely help you to get the recipe right.
Rice Variety (important)
The type of rice you use plays a big role here. You need to use rice that absorbs liquid and becomes mushy. Traditionally what we use is newly harvested “Kakulu Rice”. A variety that is very popular in Sri Lanka especially for making Kiribath. If you live outside of Sri Lanka, Basmati, Jasmine rice, or any other long-grain rice that becomes sticky and mushy when cooked works best for this recipe. What you should avoid are rice varieties that don’t become mushy and keep the grains separated when you cook, such as par-boiled rice.
Other tips
- If your Kiribath becomes liquidy and it’s hard for you to get it shaped and cut into pieces then you need to cook it a little longer until the liquid evaporates. Make sure to stir it well so the steam can escape quickly.
- Traditionally we use a banana leaf to lay the Kiribath in. If you can’t find a banana leaf you can use any kind of a steel/glass/heat-proof plastic tray or even a large plate for that.
- Shape your Kiribath while it’s still hot. It gets harden when it cools off. So don’t leave it in the cooking vessel. Take it out and shape it into square or round or any other shape of your choice before it cools down.
- To shape Kiribath, use another piece of banana leaf. If you don’t have a banana leaf, parchment paper, baking paper, a plastic spatula works great too. If your Kiribath sticks to the paper apply a thin coating of oil to the paper you’re using.
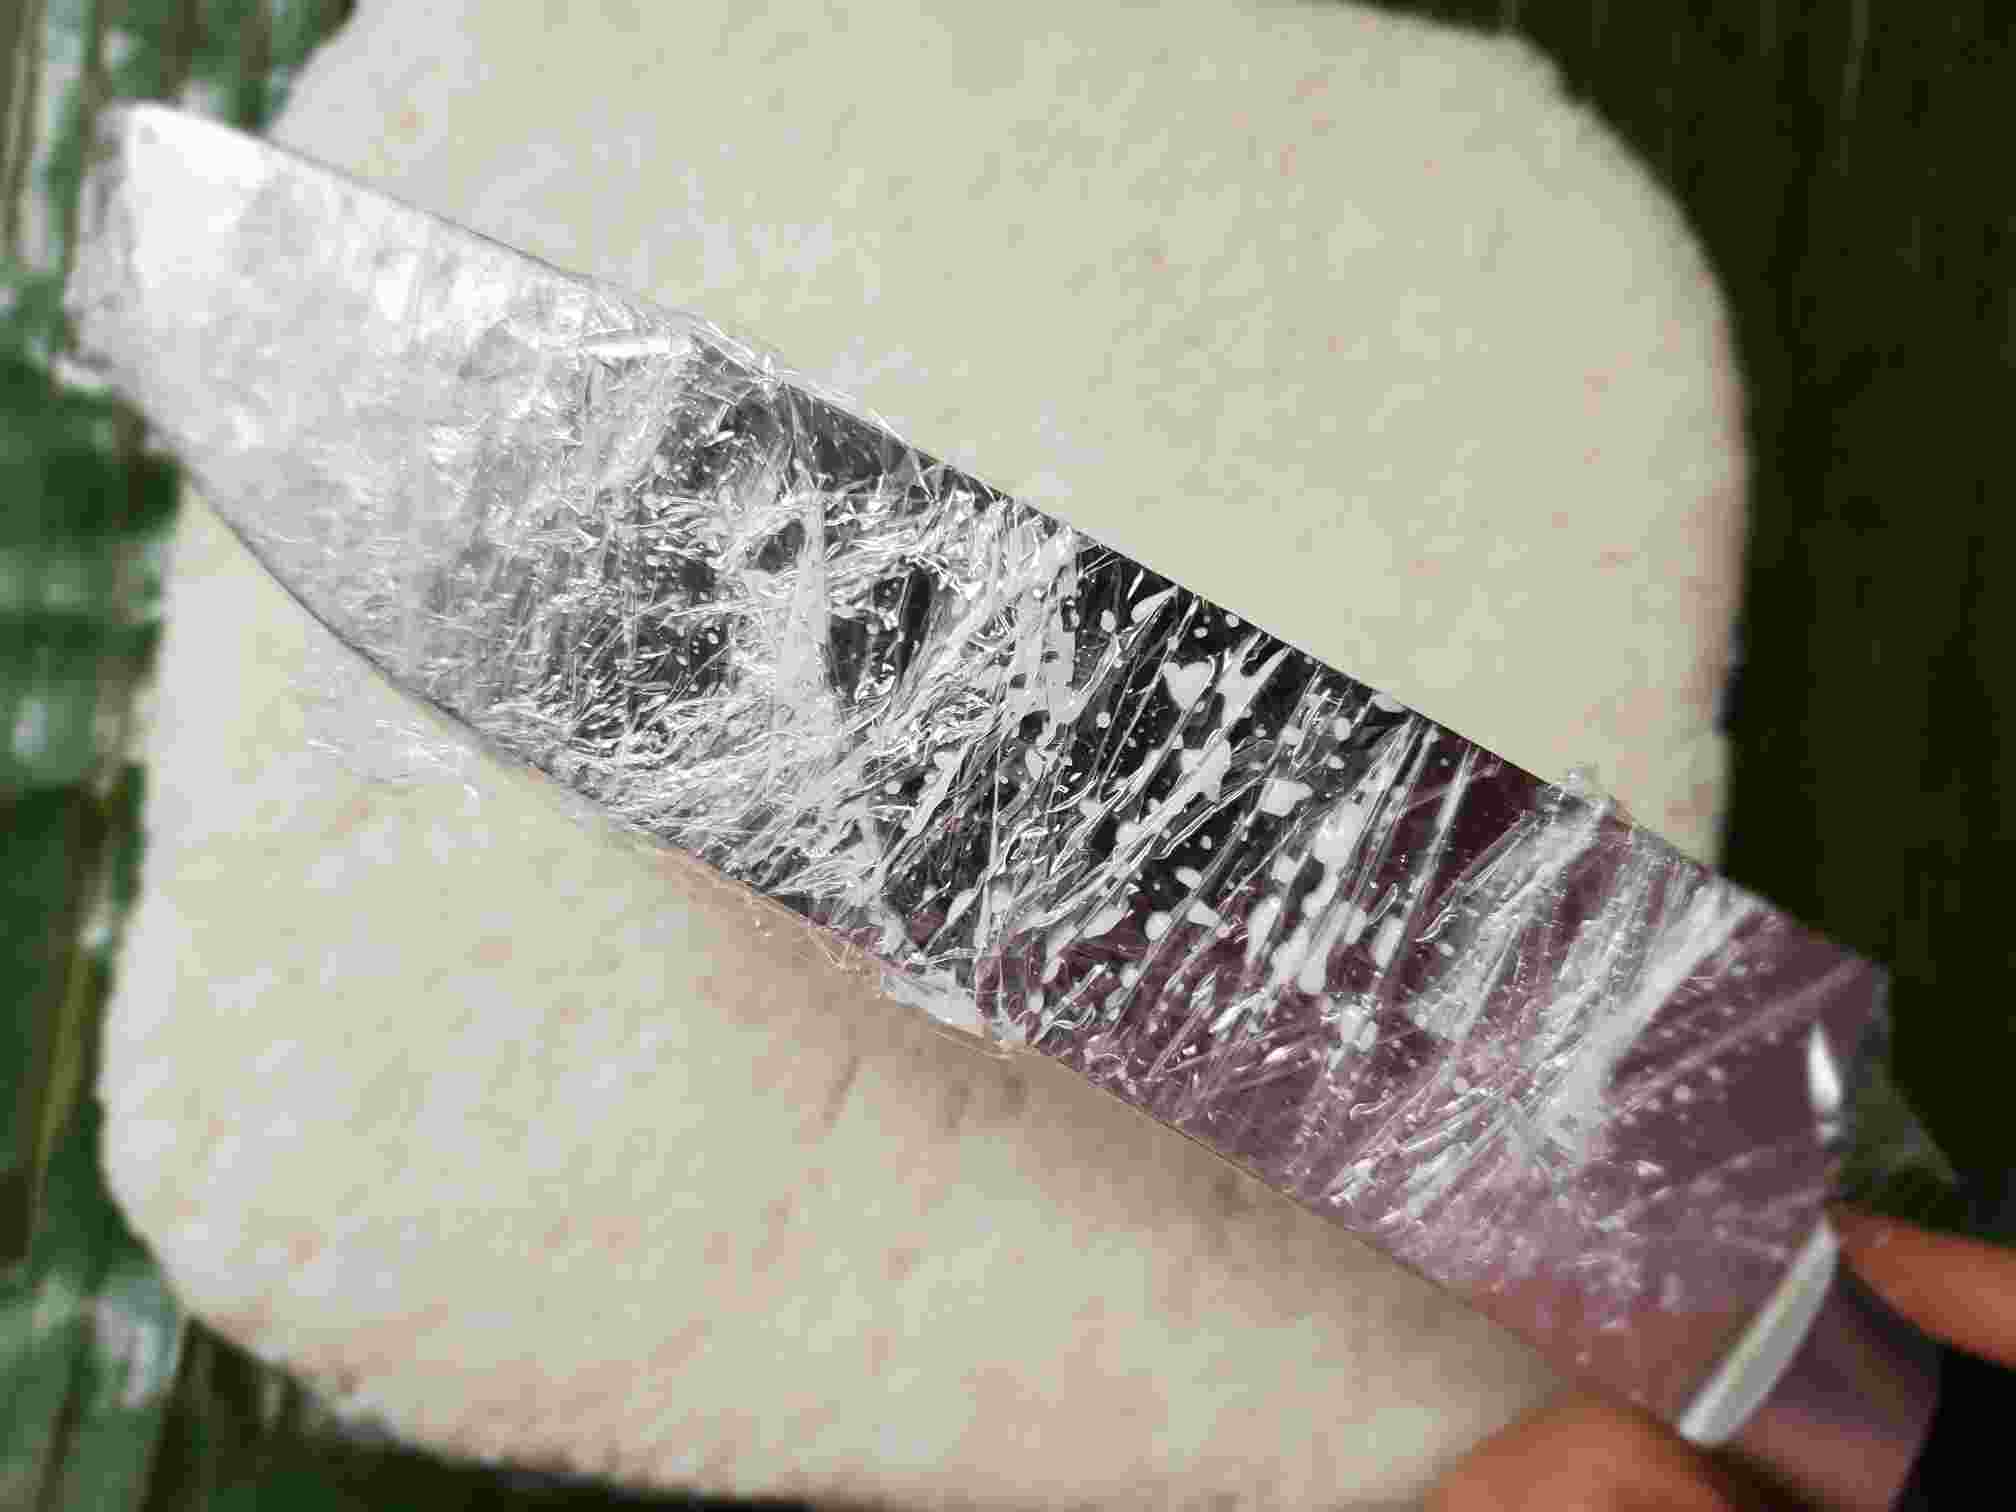
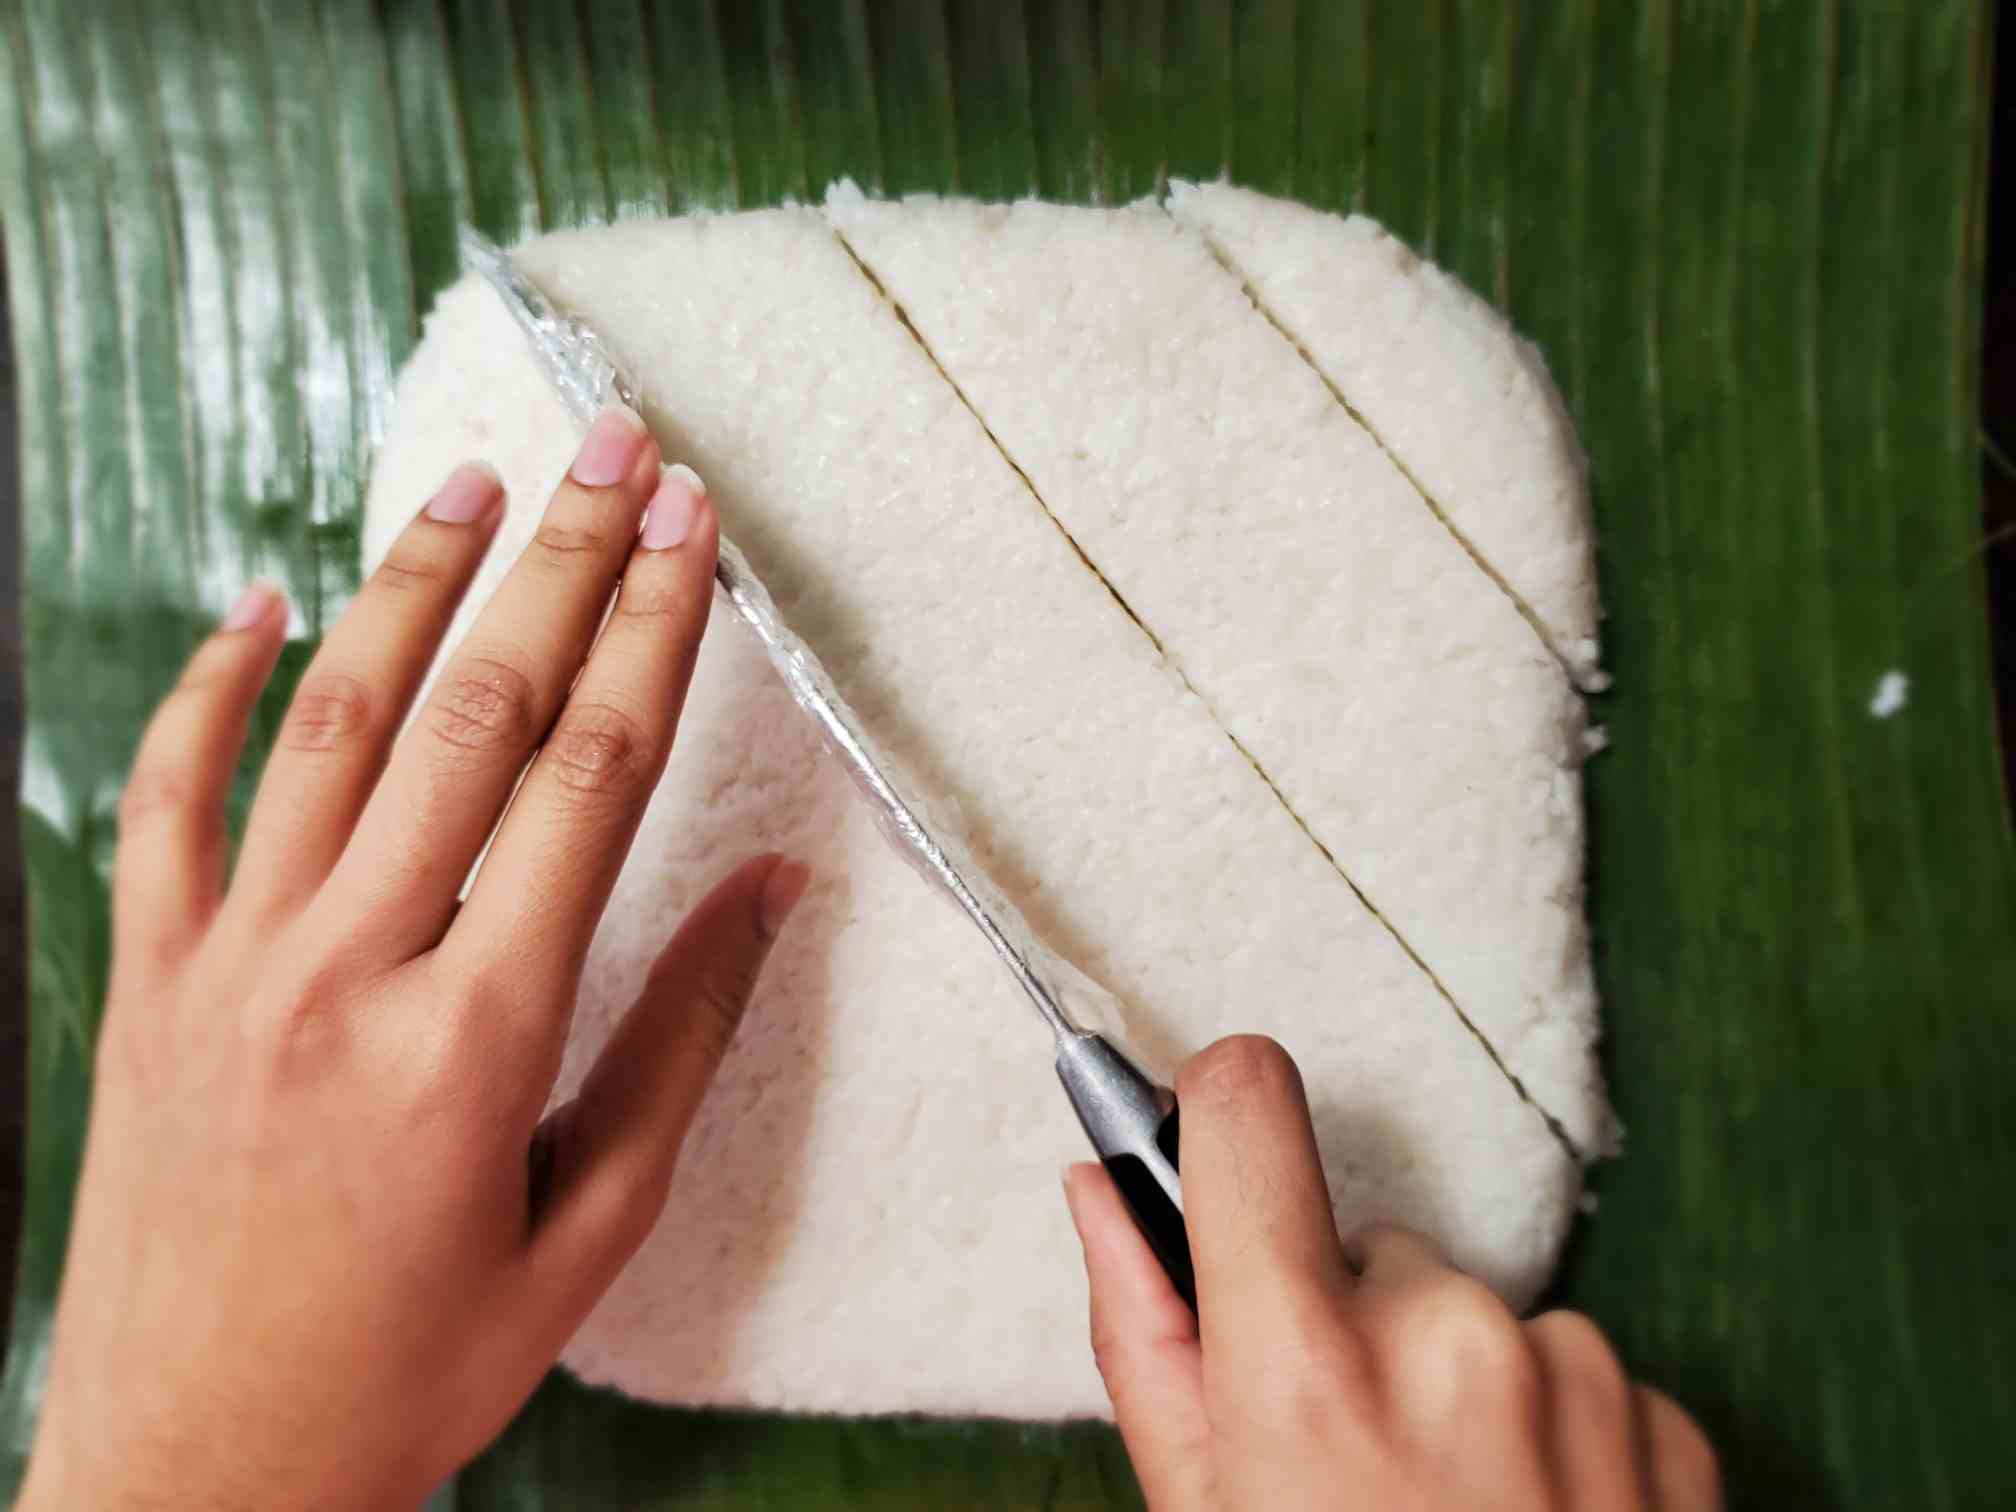
- When you cut your shaped Kiribath, make sure to wrap the knife you’re using with a piece of plastic wrap and apply a bit of coconut milk, milk, or water. So Kiribath doesn’t stick to the knife. You’ll get a clean cut.
Serving suggestions:
This recipe is enough to serve 4 people. Serve with Sri Lankan chicken curry or fish curry and Lunu Miris (chili onion sambal) or Katta sambal (chili and Maldive fish sambal) or seeni sambal (spicy caramelized onion with chili)
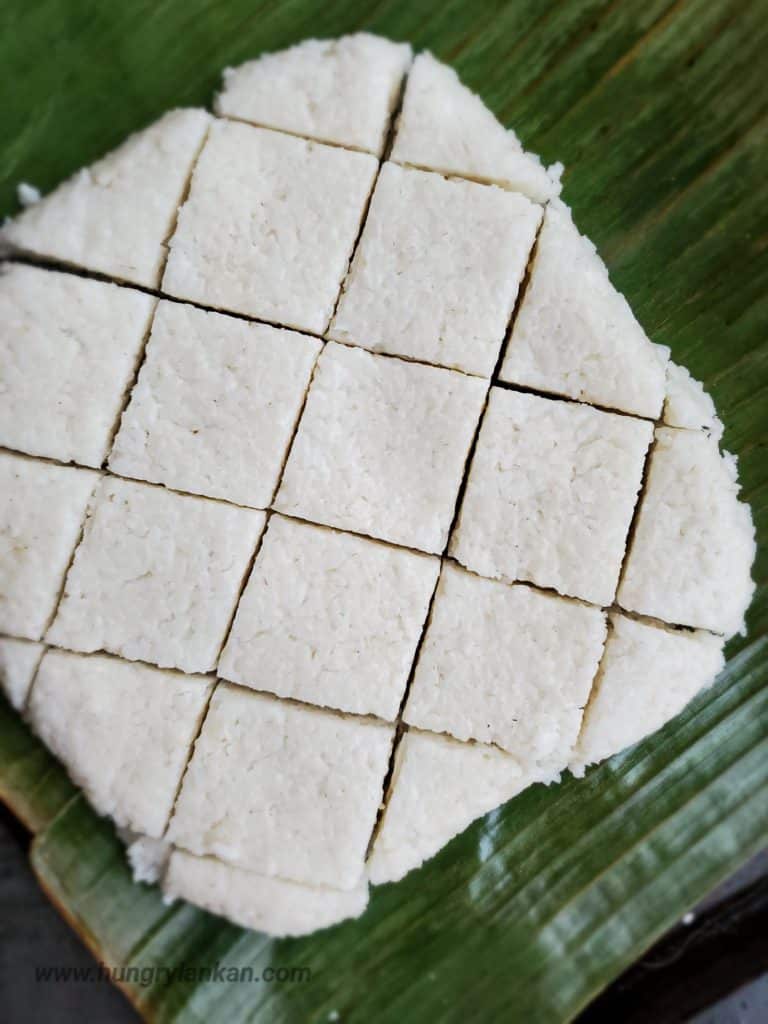
Kiribath (Sri Lankan Milk Rice)
Description
Kiribath aka Sri Lankan milk rice is Sri Lanka's national dish that we make for every celebration in Sri Lanka. And a classic breakfast that everyone loves. Here's my fool-proof easy recipe to make creamy delicious Kiribath/milk rice.
Ingredients
Instructions
Making Kiribath
-
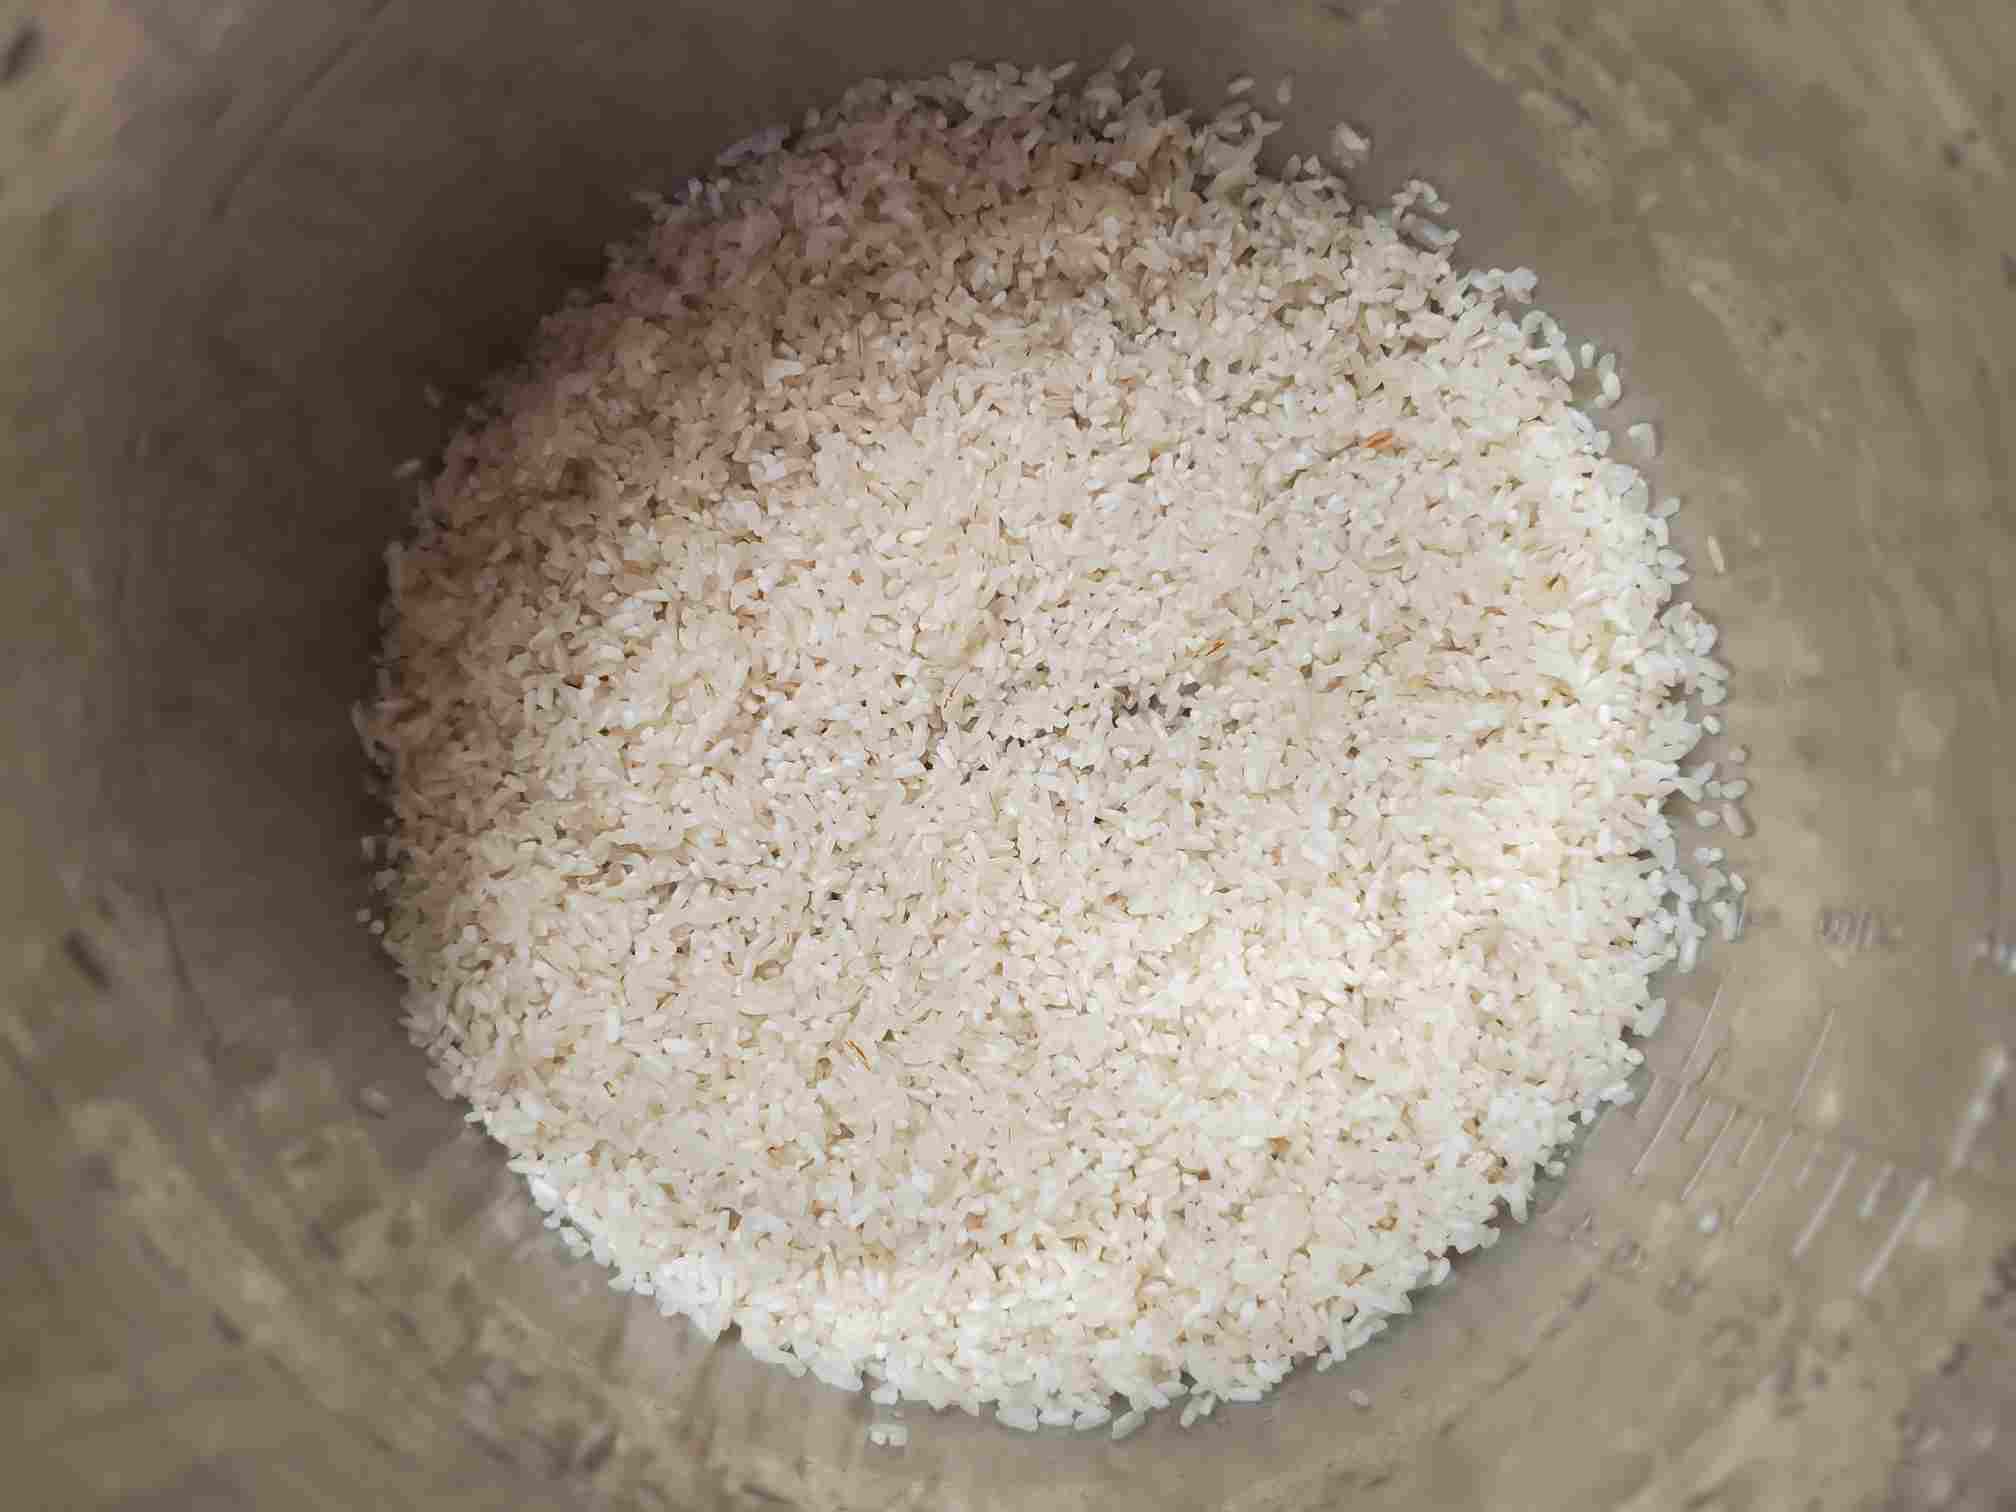
Wash your rice first, then drain water and put it into the rice cooker or instant pot (which is what I use here) or any pot you cook your rice usually.
-
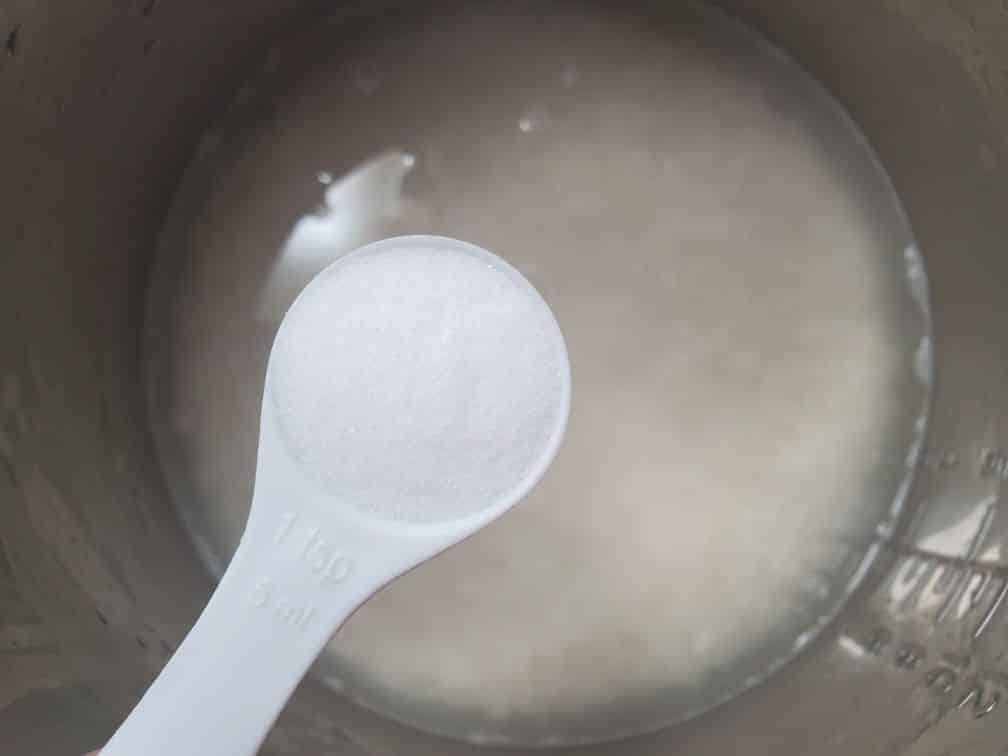
Add water and 1 tsp salt (keep rest of the salt for after). Cook your rice using your usual method. If you're using a rice cooker, turn on the cook switch. If you're using an instant pot, press the rice preset. All you do here is cook rice the normal way but with just a little bit of water than you’d normally use.
-
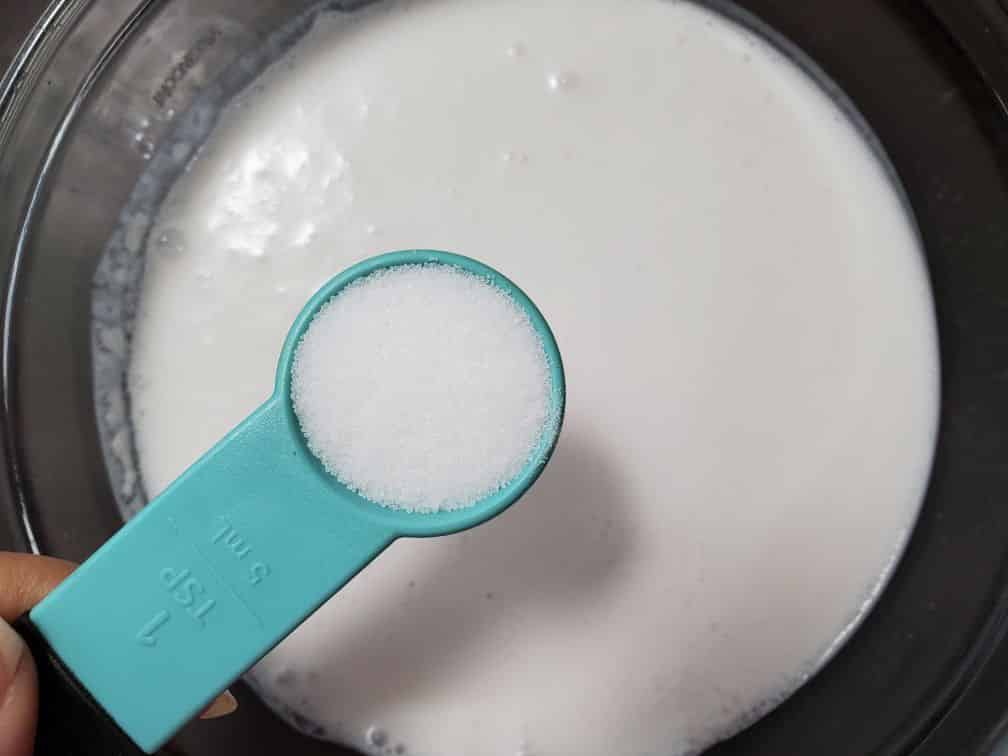
Get your thick coconut milk (I use one 400ml can for 2 cups of rice) and the rest of the salt to it and dissolve well. Taste it and it should taste a little salty. If you have tasted Kiribath before your coconut milk should have a similar taste to Kiribath now. Adjust salt to your liking.
-
Add the coconut milk to the cooked rice as soon as the rice is done cooking. Do NOT wait until the rice cools down.
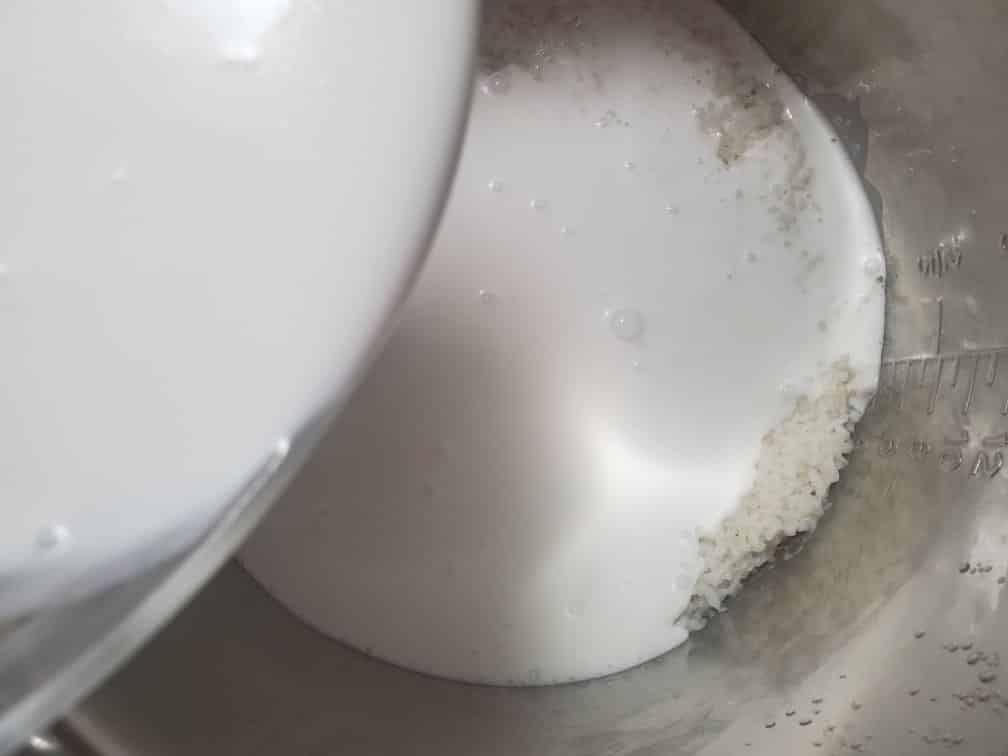
-
Mix your rice and coconut milk very well using a spoon until the rice grains breakdown and everything sticks together. You can transfer the rice to a banana leaf or a tray at this point and shape it. But if you still get the raw coconut milk smell, turn on the heat back again and cook for about 2- 3 more minutes on the stove or in the rice cooker. If you’re using an instant pot, press the “Keep warm” option and leave it covered for about 5 - 8 mins
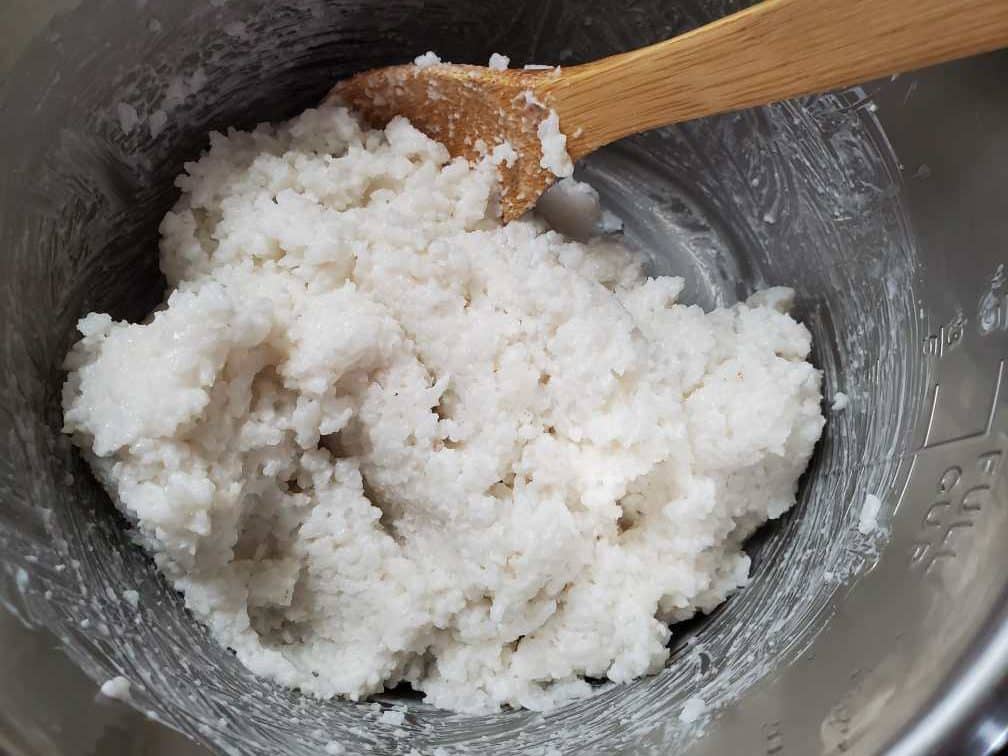
Shaping and cutting Kiribath
-
Transfer the rice to a cleaned banana leaf. Make sure to do it while Kiribath/milkrice is still hot. It starts to become hardened as it cools down. Which makes it harder to shape and cut into squares.
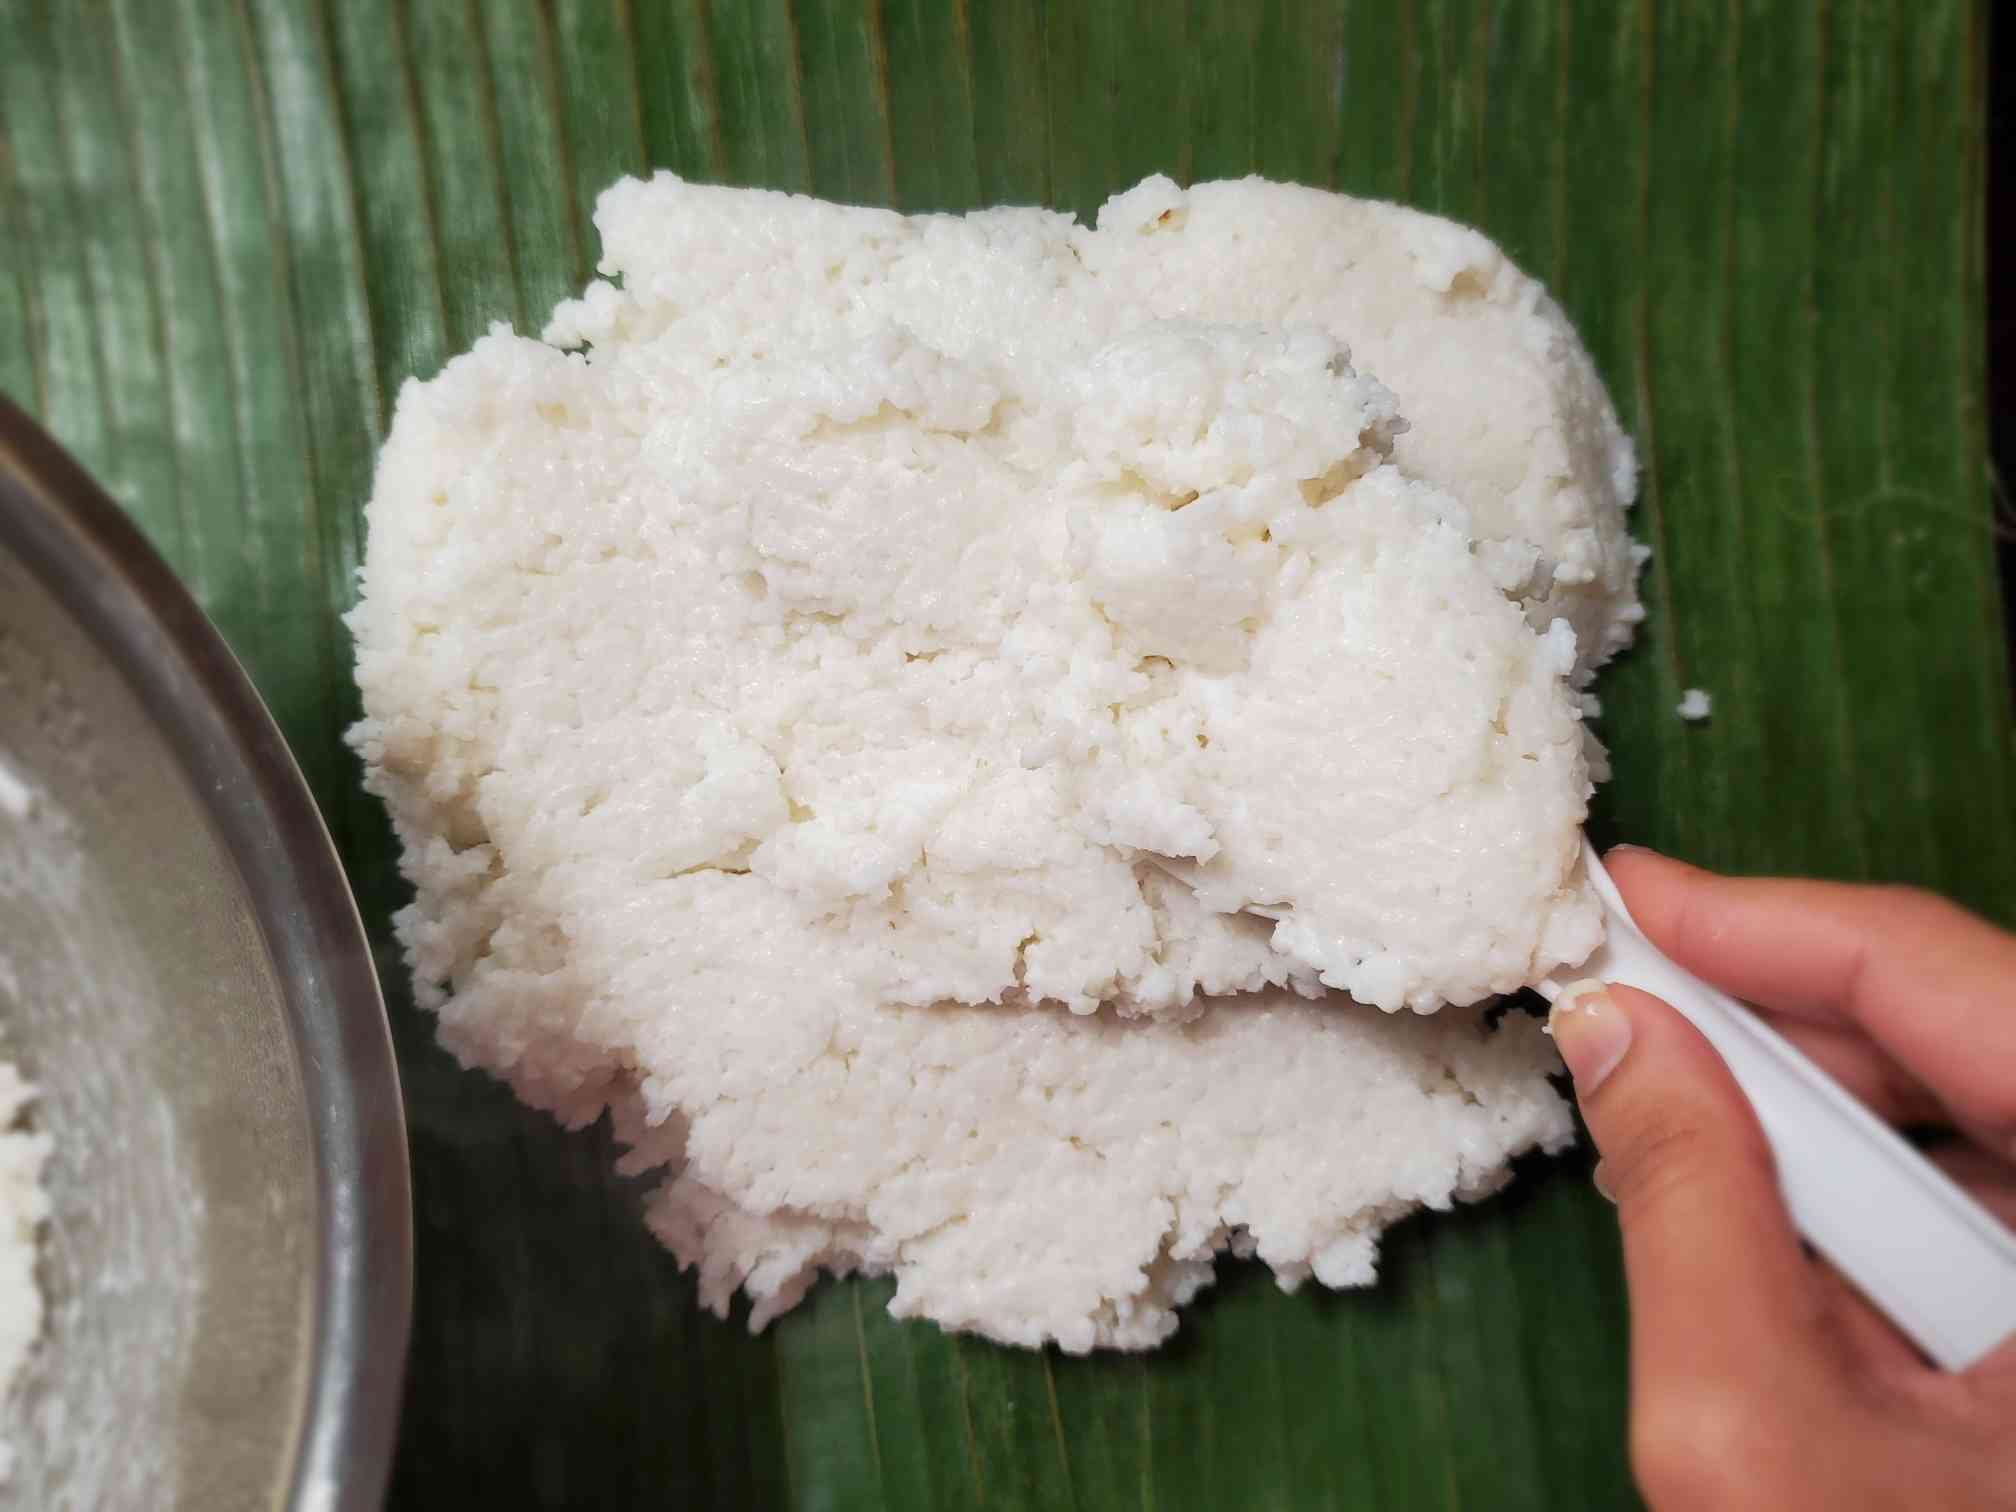
-
Shape the Kiribath using another piece of banana leaf/ a baking paper/ spatula into a flat round or a square or to any other shape of your liking. Press the rice firmly so the broken rice sticks to each other.
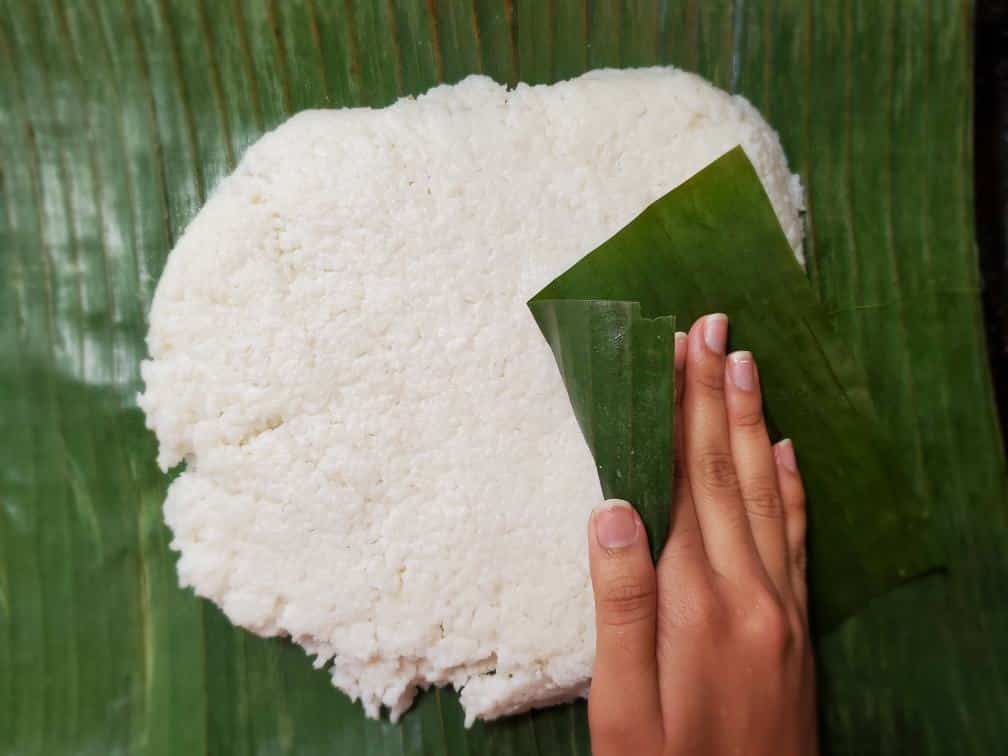
-
Get a knife and wrap the knife with a plastic wrap. And apply a little bit of coconut milk/milk or water so the knife doesn’t stick to the rice.
-
Cut your shaped Kiribath into squares or diamond shapes. Let it cool down a little bit. It’s easier to separate squares when Kiribath has cooled down.


Leave a Comment