
This easy and super quick recipe to make Tilapia Fillets in Air Fryer is a must-try for busy weeknights. You only need a handful of ingredients that you can always find in your pantry. It’s very healthy and delicious. For the minimal effort in prepping, and less than 10 minutes of air fryer cooking time, this Tilapia fillets recipe is definetely a winner.
If you follow my Instagram account, you know how much I love my air fryer. I use my air fryer almost every day. And it significantly lowered the consumption of oil in my kitchen. I used to bake or pan-fry Tilapia fillets. Now I almost always air fry it. Easy prep and easy cleanup. And it makes me feel good about eating a healthy meal too.
Air fryer cooking time for Tilapia Fillets
Not all air fryers are made the same. Air fryer cooking time differs from brand to brand, even model to model. I use a medium size 6.8qt air fryer. Mine takes 2 minutes of preheating time and then 6 minutes of cooking time at 375F.
This might slightly differ in your air fryer. If your air fryer is more compact than mine, it might cook the fish quicker. Or if it’s bigger it might take longer.
Cooking time also depends on the thickness of the Tilapia fillet. The weight of the Tilapia fillet I use is about 4oz (113g) each.
Use an instant thermometer to find out when the Tilapia fillet is fully cooked. When the internal temperature of the thickest part of the Tilapia fillet reads 145F, it is perfectly cooked.
Why preheat the air fryer?
I don’t usually preheat when I make salmon or chicken. But since Tilapia fillets are thin and cook very quickly, I notice if I haven’t preheated the air fryer the fillets dry out a little bit on the outside, especially on the thinner parts of the fillet. Sometimes the fillets stick to the air fryer basket too. With preheating you can decrease the cooking time too. And since the basket is heated already, you get a nice color on the fish fillets on both sides.

Products / Equipment I use:
(contains Amazon affiliate links)
Recipe Video
(video might not display with ad blocker)
What to Serve Tilapia Fillets with
I always serve it with a few lemon/lime wedges on the side.
- I love it with grilled or steamed vegetables
- It also goes well over yellow rice or white rice with a side of salad
- Great with a simple spring leaf salad or a Greek salad
- You can also serve it over garlic butter noodles or pasta
More Air-Fryer recipes you might like to try:
Crispy chicken wings in air fryer
Air-fried black pepper chicken


Tilapia Fillets in Air Fryer
Description
Easy delicious Tilapia Fillets recipe in the Air Fryer with very few ingredients that you always have in your pantry
Ingredients
Instructions
-
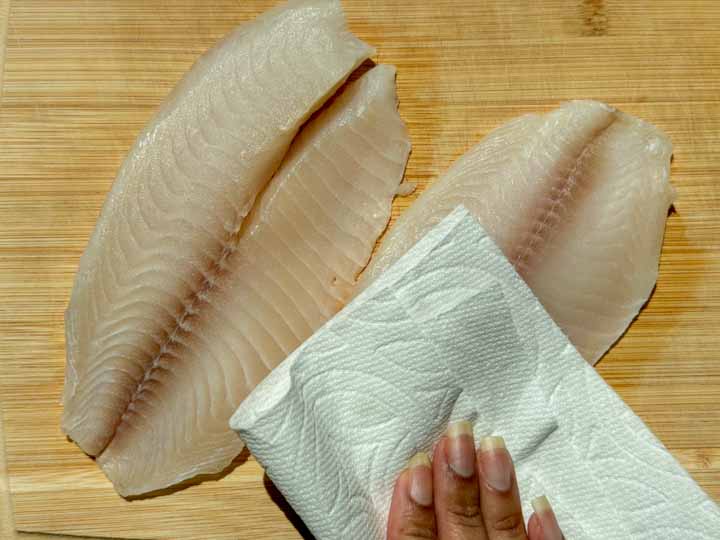
Pat dry the Tilapia fillets with a paper towel to remove any extra moisture.
-
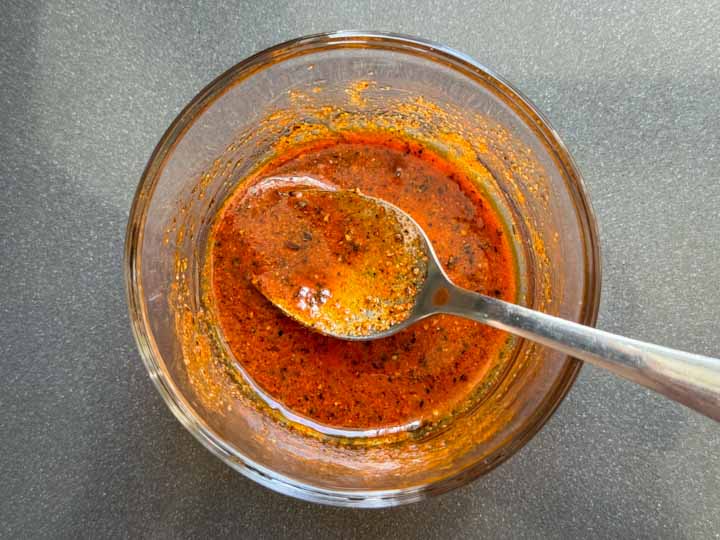
Add oil, chili powder, black pepper powder, garlic powder, salt, and lime to a small mixing bowl. Mix it well to combine.
-
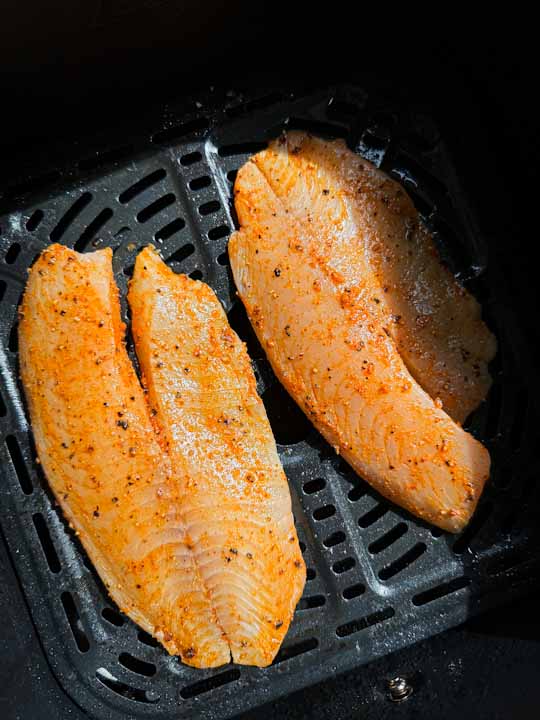
Generously coat the Tilapia fillets with the seasoning and oil mix. Set it aside. Also, preheat the Air fryer for 2 minutes at 375F/190C.
-
Spray/apply some oil into the air fryer basket to stop the fish fillets from sticking. Place the fish fillets in the basket.
-
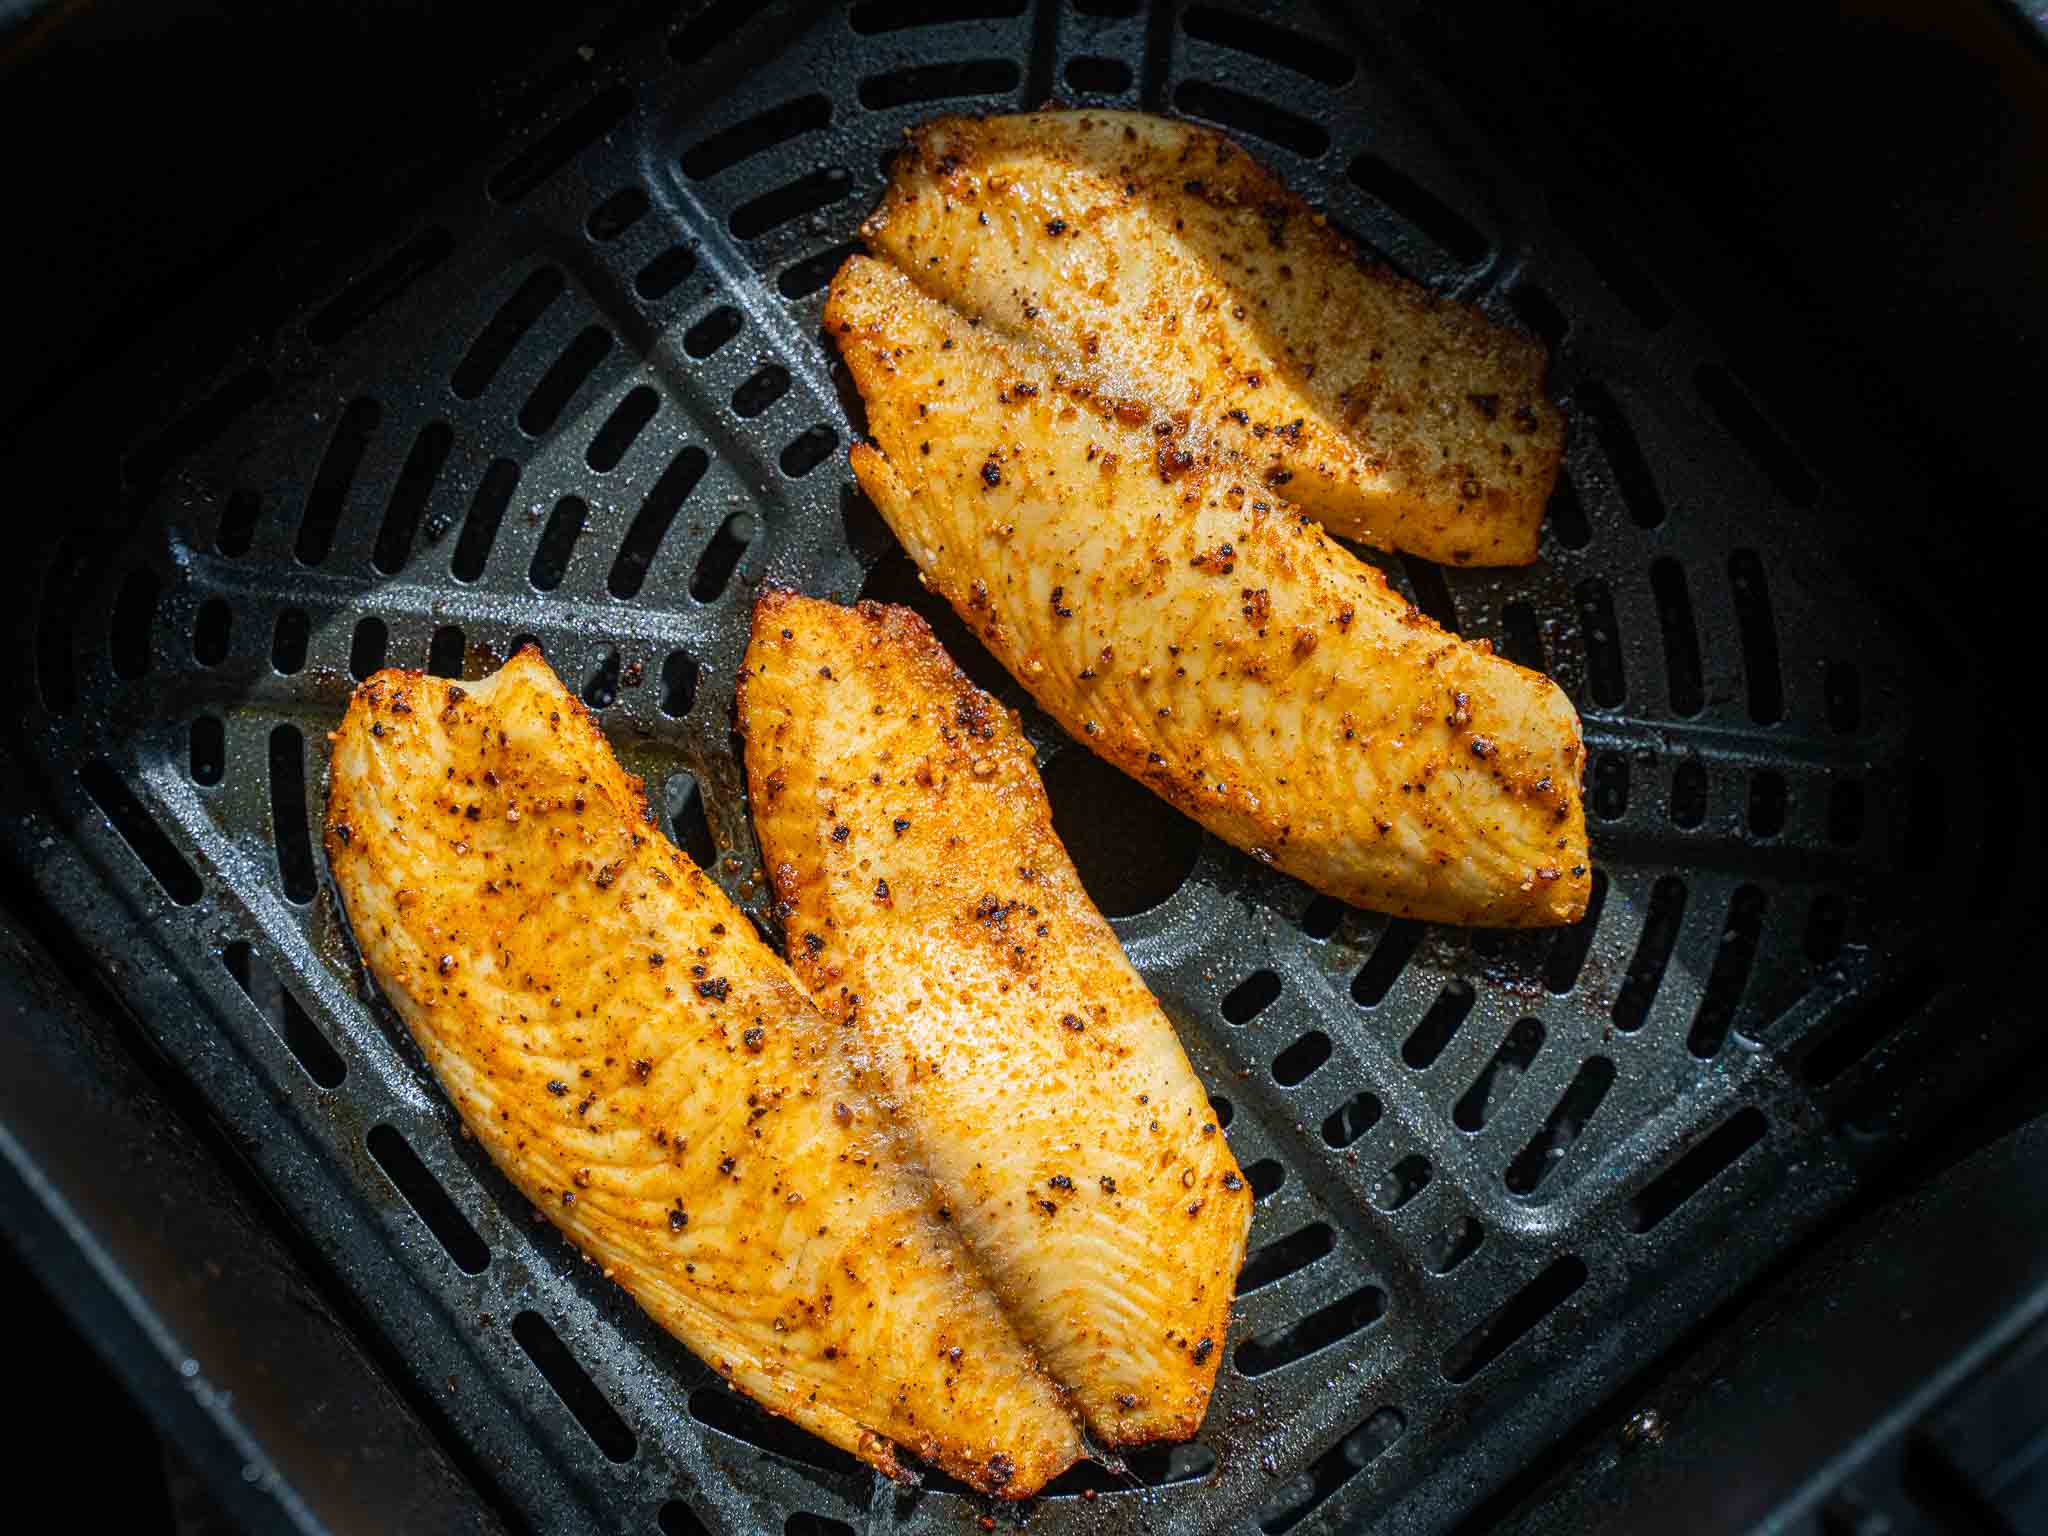
Air Fry for 6 - 7 minutes at 375F/190C or until the fillets are fully cooked and the internal temperature of the fillets reads 145F/63C.


Leave a Comment