Sri Lankan Kokis

Kokis is a traditional Sri Lankan "Kawili," or treat, made with Rice flour and coconut milk. It is a must-have for the Sri Lankan New Year's food table and for most other auspicious celebrations. They are very crispy, nutty, slightly sweet and so delicious! They are a little tricky to make, especially if you're a beginner, but once you get the hang of it, trust me, it's so easy!
Kokis are probably the most popular food on the traditional New Year food table, next to Kiribath/Sri Lankan Milk Rice. I can honestly eat a dozen of them in one sitting. They are incredibly crispy and also comforting at the same time. Addictive too.
This post contains Amazon affiliate links.

Tools/Equipment you need
Kokis Mold -
a must have to make kokis. You can use a Traditional Sri Lankan kokis mold or a non-stick kokis mold (This is what I use here). If you can't buy both, you can use a Rosette mold or Bunuelos mold. These are available on Amazon.
A pointy wooden stick -
This is very helpful for turning the kokis when frying and for taking the kokis out of the oil without disrupting the rest of the kokis that are frying in the oil pot. You can use this to push the kokis off of the mold as well, specially if you're working with a traditional kokis mold.
A deep frying pan/wok -
The kokis should not touch the bottom of the pot while frying. So it's important that you use a pot that is deep enough to dip the whole kokis mold without touching the bottom. I use this 10-inch stainless steel wok to fry mine.
Paper towel-lined plate -
This is to absorb all the extra oil after frying. Removing extra oil makes the kokis more crispy and less greasy.

Seasoning a Traditional Kokis Mold
If you use a traditional kokis mold, you need to make sure it is well seasoned. Otherwise, it's a nightmare to make kokis because they never come out of the mold properly. The older the kokis mold, the better it performs. So if you can find a used Kokis mold, they are always better than new molds. But if you have a newly bought mold, this is how you season it.
When you buy a new brass or iron Kokis mold, it usually has a rough surface and sharp, pointy edges. These make the kokis stick to the mold when you fry them. To prevent this, you can soften the surface and the edges using fine-grit sandpaper until the surface feels smooth to the touch without any bumps or rough patches.
Then, you need to season the mold to make it nonstick. You can follow either one of these methods or both of them combined. I usually do both.
The traditional way is to boil the mold in some Goraka (Garcinia cambogia) and water for about two hours. And then wipe it well to remove any goaka residues. Leave it in the oil overnight. Slowly heat the mold in oil before making Kokis.
Another method is to heat the mold in hot oil for about 15 minutes and then season it directly over the fire until the oil polymerizes and adds a sort of nonstick coating. To do this, pour oil into a small wok or a sauce pan. Let the oil heat up. Place the mold inside the oil and let it heat for about 10-15 minutes. Then, take the mold out and let it cool down. Wipe off the excess oil (otherwise, you'll have too much smoke) and hold it directly over the fire. You'll see that the mold gets darker in color as the oil burns.
Tips to make Kokis with Traditional mold
- Most importantly, season the kokis mold. Read the above passage to learn how.
- Make sure to heat the mold before you dip it in the batter. After cooking one kokis, leave it on the oil for a few seconds to heat up.
- If the kokis is still sticking to the mold, you can add an egg to the batter. Eggs help to release the kokis easier. You might have to mix in little bit of rice flour again to reach the right consistency of the batter.
- Alternatively, you can leave the batter in the fridge overnight. In my experience, this helps the kokis to release much easier from the kokis mold.
- Control the frying temperature. Keeping the temperature around 350F is ideal when you fry kokis. If the oil is too hot it makes the kokis turn brown quicker. If the temperature is too low, kokis absorb too much oil.
- Only dip the mold in the batter until it reaches 3/4 of the height and not all the way. This makes it easier to release the Kokis from the mold.
- Release the kokis when it's about half way cooked. You can shake the mold for this and use the stick to remove it from the mold. It's hard to remove the Kokis from the mold when it has hardened.
- Stir the batter time to time. The rice flour (especially if they are coarser), tends to sink to the bottom of the bowl.
- Keep a little bit of extra coconut milk separately without mixing it into the batter. The mixture tends to get thicker when you fry kokis because rice flour tends to sink to the bottom. If this happens, add a little bit of coconut milk to dilute it and get the right consistency.

Kokis with non-stick Mold:
If you have a non-stick coated kokis mold, you obviously don't need to season it. I didn't remember having non-stick Kokis molds when we were kids, but these days, they are quite popular and widely available in the market. And they are much easier to work with. But, keep in mind, traditional kokis molds and nonstick molds perform very differently.
The biggest problem you'd face with a non-stick mold is the Kokis batter 'not' sticking to the mold. This makes the kokis to fall off the mold before they are cooked and hold their shape. And sometimes the batter doesn't stick to the mold very well either.
- The good news is that there are a few tips up my sleeve that can prevent these from happening.
- Do not heat the mold too much. This makes the the kokis fall off from the mold to the batter once you dip in the batter. So the batter doesn't coat the mold well.
- Make sure you gently shake off the excess oil before you dip the heated mold in the batter. The batter doesn't coat the mold properly when the mold is covered with too much oil.
- Do not lift the mold off the oil too soon. Hold it in the oil until the Kokis is halfway cooked and can hold its shape on its own. Even after that, hold the mold over the kokis mold so it can hold the shape better.
- Make sure the mold is not touching the bottom of the pan/wok you're frying in.
- If the kokis seem to break apart in the oil, add a little bit more flour to the batter and make it thicker.

Sri Lankan New Year Foods that go with Kokis
Kokis is a must-have food on the traditional Sri Lankan New Year table. We also serve it alongside some more sweet and savory dishes. Here are some of my favorites that I like to serve.
Kiribath (Sri Lankan Milk Rice)
Seeni sambol (sweet and spicy onion relish)
Lunu Miris (a spicy citrousy condiment)
Pani walalu (a delicious sweet made with urad dal)
Butter Cake (my fool-proof butter cake recipe, so good with tea)
Milk Toffee (a sweet similar to fudge)
Sri Lankan milk tea (a must serve with new year food)
Kokis is a traditional Sri Lankan "Kavili," or treat, made with Rice flour and coconut milk. They are crispy, nutty, slightly sweet and super delicious. A must-have for the traditional Sri Lankan New Year food table.
- 200 g Rice flour
- 30 g All purpose flour
- 2 cup canned Coconut Milk (Or use fresh thick coconut milk)
- 1 tsp Salt
- 1/4 tsp Sugar
- 1/2 tsp Turmeric powder
- 1/4 cup Water (If you use fresh coconut milk, replace water with coconut milk)
- 1 liter Oil (Coconut/vegetable or any other neutral oil)
- 1/4 cup coconut milk (to dilute the batter if it got thicker at the end. *see notes)
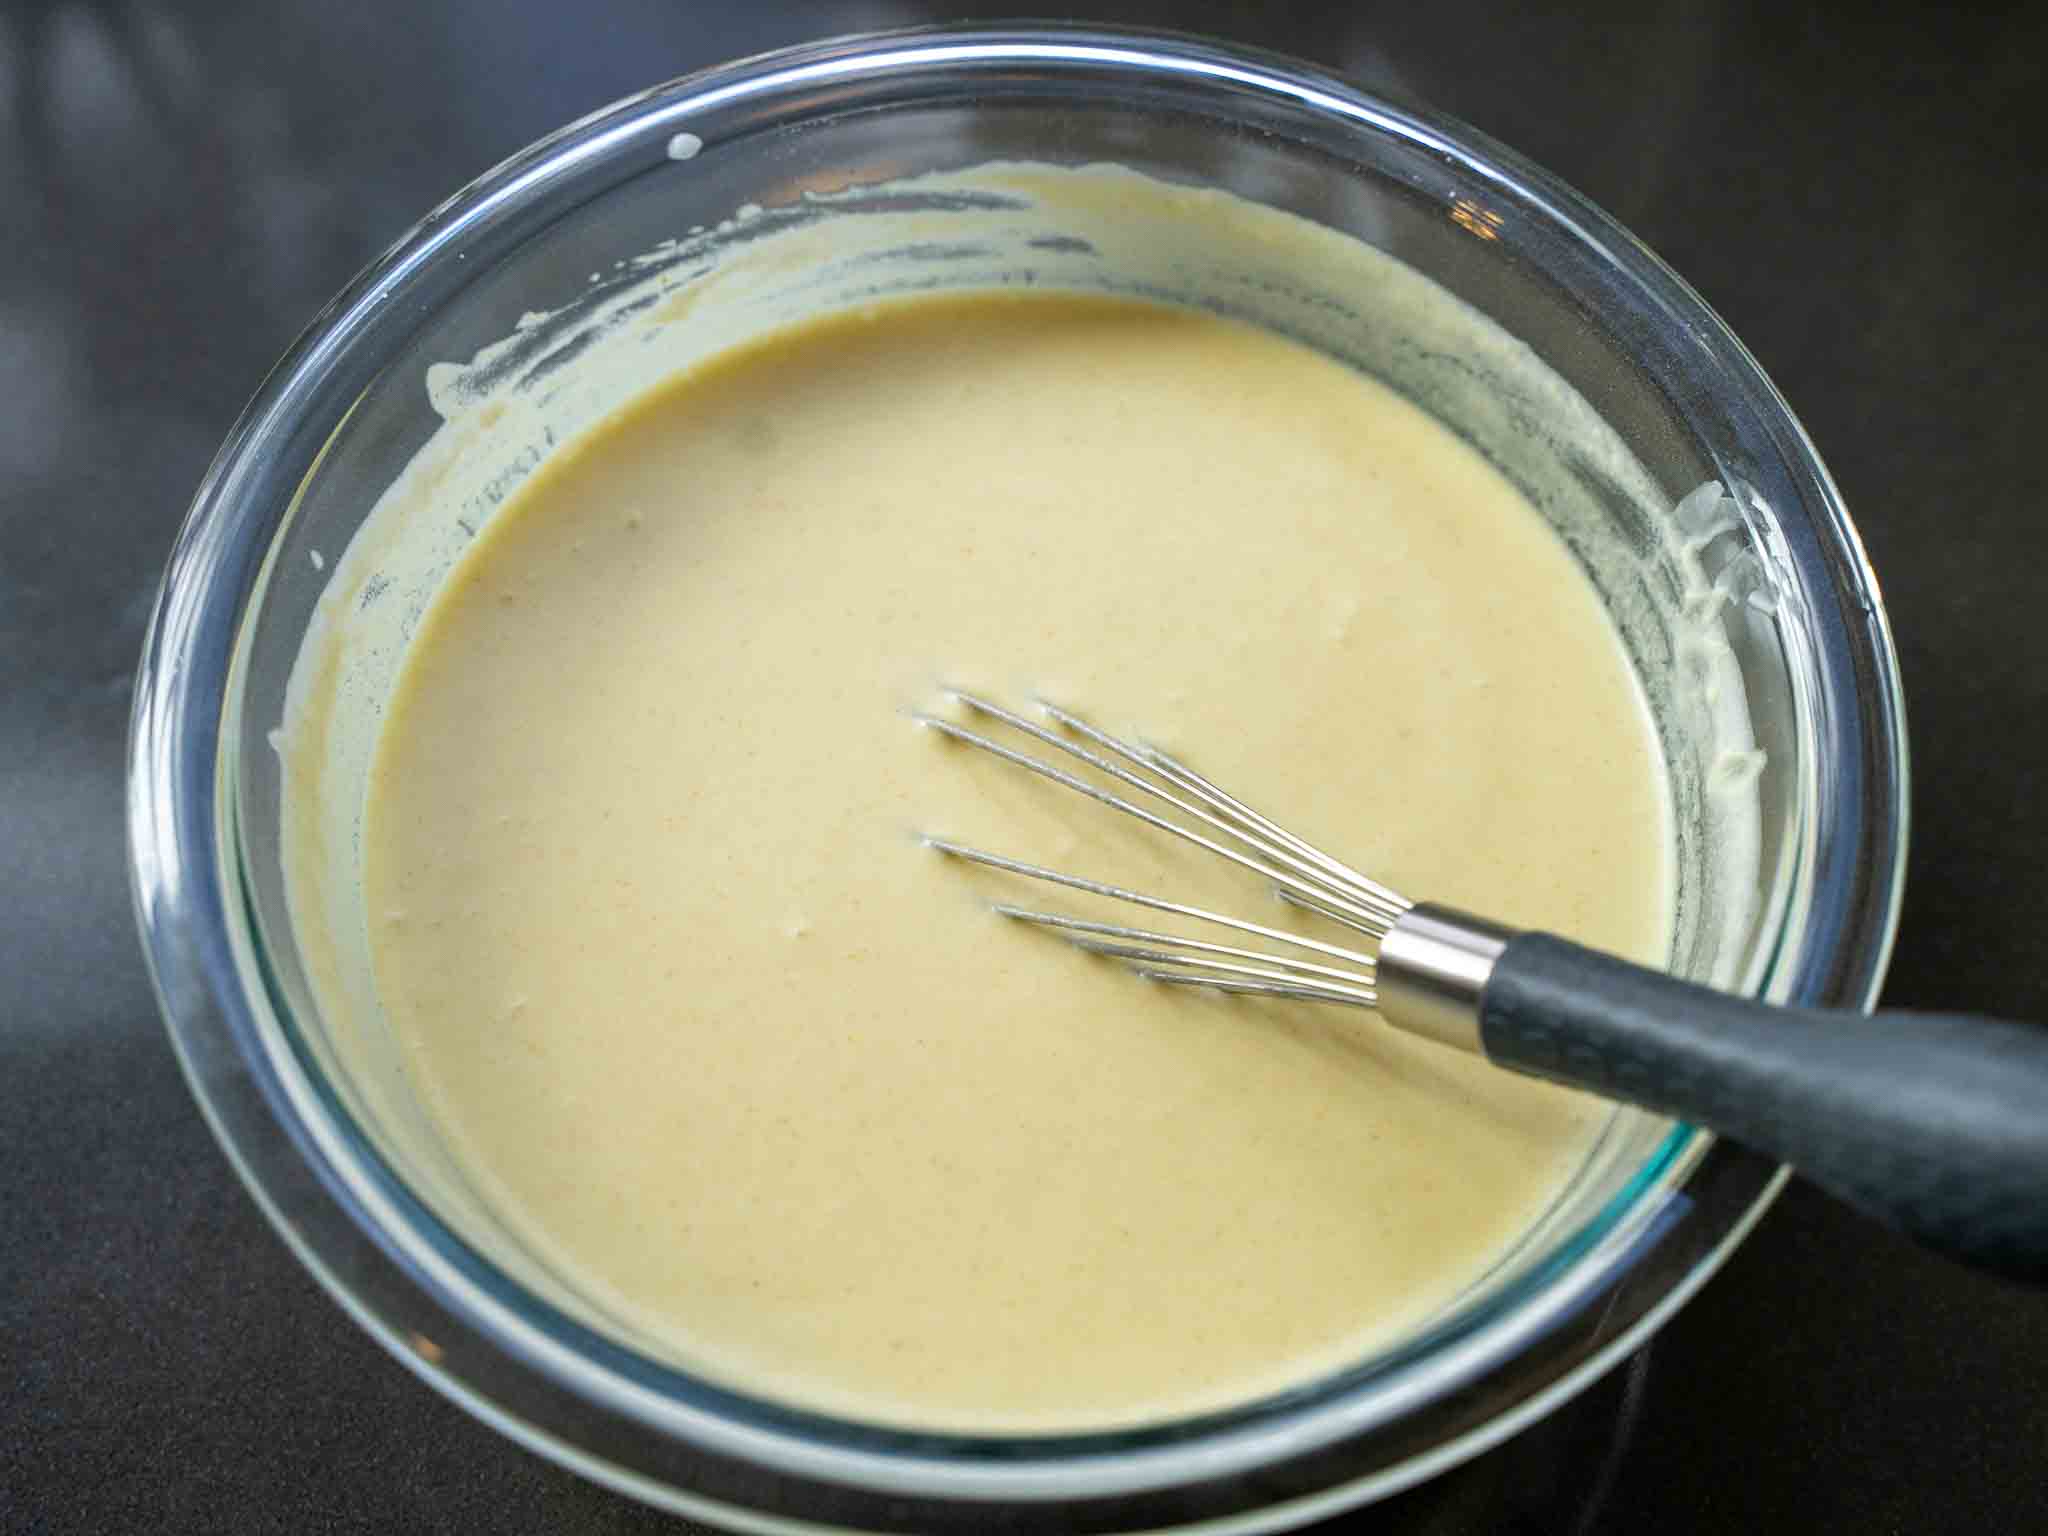
Into a bowl, add rice flour, all-purpose flour, salt, sugar, turmeric powder, canned coconut milk. Also add water (*see notes) a little by little. until you reach the thick batter consistency. Mix well using a whisk or a spoon until there aren't any flour lumps. The batter should be a little thicker than heavy whipping cream. Leave it for 5 - 10 minutes for the flour to fully hydrate, and then give it another mix.
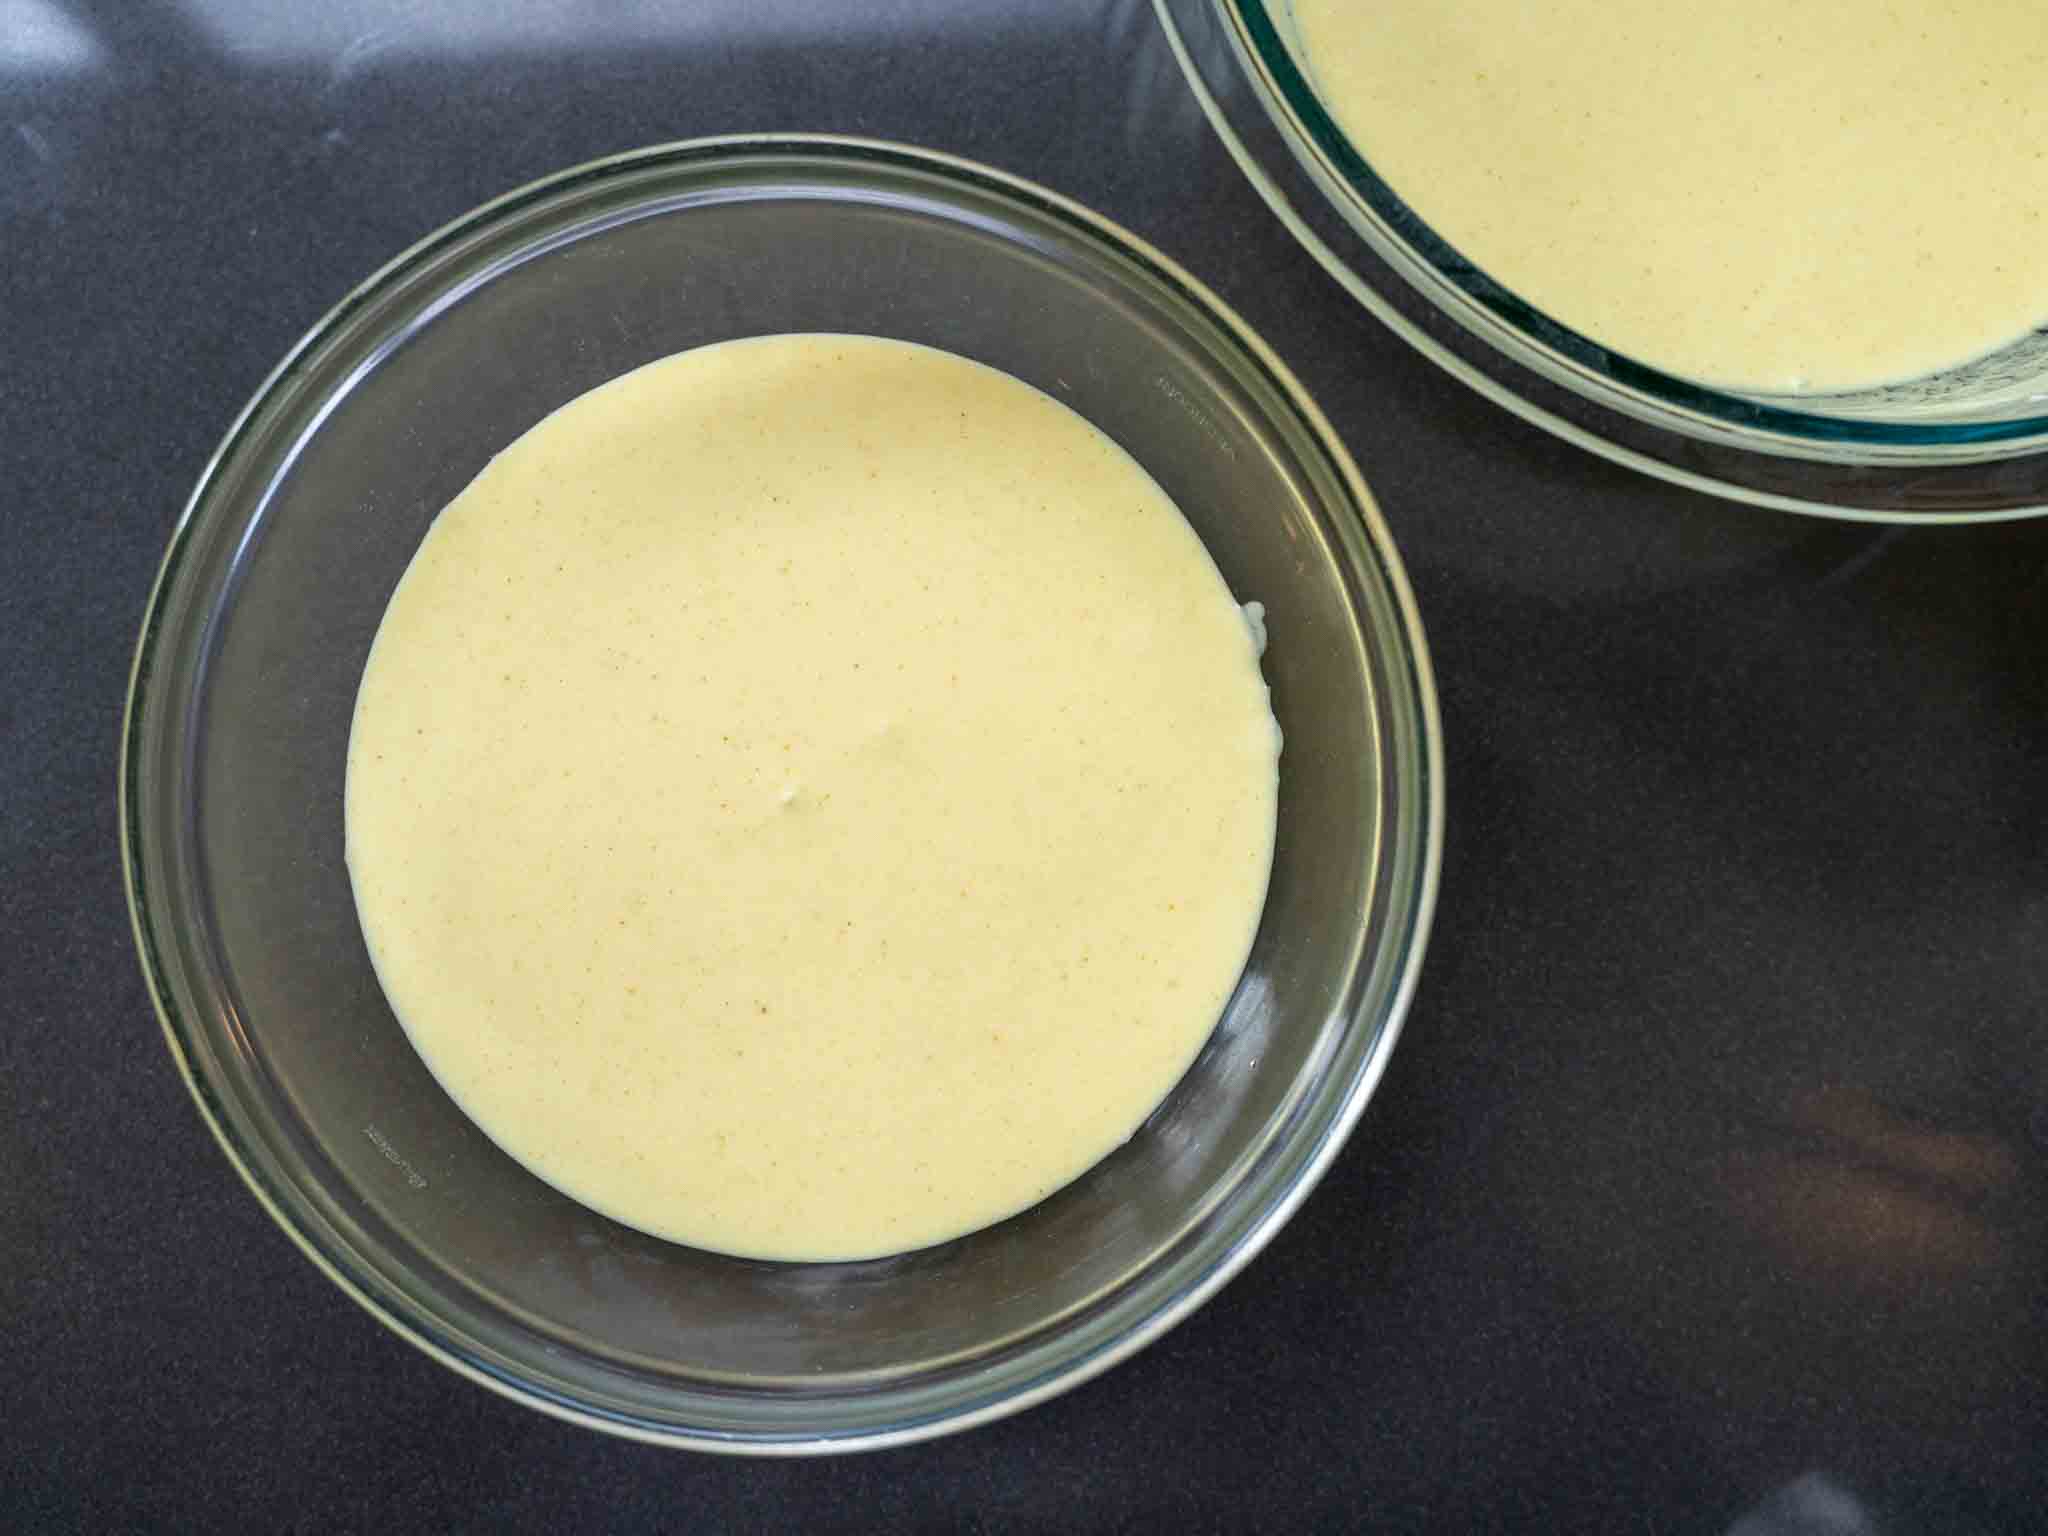
Transfer some of the batter to a small deep bowl (This is optional. But this helps to maintain the right consistency of the batter as the flour settles down, prevents heating the batter, and keeps it clean from oil and fried residues from the mold)
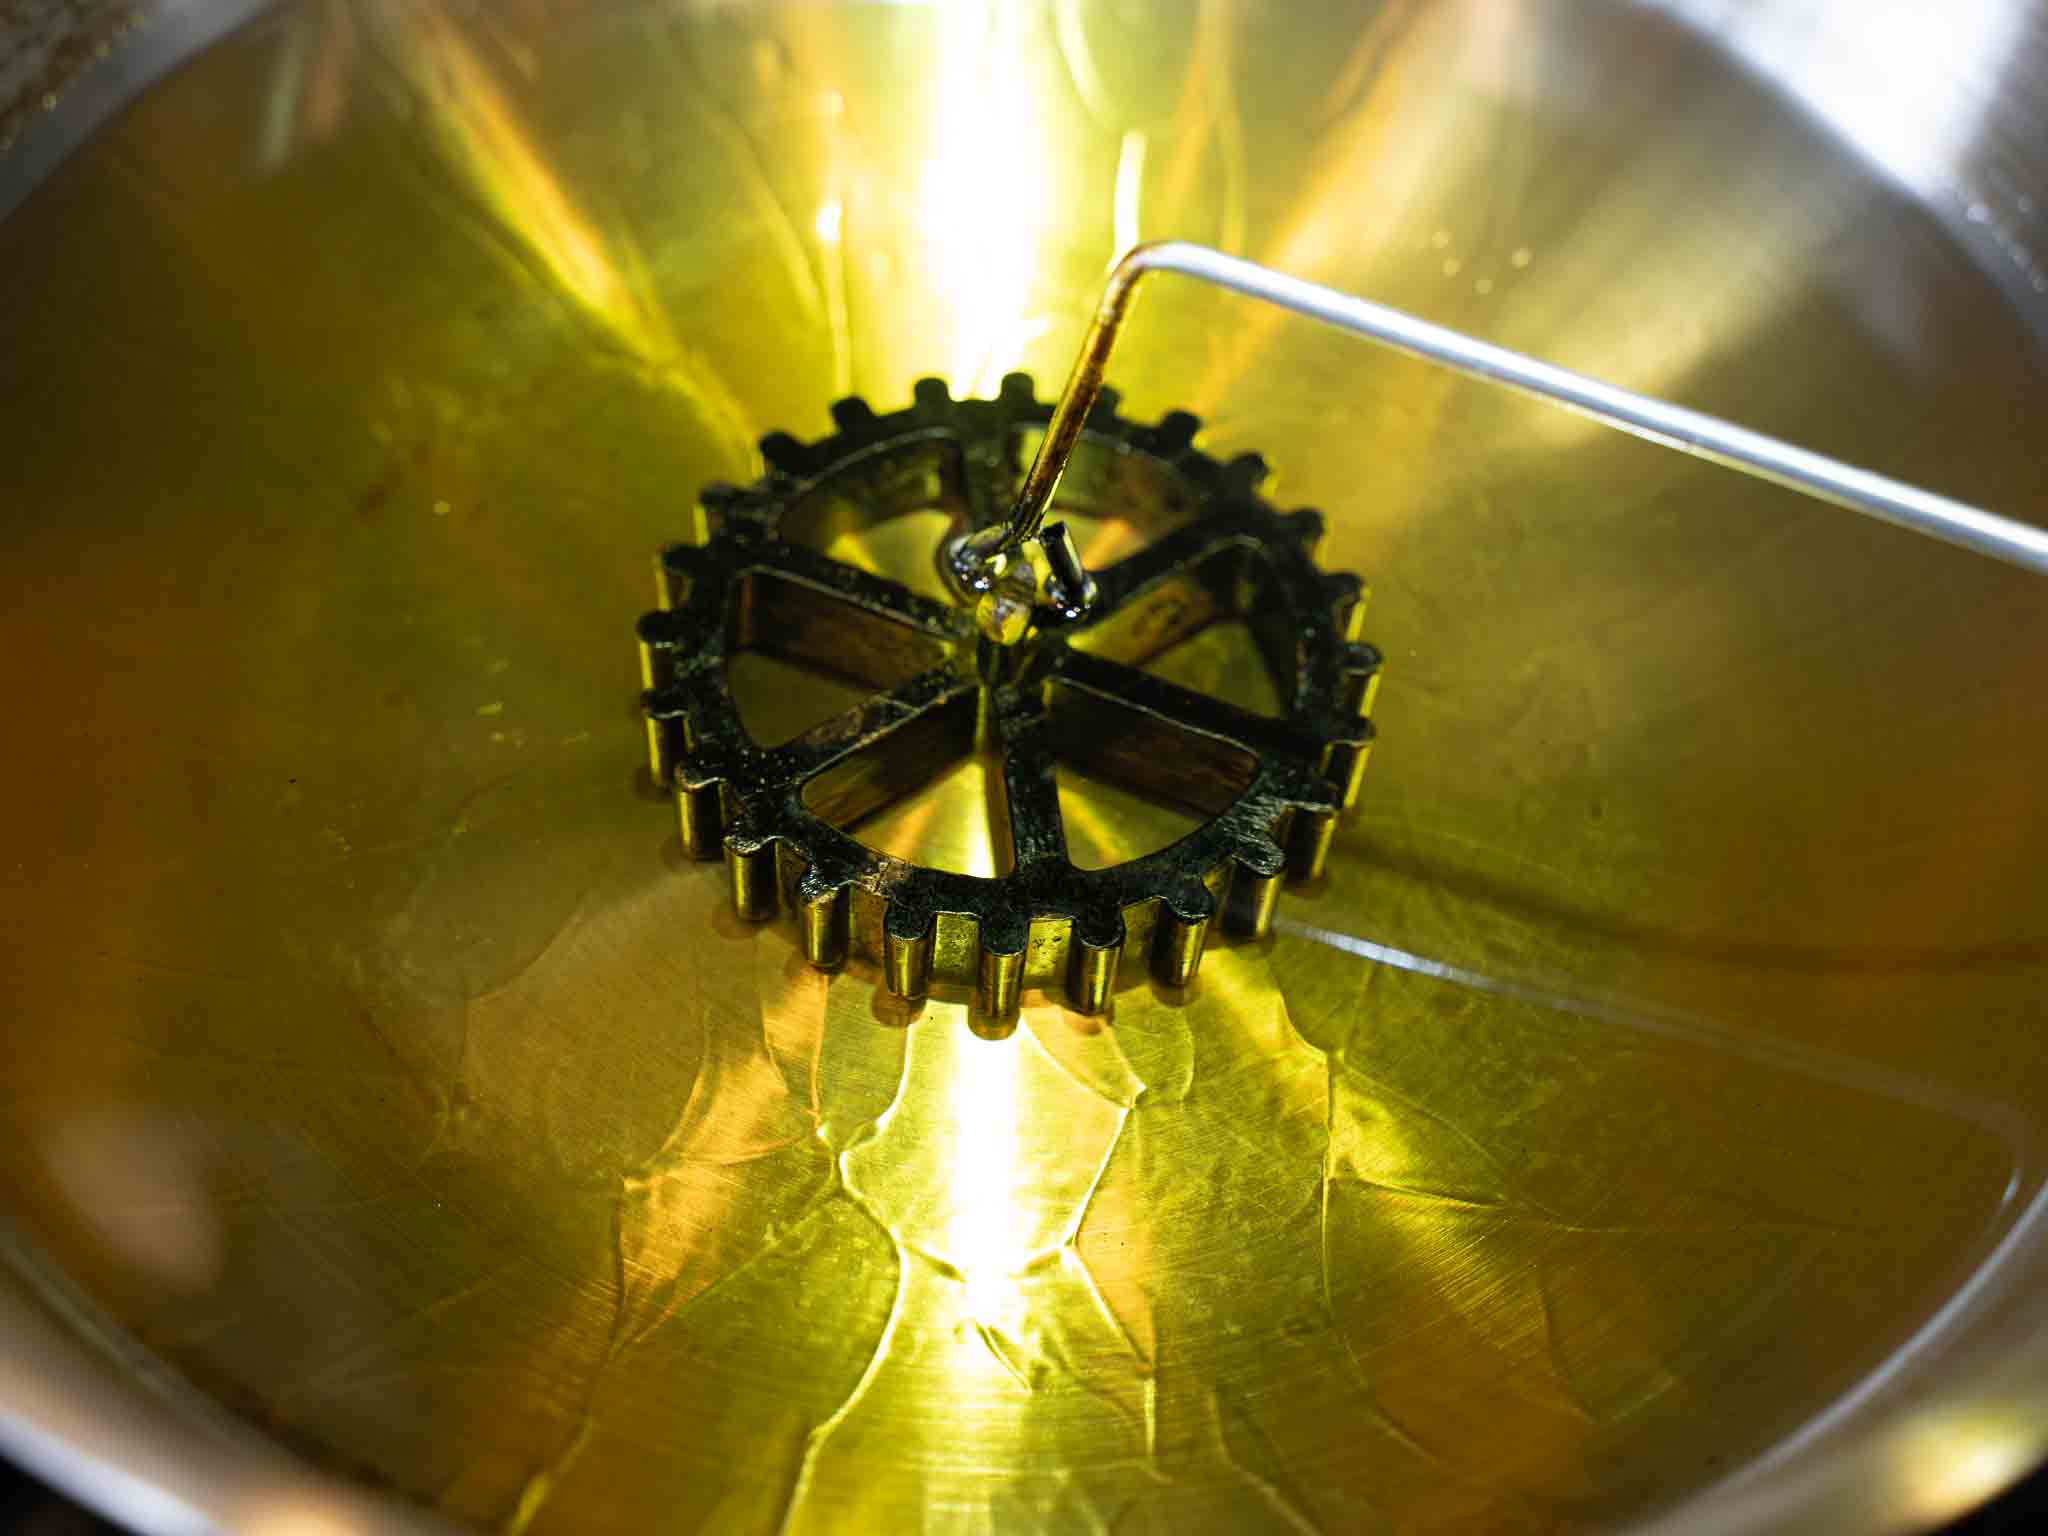
Heat the oil to medium heat (around 320 - 350°F /160 - 175°). Once heated, place the Kokis mold in the oil to warm it up for about 10 - 20 seconds. Traditional molds need thorough heating to help the batter stick, while non-stick molds require less heating.
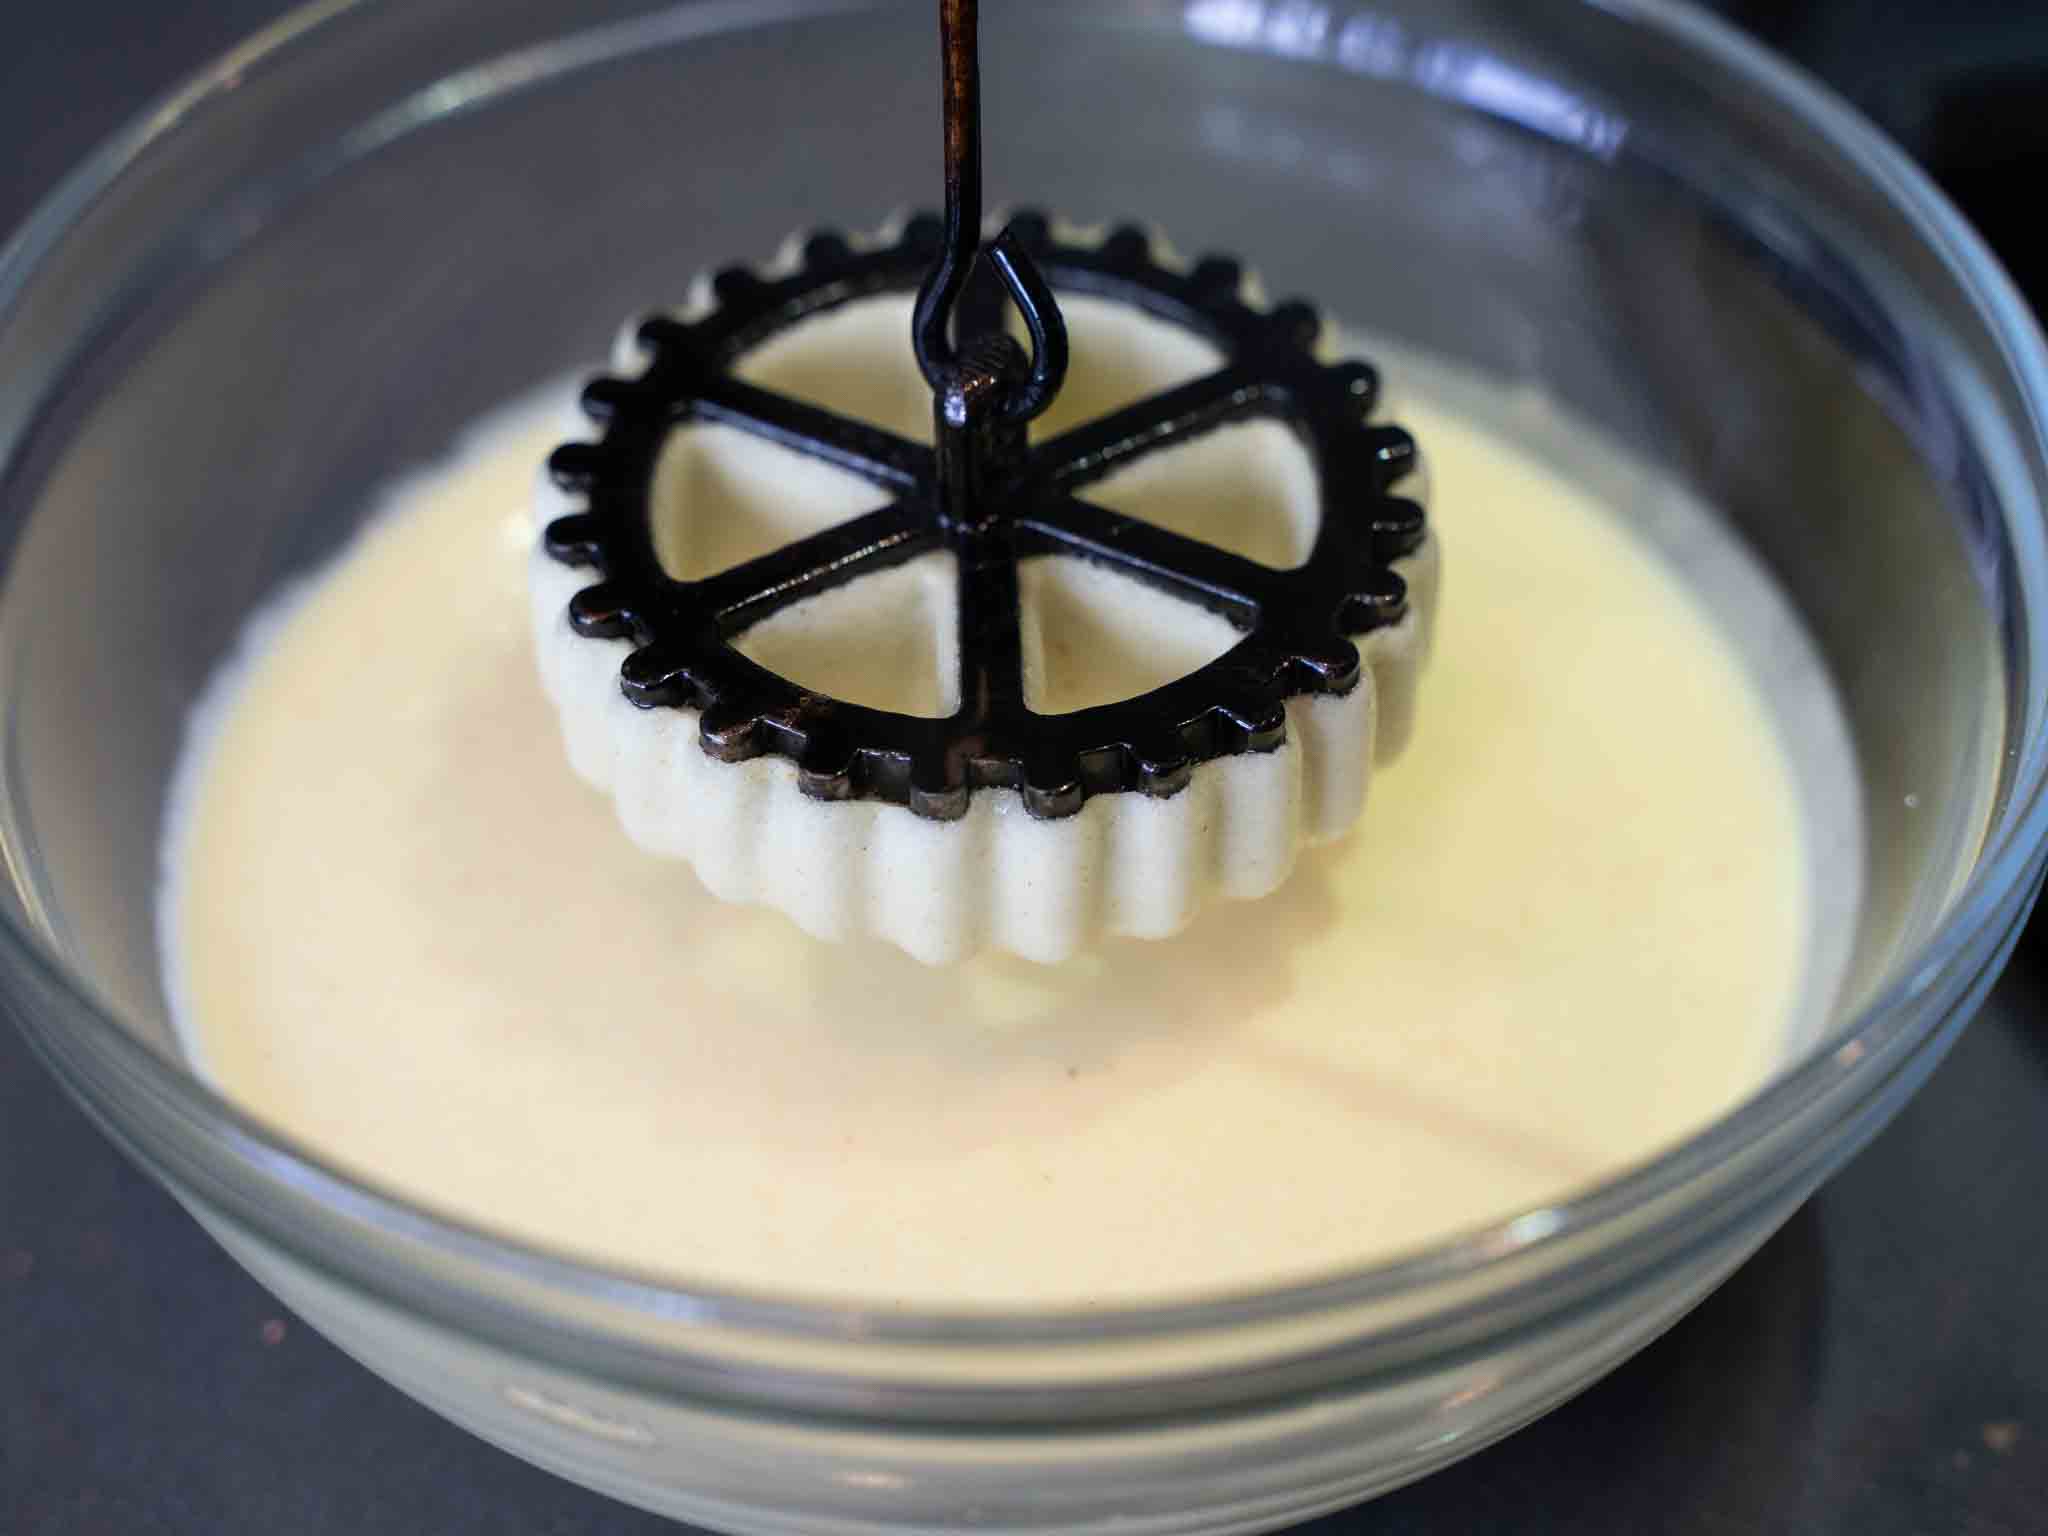
Dip the heated Kokis mold in the batter, and it should make a gentle sizzling sound. Make sure the top is not covered with the batter, and leave a little bit of space on the edges so it's easier to take the kokis off (especially if you're using a traditional mold)
The oil is heated enough when you dip the wooden stick in the oil and it starts to form small bubbles around it. If the bubbles are too rapid, the oil is heated too much.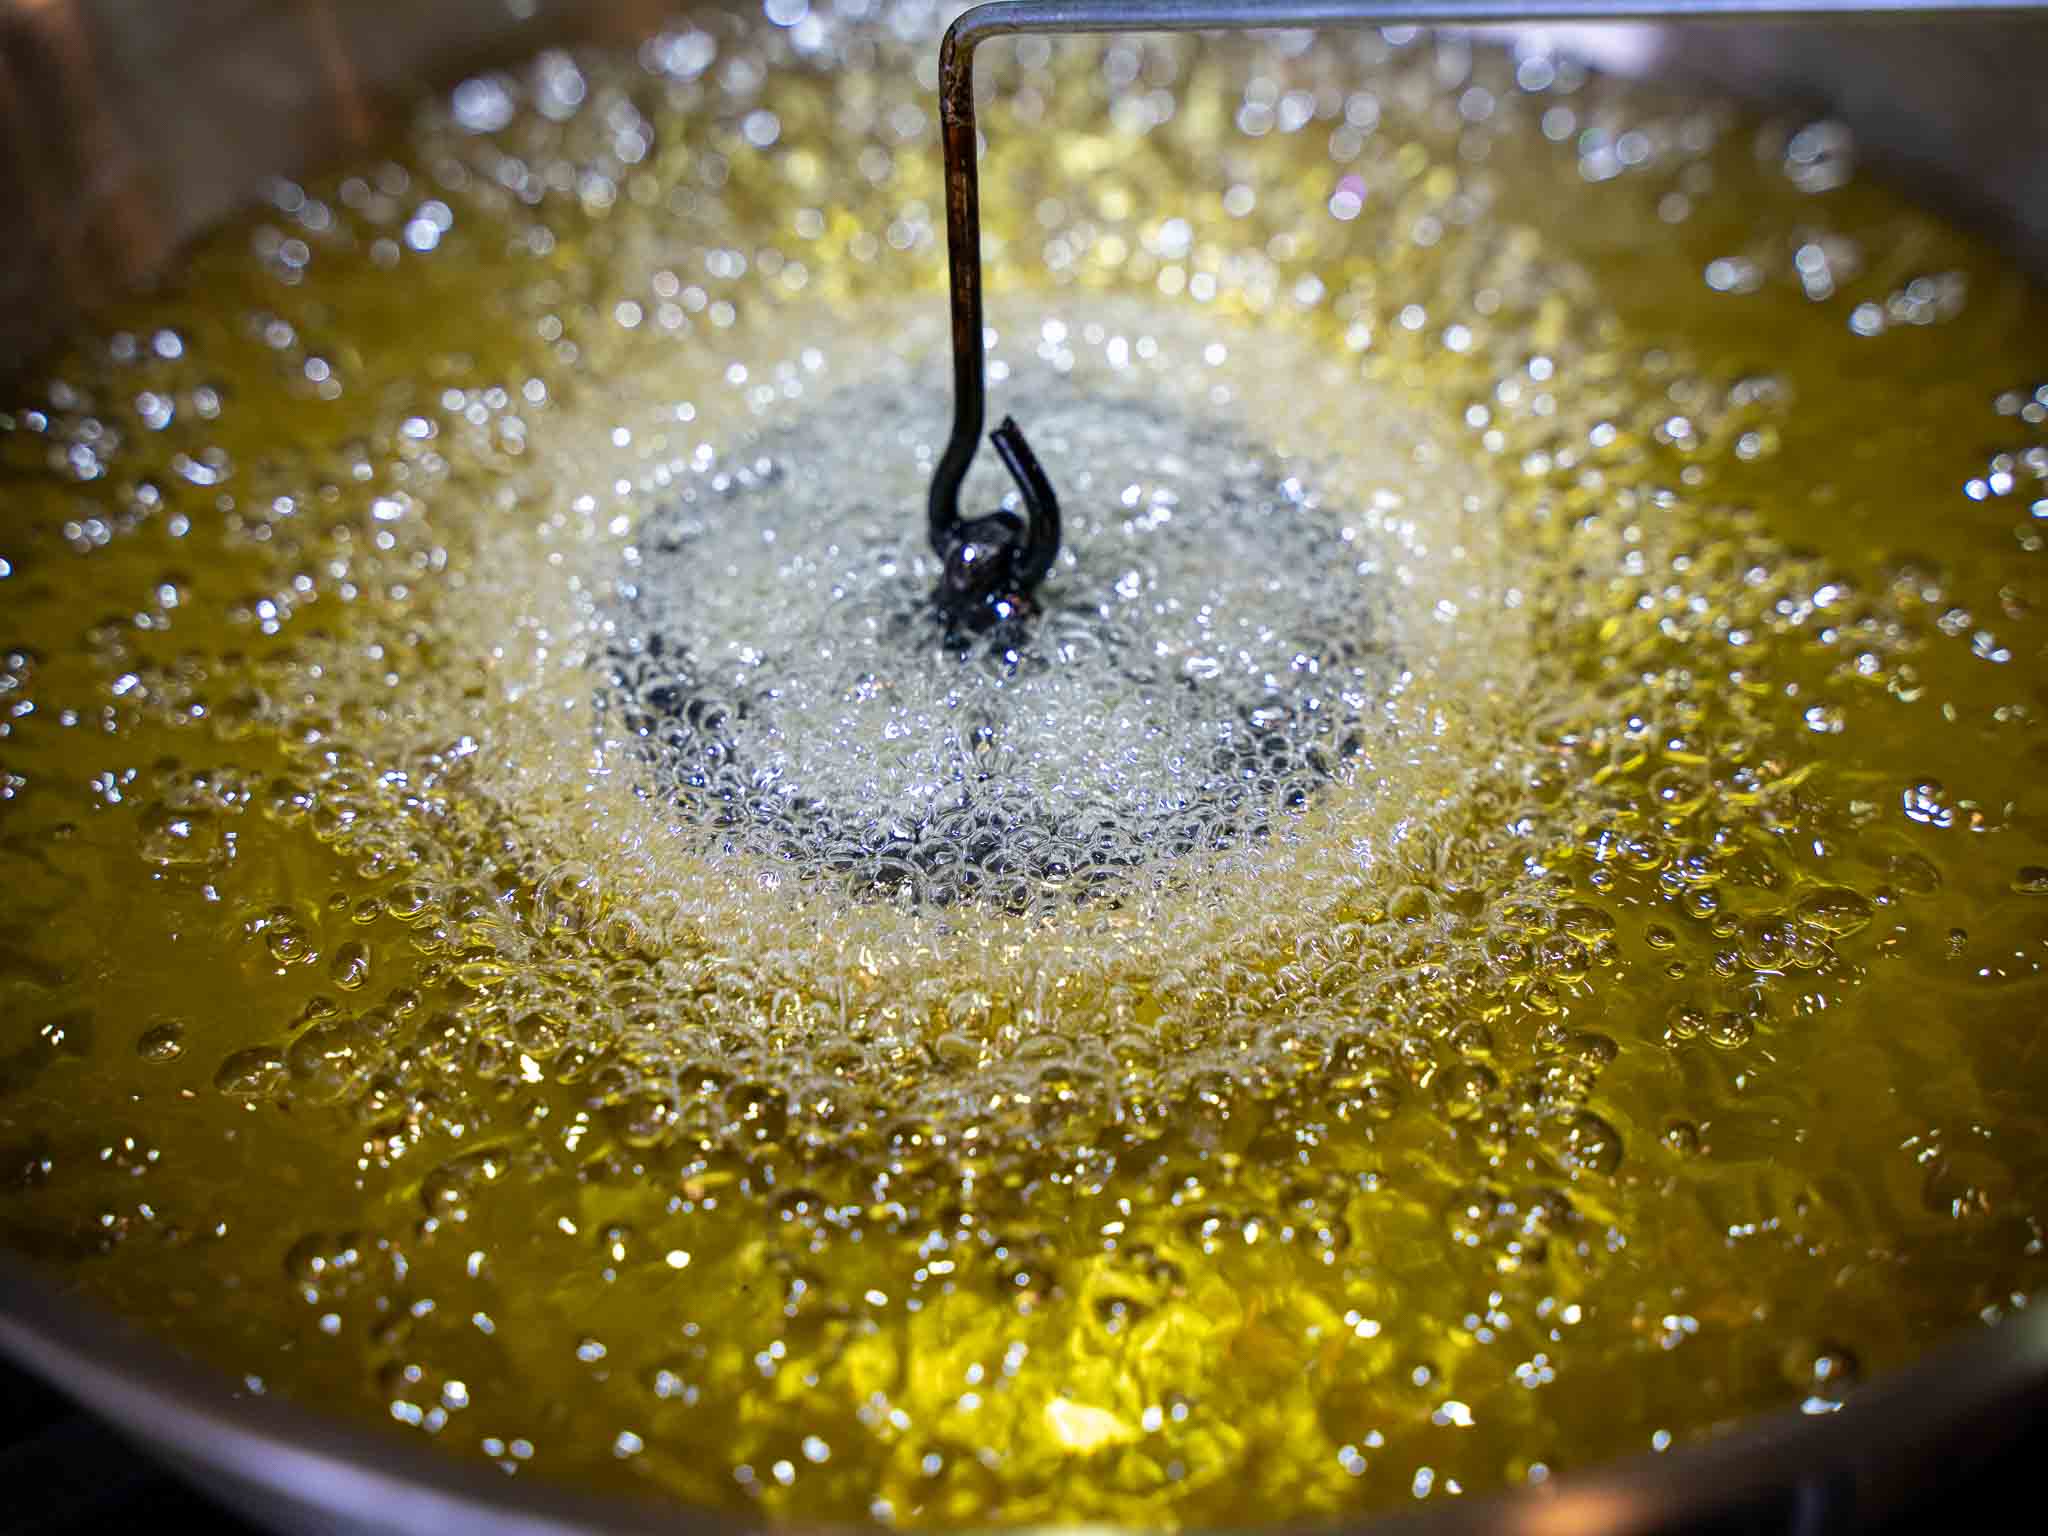
Then immediately dip the mold with the batter in hot oil. Make sure the mold is not touching the bottom. Fry for about 45 seconds - 1 minute. When the batter is hardened and the Kokis can hold their shape, gently lift the mold up and, with the help of the pointy stick, remove the kokis from the mold. (If you're using a non-stick kokis mold, Kokis usually come off the mold right away when you lift the mold up)
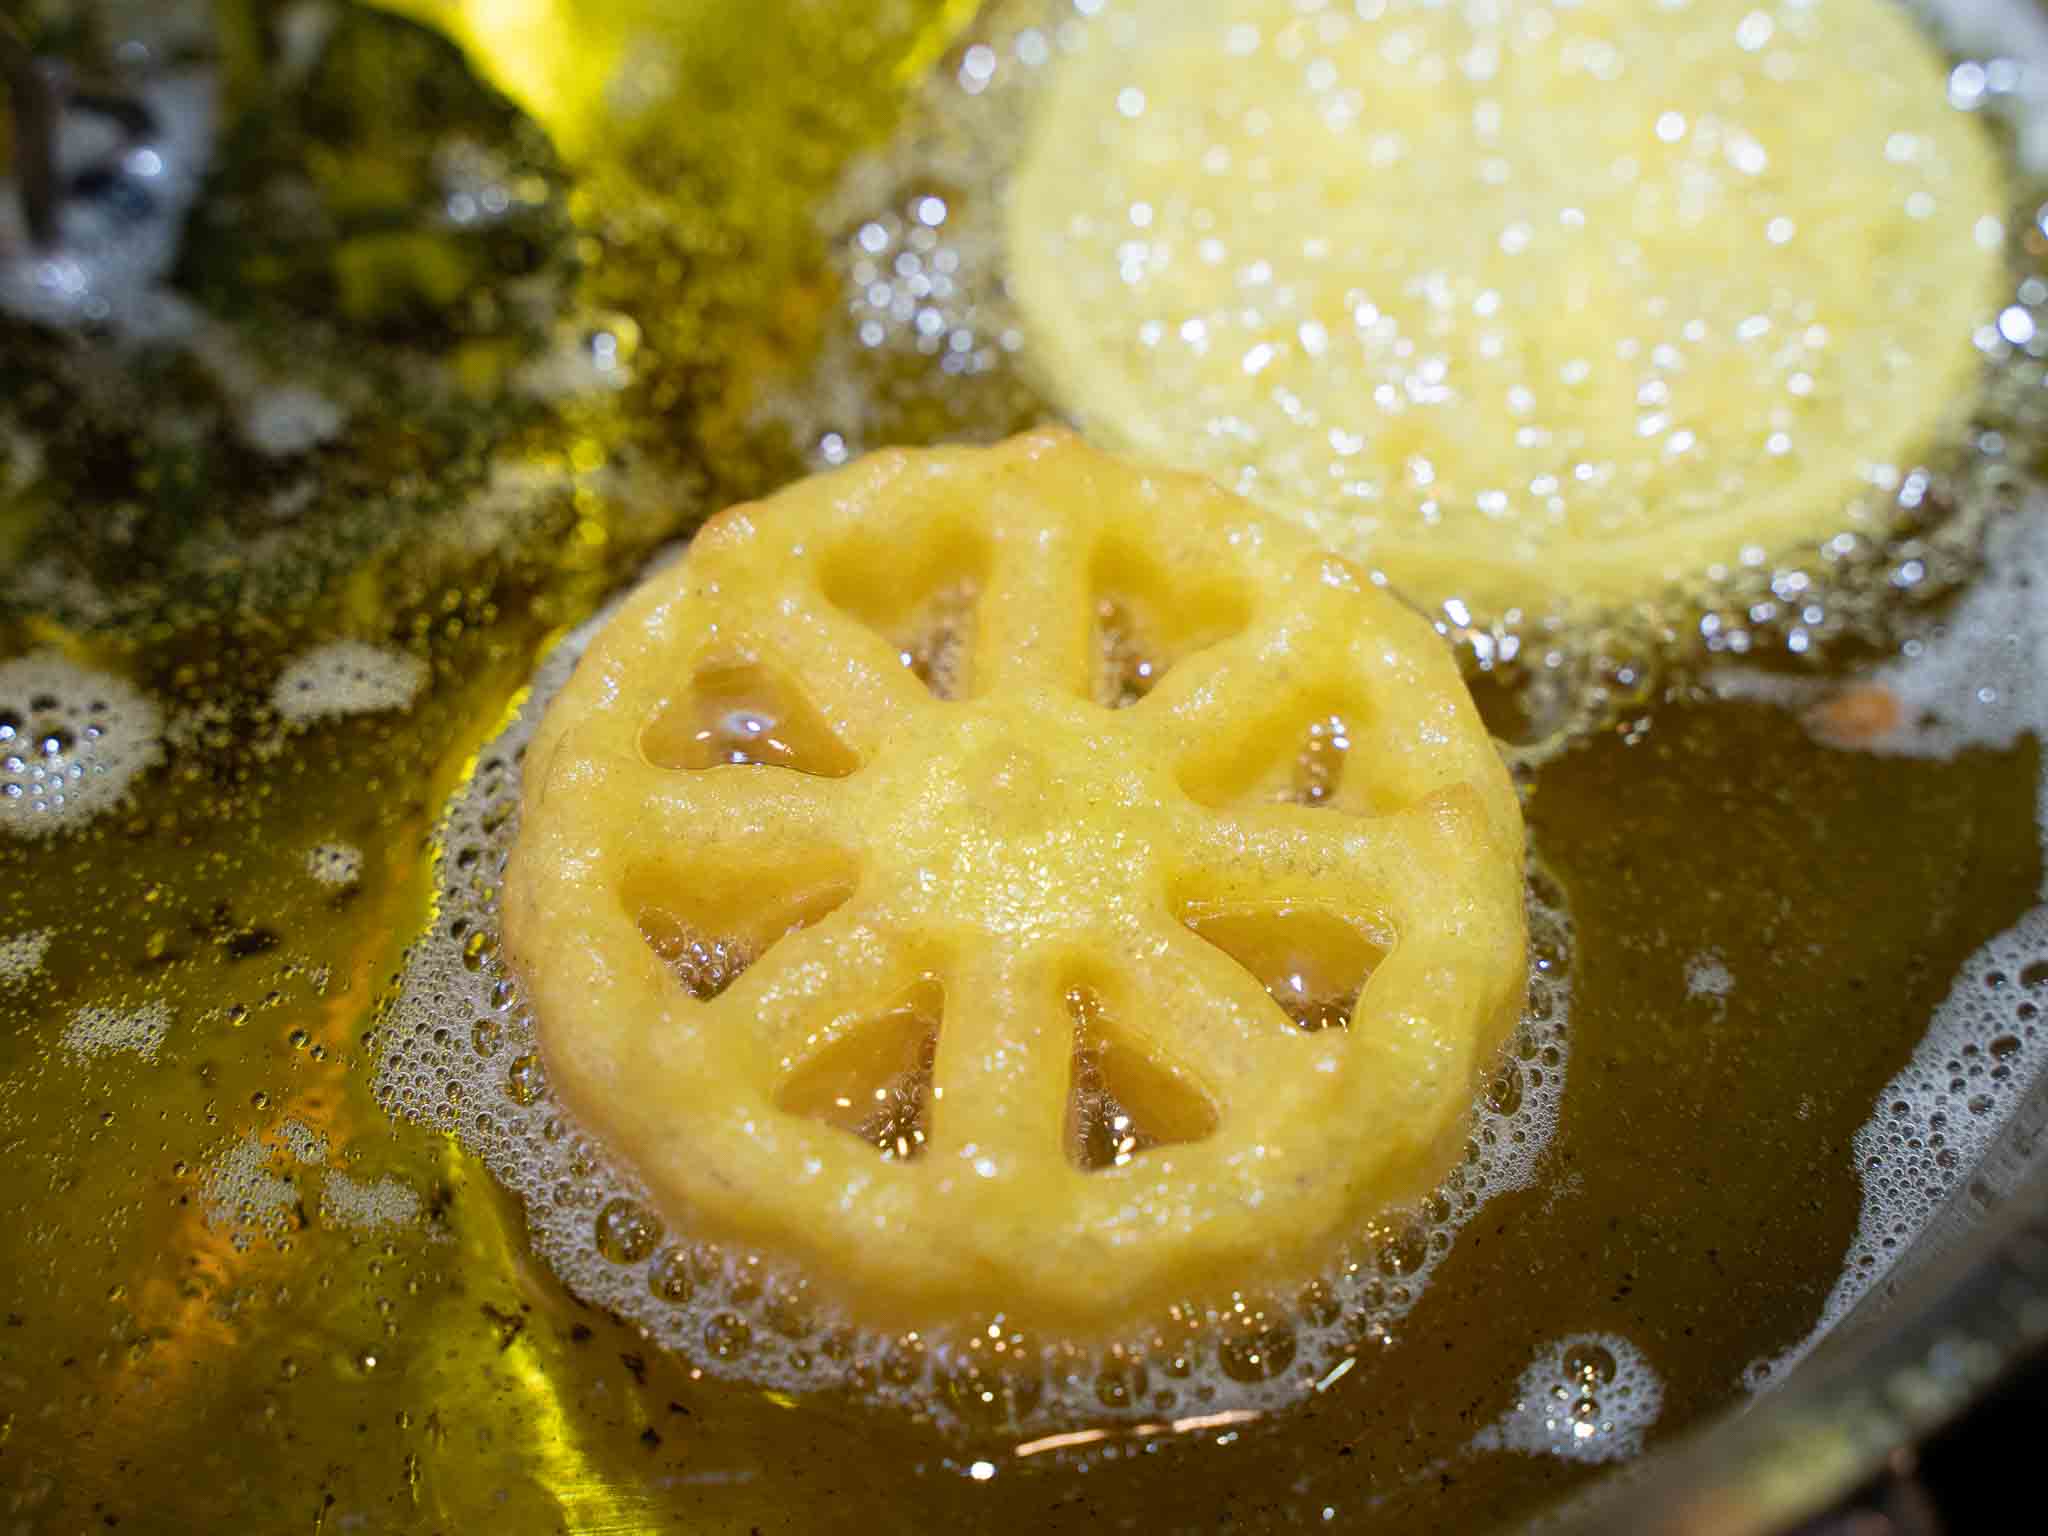
Fry both sides of the Kokis for another 30 seconds or until its golden yellow in color. Then, remove to a paper-lined plate to drain excess oil.


- Keep a little bit of extra coconut milk separate, without mixing it into the batter. The mixture tends to get thicker when you fry kokis because rice flour tends to sink to the bottom. If this happens, add a little bit of coconut milk to dilute it and get the right consistency.
- I use Chaokoh brand canned coconut milk for this recipe. Canned coconut milk is much thicker than freshly squeezed coconut milk. Because of this, I add a little bit of water to the recipe to dilute the coconut milk. If you use freshly squeezed coconut milk, you don't have to add water to this as you use water in the coconut milk extraction process.