Homemade Hamburger Buns

Soft, Delicious, and Easy to make Homemade Hamburger Buns recipe. Once you make them at home, you'll never be happy with store bought hamburger buns.
I have never been a fan of brioche buns for my hamburgers. They are too sweet and sometimes too soft for me. They just absorb the juices and squish into a flatbread, which I'm not a fan of. I like my Homemade Hamburger Buns less sweet and I like them nice and pillowy soft, but I need them to retain their shape and NOT squish into a tortilla when I eat the burger. If this is what you prefer too, my friend, you're at the right place. I promise you, these burger buns are amazing!
**This post contains Amazon affiliate links

Quick Guide to make Hamburger Buns
This is very very easy. You'll find detailed instructions in the recipe but I wanted to give a quick overview so you know how it goes.
- First you make the dough. I prefer to use KitchenAid Mixer but you can hand knead it too.
- Then you cover it and let it rise until doubled in size. (roughly about an hour)
- Punch the dough and divide into equal pieces.
- Shape them into balls and flatten them with your palm
- Cover and let the dough rise again until doubled in size (about 45 mins). Also preheat the oven
- Egg wash, sprinkle sesame seeds and bake!
This looks like a long process, but unless you hand knead, you only need to do about 10 - 15 minutes of hands-on work. And I promise you it's so worth it!

A few helpful tips to get it right
Yeast
Make sure the yeast you're using are not expired. I always buy yeast sachets instead of jars cause the yeast Jars expire so quickly once opened. If you use jars, make sure to store them in the freezer so the yeast remains dormant.
You don't need to activate Instant yeast. But if you're using Active dry yeast, make sure to activate it. Even if I use instant dry yeast, I always add my yeast to the warm liquid and wait for it to make foam to make sure that my yeast is working.
Proofing Time
Proofing Time may vary depending on the room temperature. Yeast activity is higher in higher temps and lower in lower temps. In summer, the dough proofs much quicker than in the winter time. If your kitchen is cold, it can also slow down the yeast activity. So my recommendation is always focus on the size and the feel of the dough rather than time.
Also, make sure you don't overproof. When you overproof the bread, the gluten loses its elasticity, and the buns collapse once you put them into the oven. The result is deflated chewy doughy buns.
When the Burger Buns are proofed right (but not overproofed), they should be doubled in size, have a smooth, shiny surface, and be slightly jiggly when you shake the pan. Also, if you poke the bun, it should slowly bounce back, leaving a small dent. If it bounces back too quickly, it means the buns can be proofed a little longer. If it leaves a dent without bouncing back, it means the buns are overproofed.
Sticky dough?
This dough is moderately high in hydration, around 66%. It can be a little tacky to touch, but if the dough is too sticky, add a little bit more flour, one tablespoon at a time, until the dough is not sticky. This can happen when the humidity is high (especially in summer). If you already know that you are in a high humidity environment, you can start with a little less milk and add more as you knead it.

Grams to Cups/Spoons Measurements
I always measure my bread recipes in grams. It's much more accurate than using cup measurements. But I understand that not many people are used to the metric system. So if you want cup measurements for this recipe, please follow as below.
550g flour = approx 4 cups and 1/3 cup flour
325g milk = approx 1 cup and 2 tbsps
24g sugar = 1.5 tbsp of sugar
35g Butter = 2.5 tbsp Butter
12g salt = 2 tsp salt
7g yeast = 2 1/4 teaspoons yeast or 1 sachet

What to make with Hamburger Buns
Hamburgers of course!! But these Burger Buns are perfect for making crispy chicken sandwiches, grilled chicken sandwiches, salmon burgers, or any sandwich of your choice. You can also use this same recipe to make slider buns or dinner rolls as well.
My delicious, soft and fluffy Burger Buns that are so easy to make. Give it a try and you'll never buy store bought buns again.
- 325 g Milk (lukewarm)
- 7 g Instant dry/Fast acting yeast
- 1 Egg (better if it's at room temperature)
- 35 g Softened unsalted butter
- 24 g Granulated Sugar (or 18g honey)
- 12 g Salt
- 550 g All purpose flour
- 1 tsp Oil (to coat the bowl and the dough)
- 1 Egg yolk (for the egg wash)
- 2 tsp Milk (for the egg wash)
- 1 tbsp Sesame seeds
Into the mixer bowl (you can hand knead too), add lukewarm milk, instant yeast, egg, butter, sugar, salt and flour. Knead in the mixer for 10 minutes or hand knead for about 15 minutes or until the dough is very soft and stretchy.
If you use Active dry yeast, make sure to activate it in lukewarm milk and a little bit of sugar.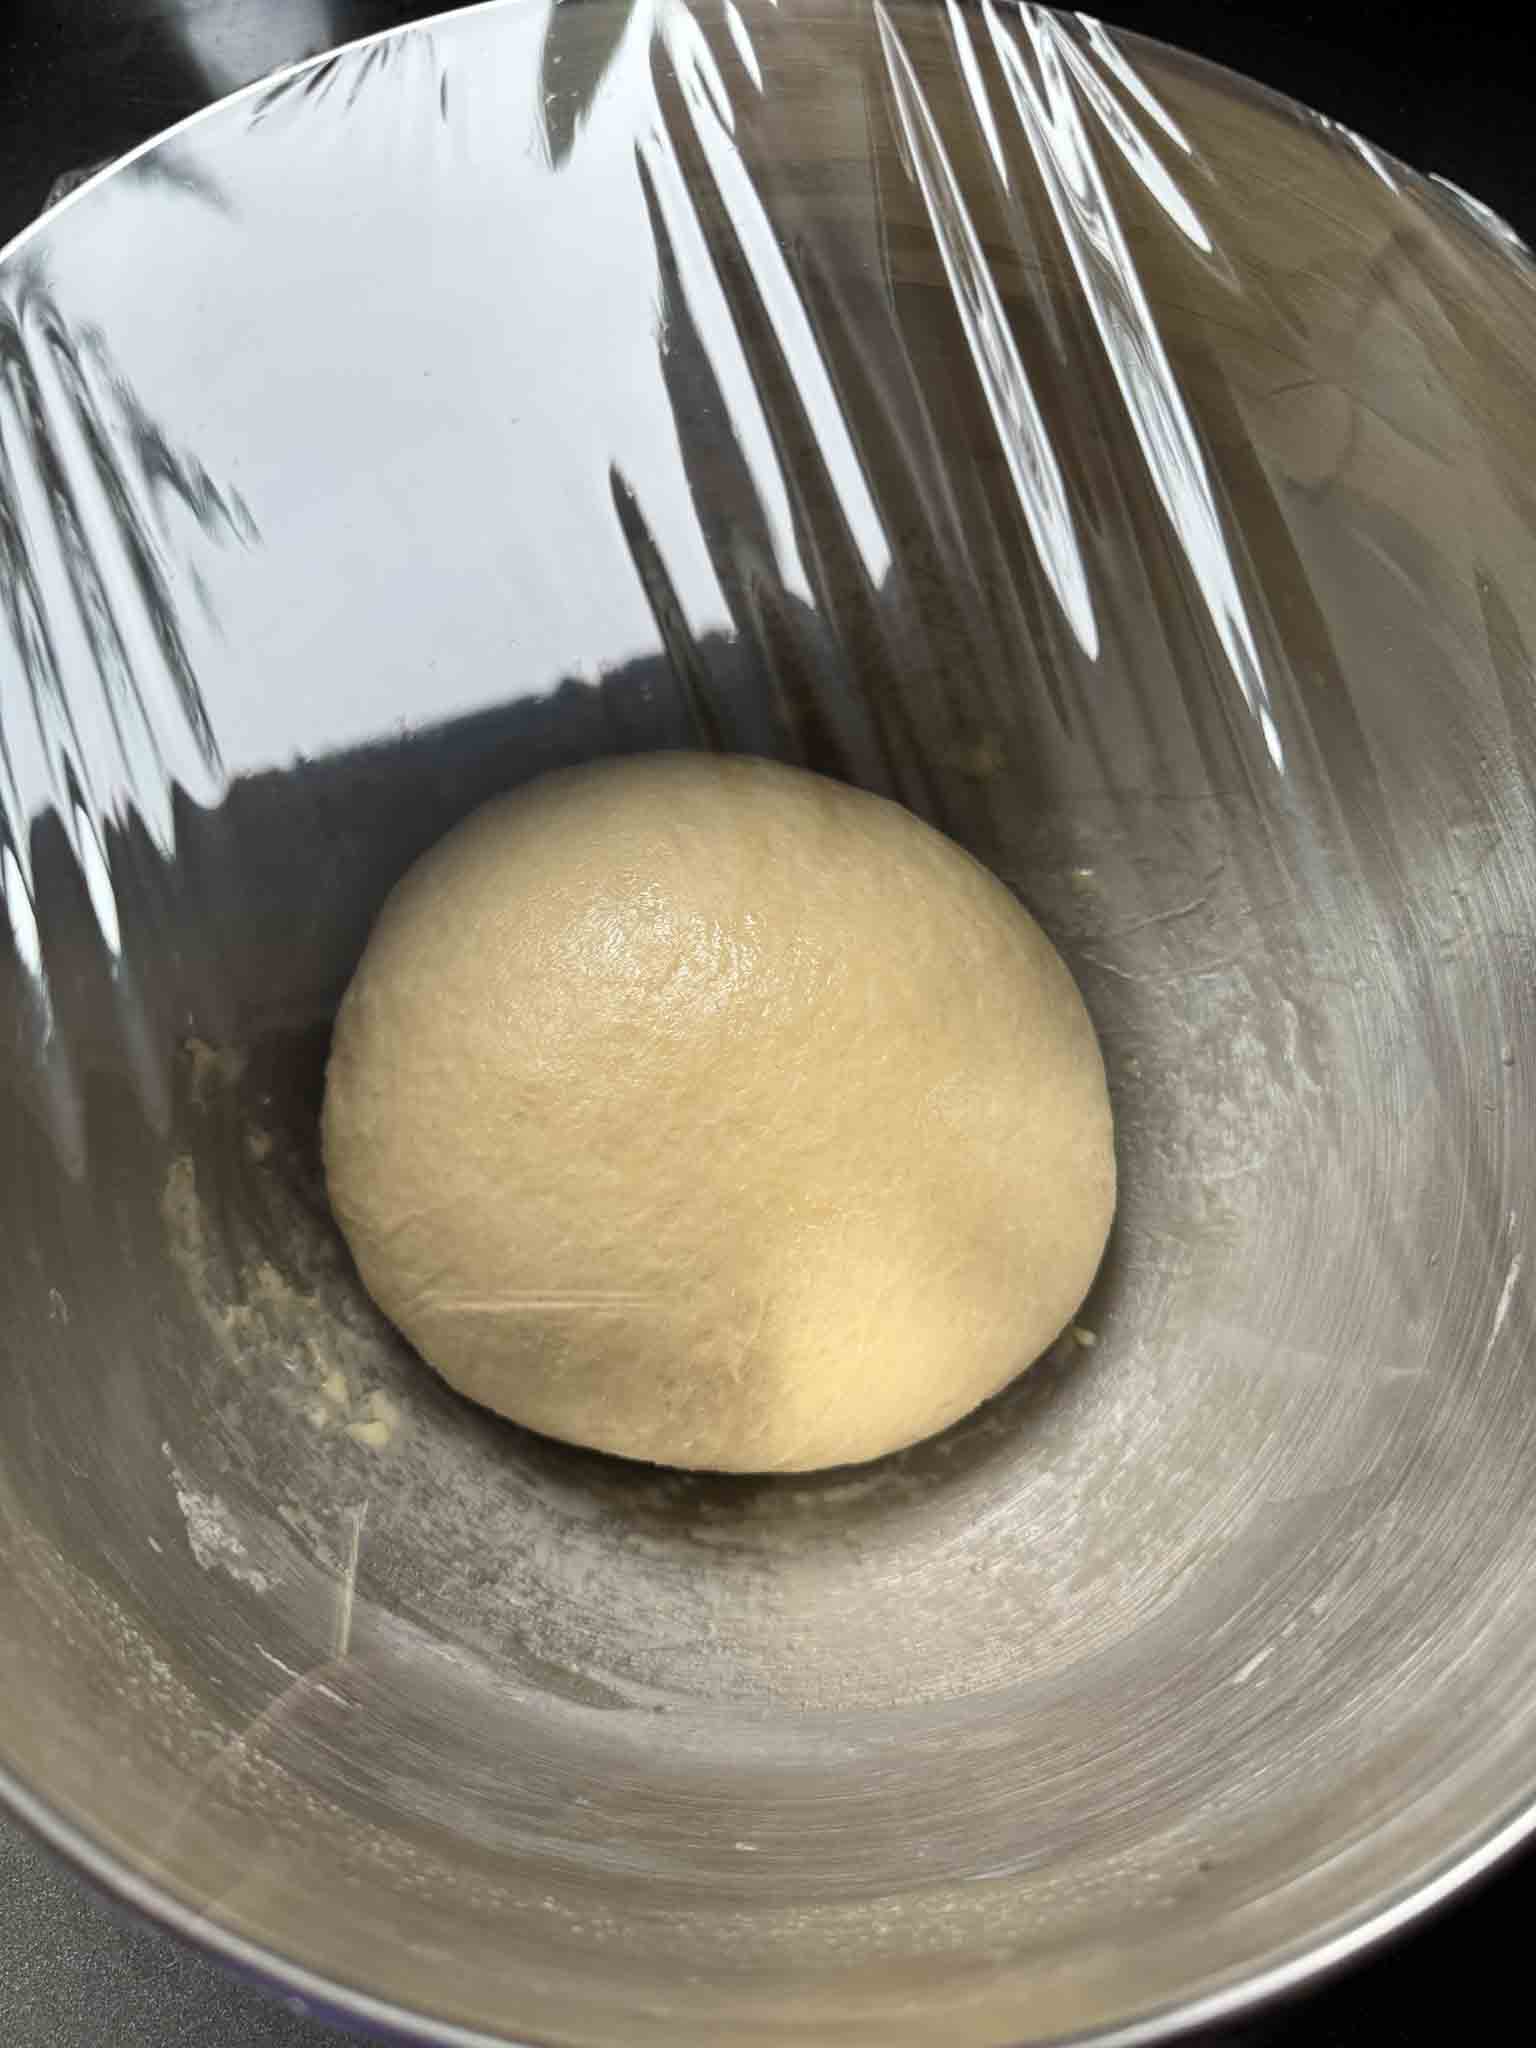
When the dough is kneaded, take it out and make it into a round ball. Lightly oil the bowl. Put the dough back it. Apply a little bit of oil over the dough as well. Cover the bowl with a plastic wrap.
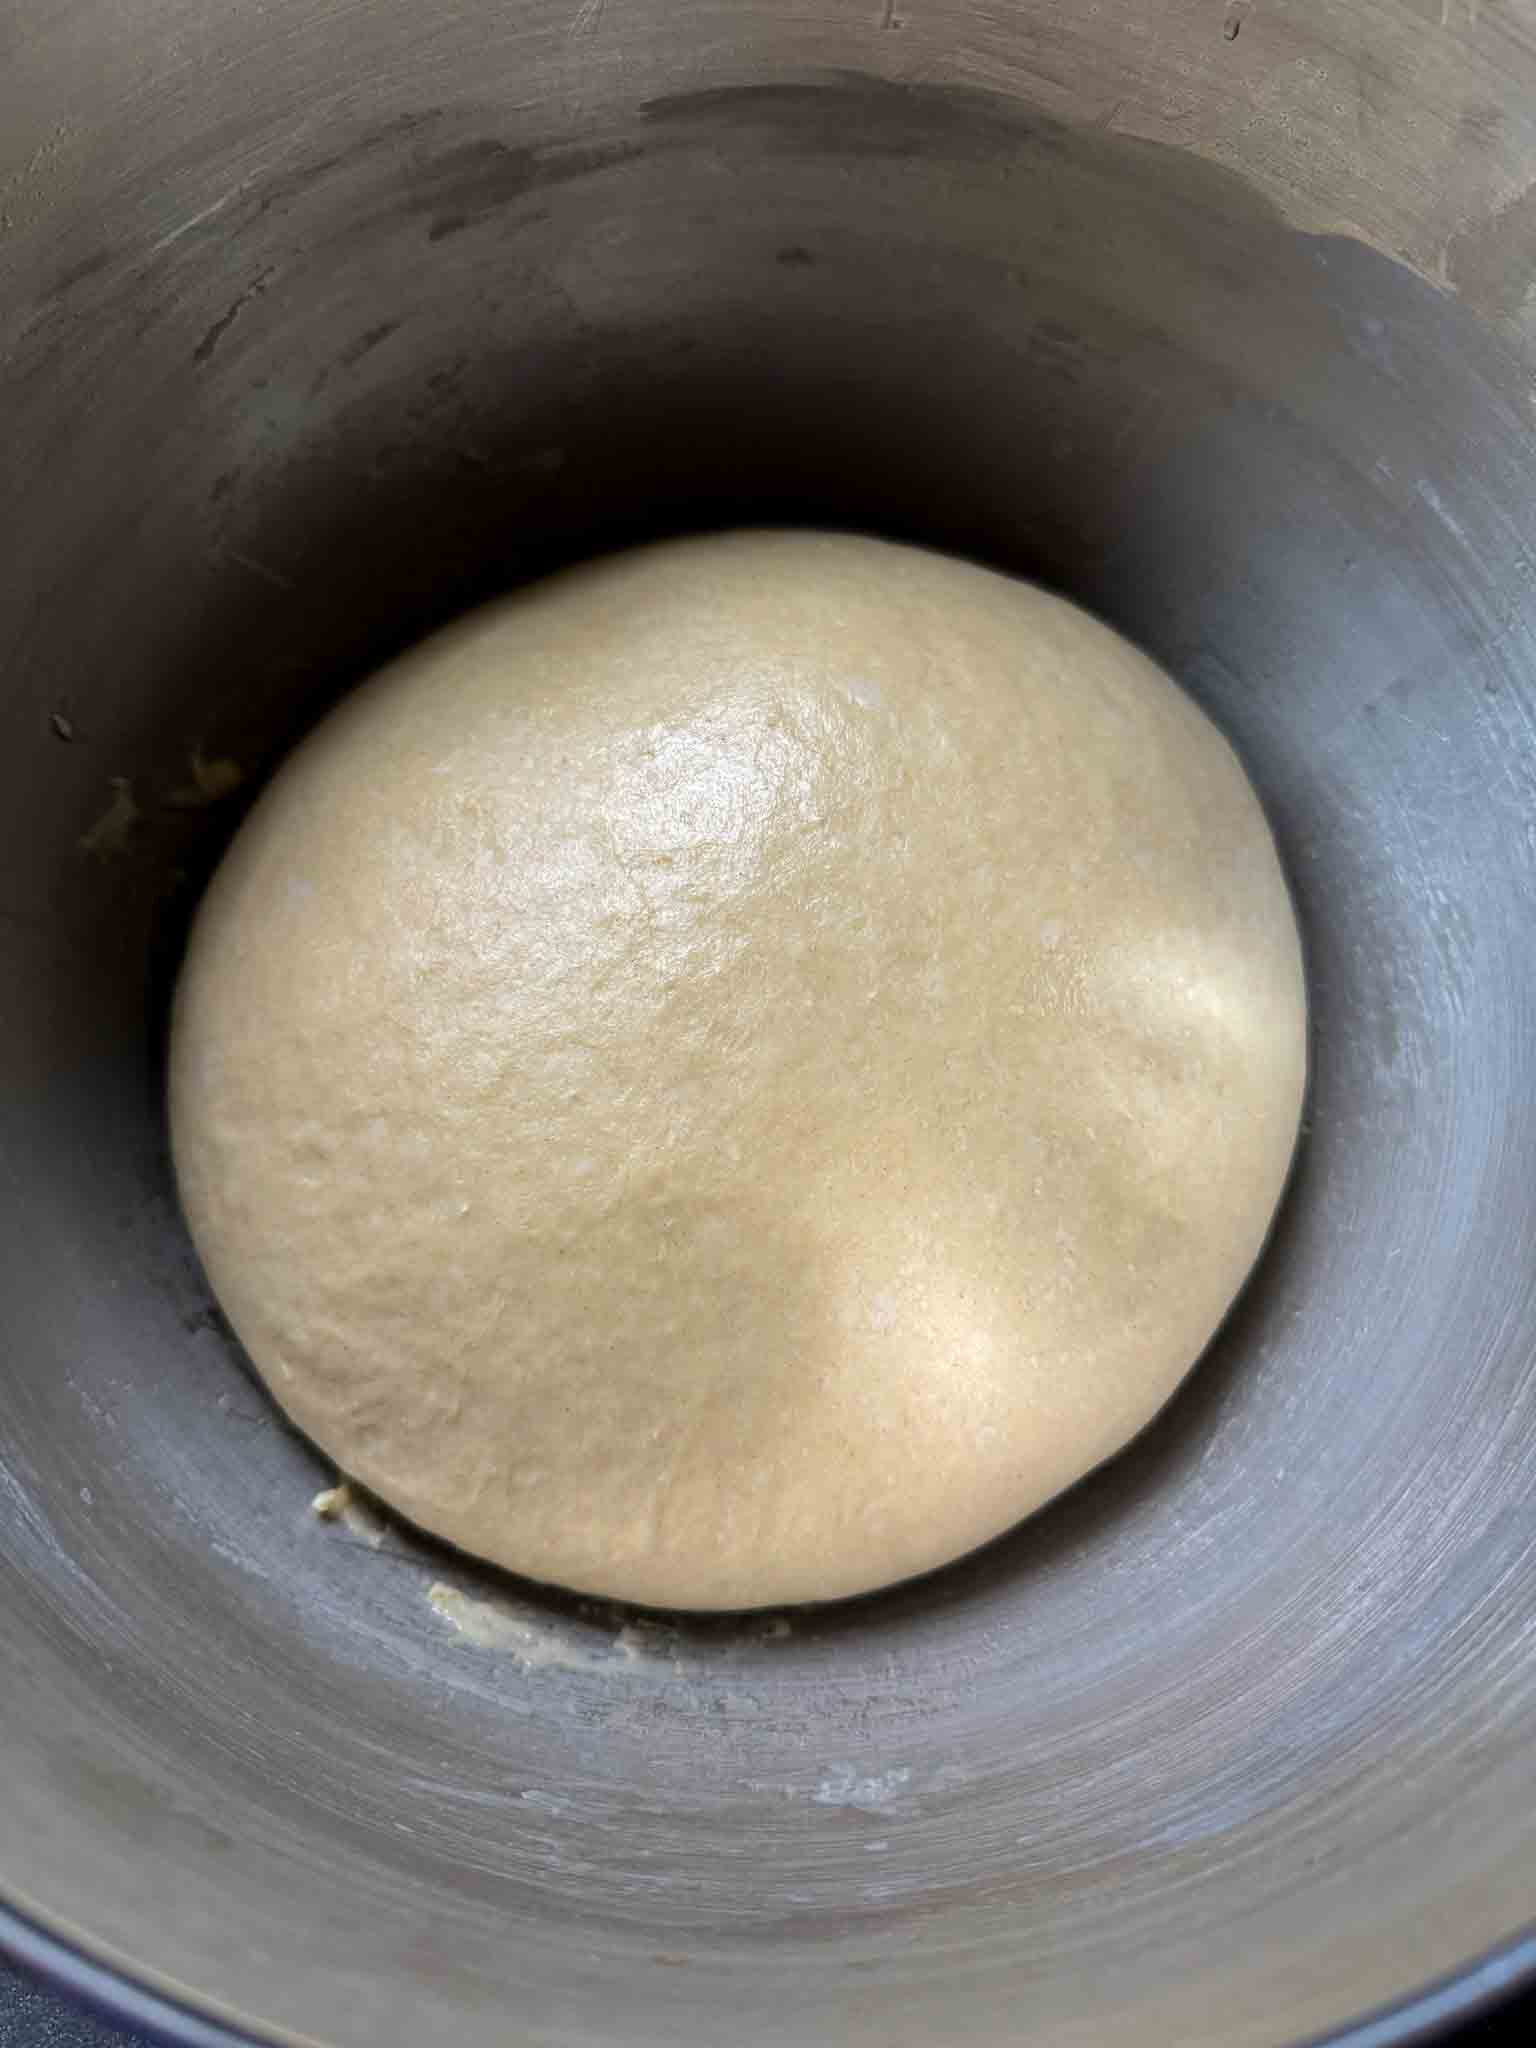
Let the dough double in size. This will take roughly 1 hour, depending on room temperature. (It will rise quicker in summer and will take longer in winter)
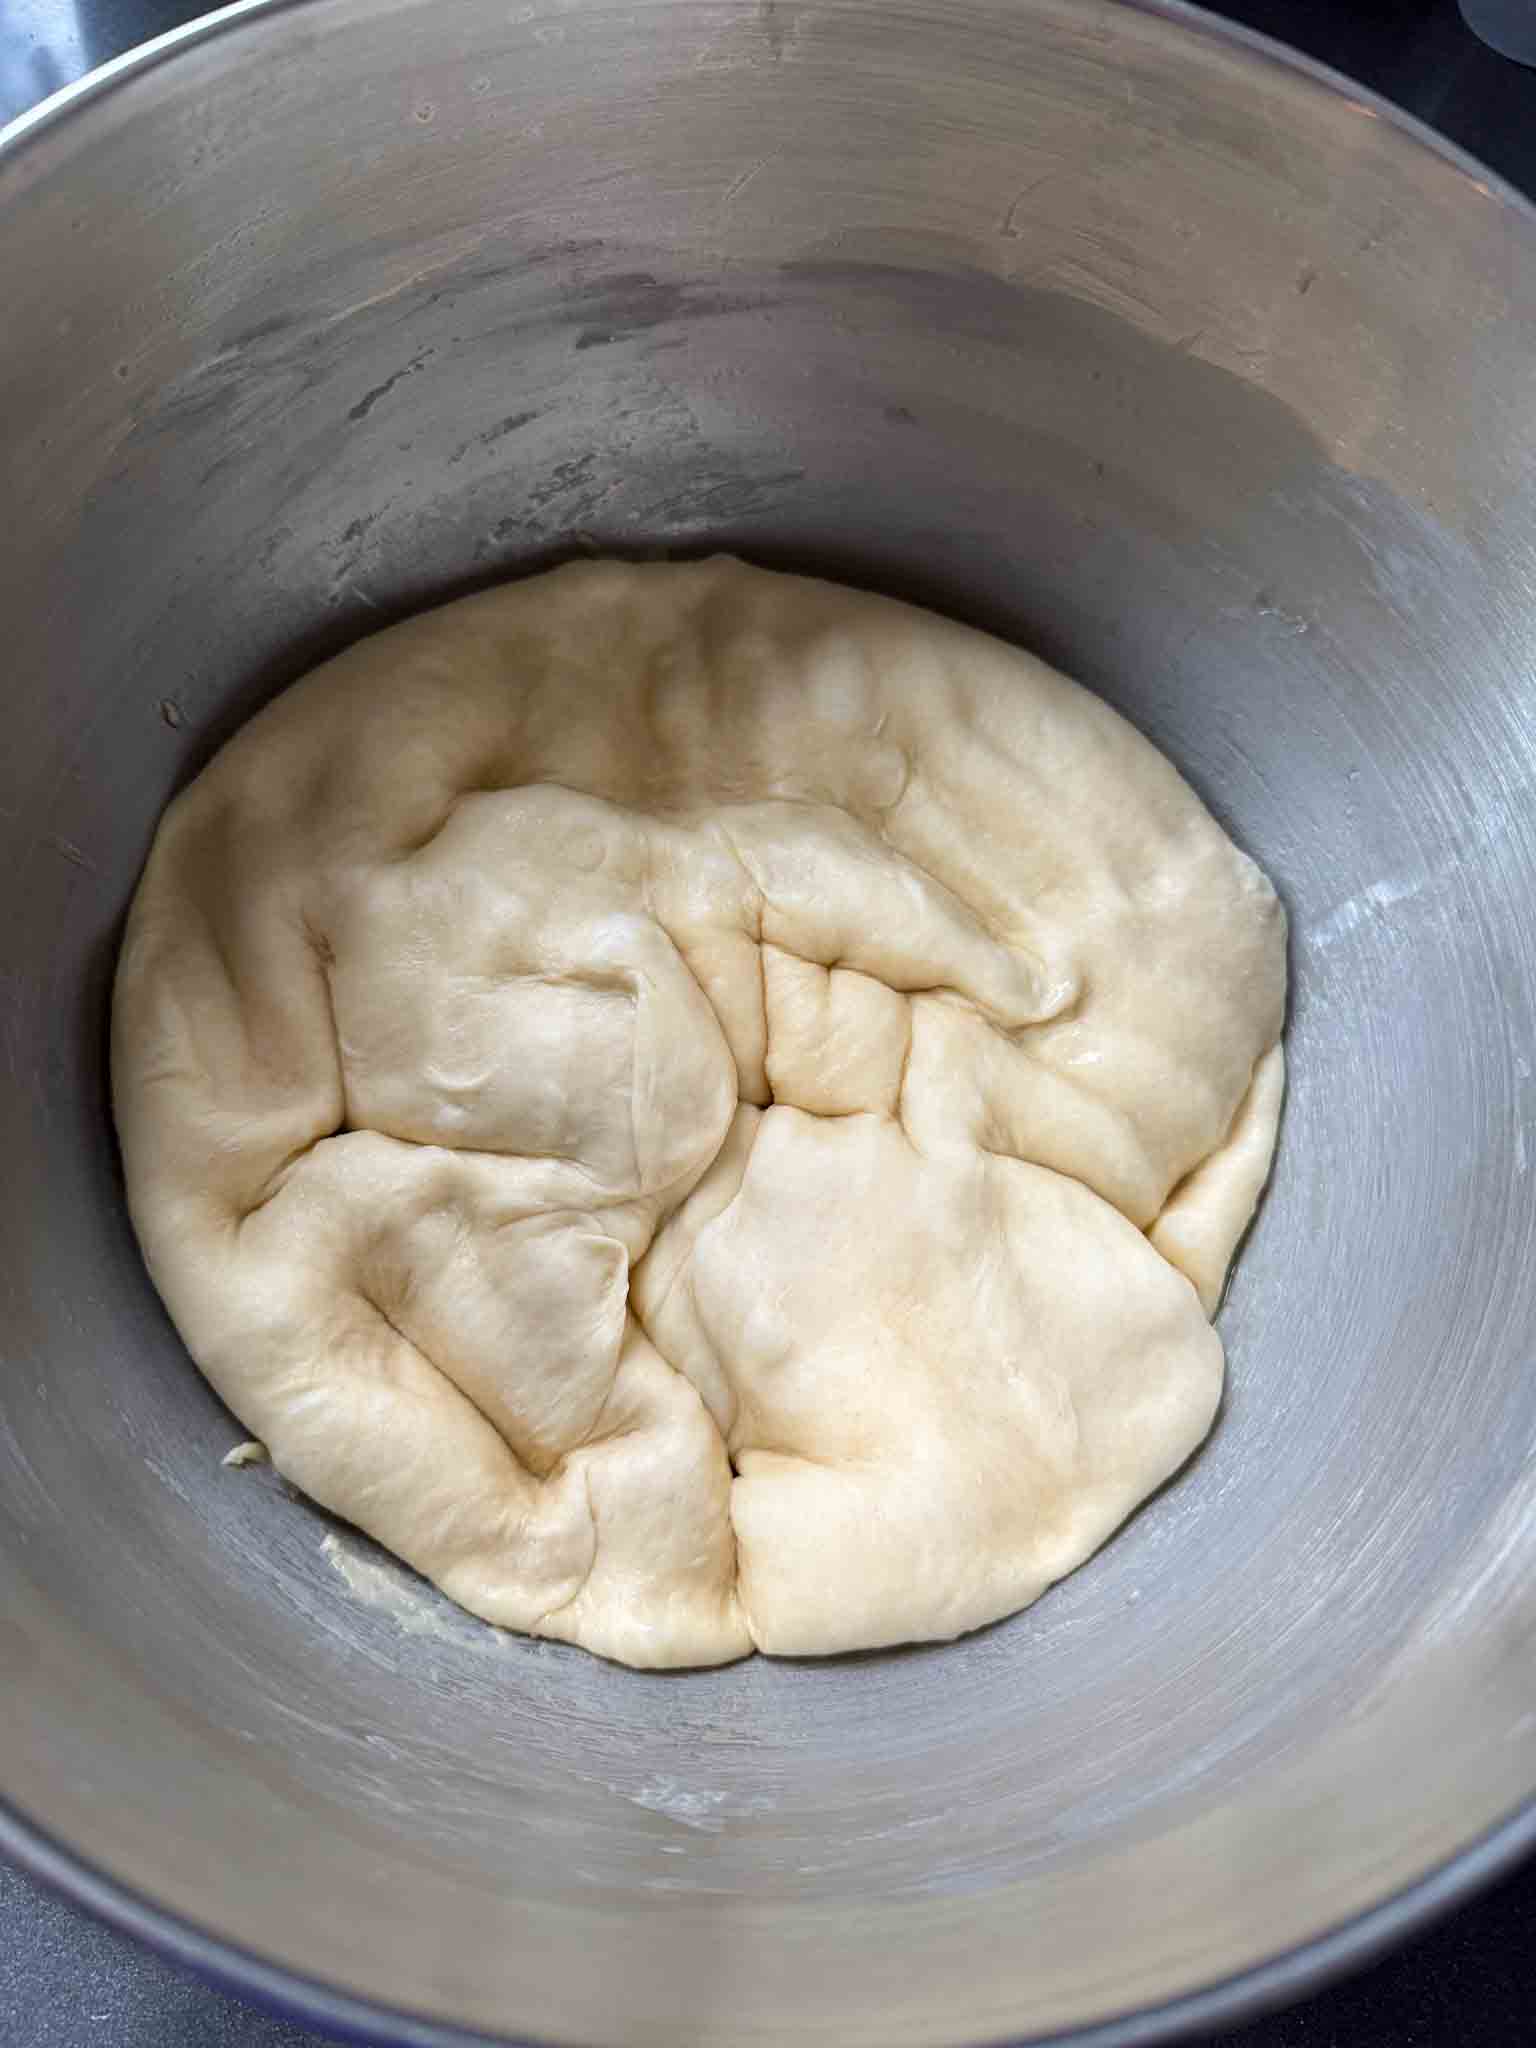
Punch the dough to deflate and remove the air out.
Take the dough out and divide the dough into 10 equal-sized balls, each dough ball roughly weighing about 100g.
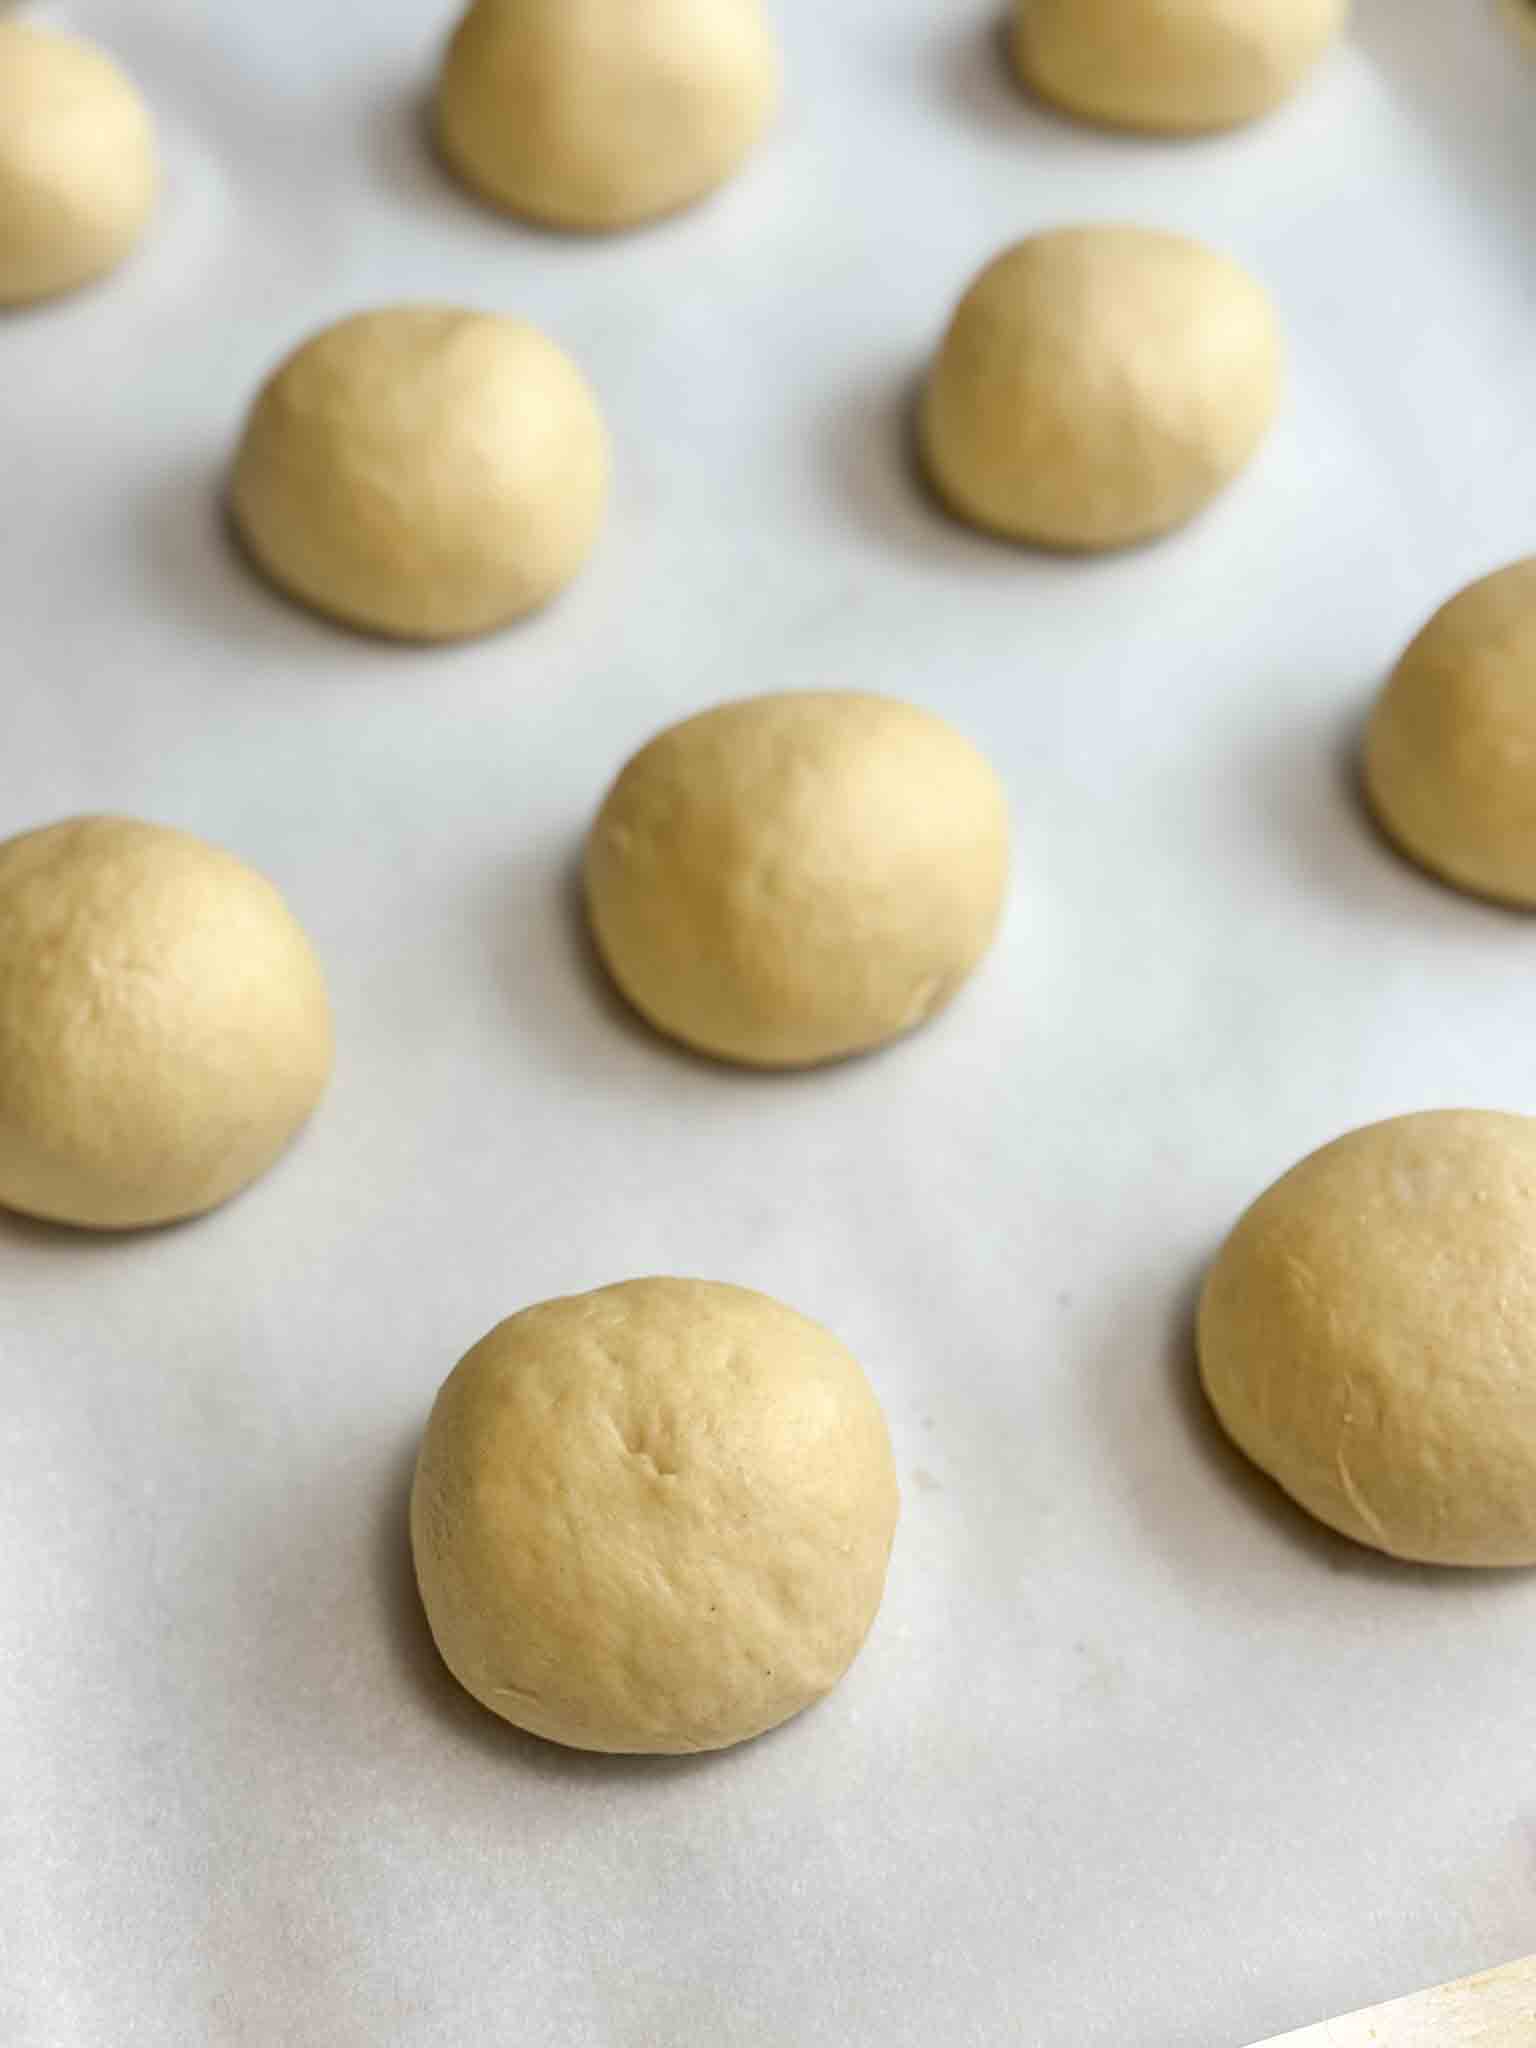
Make each dough piece into a small round dough ball, with a smooth surface on top. Place them on a parchment-lined baking tray. (I use this 21 inch * 15 inch baking tray)
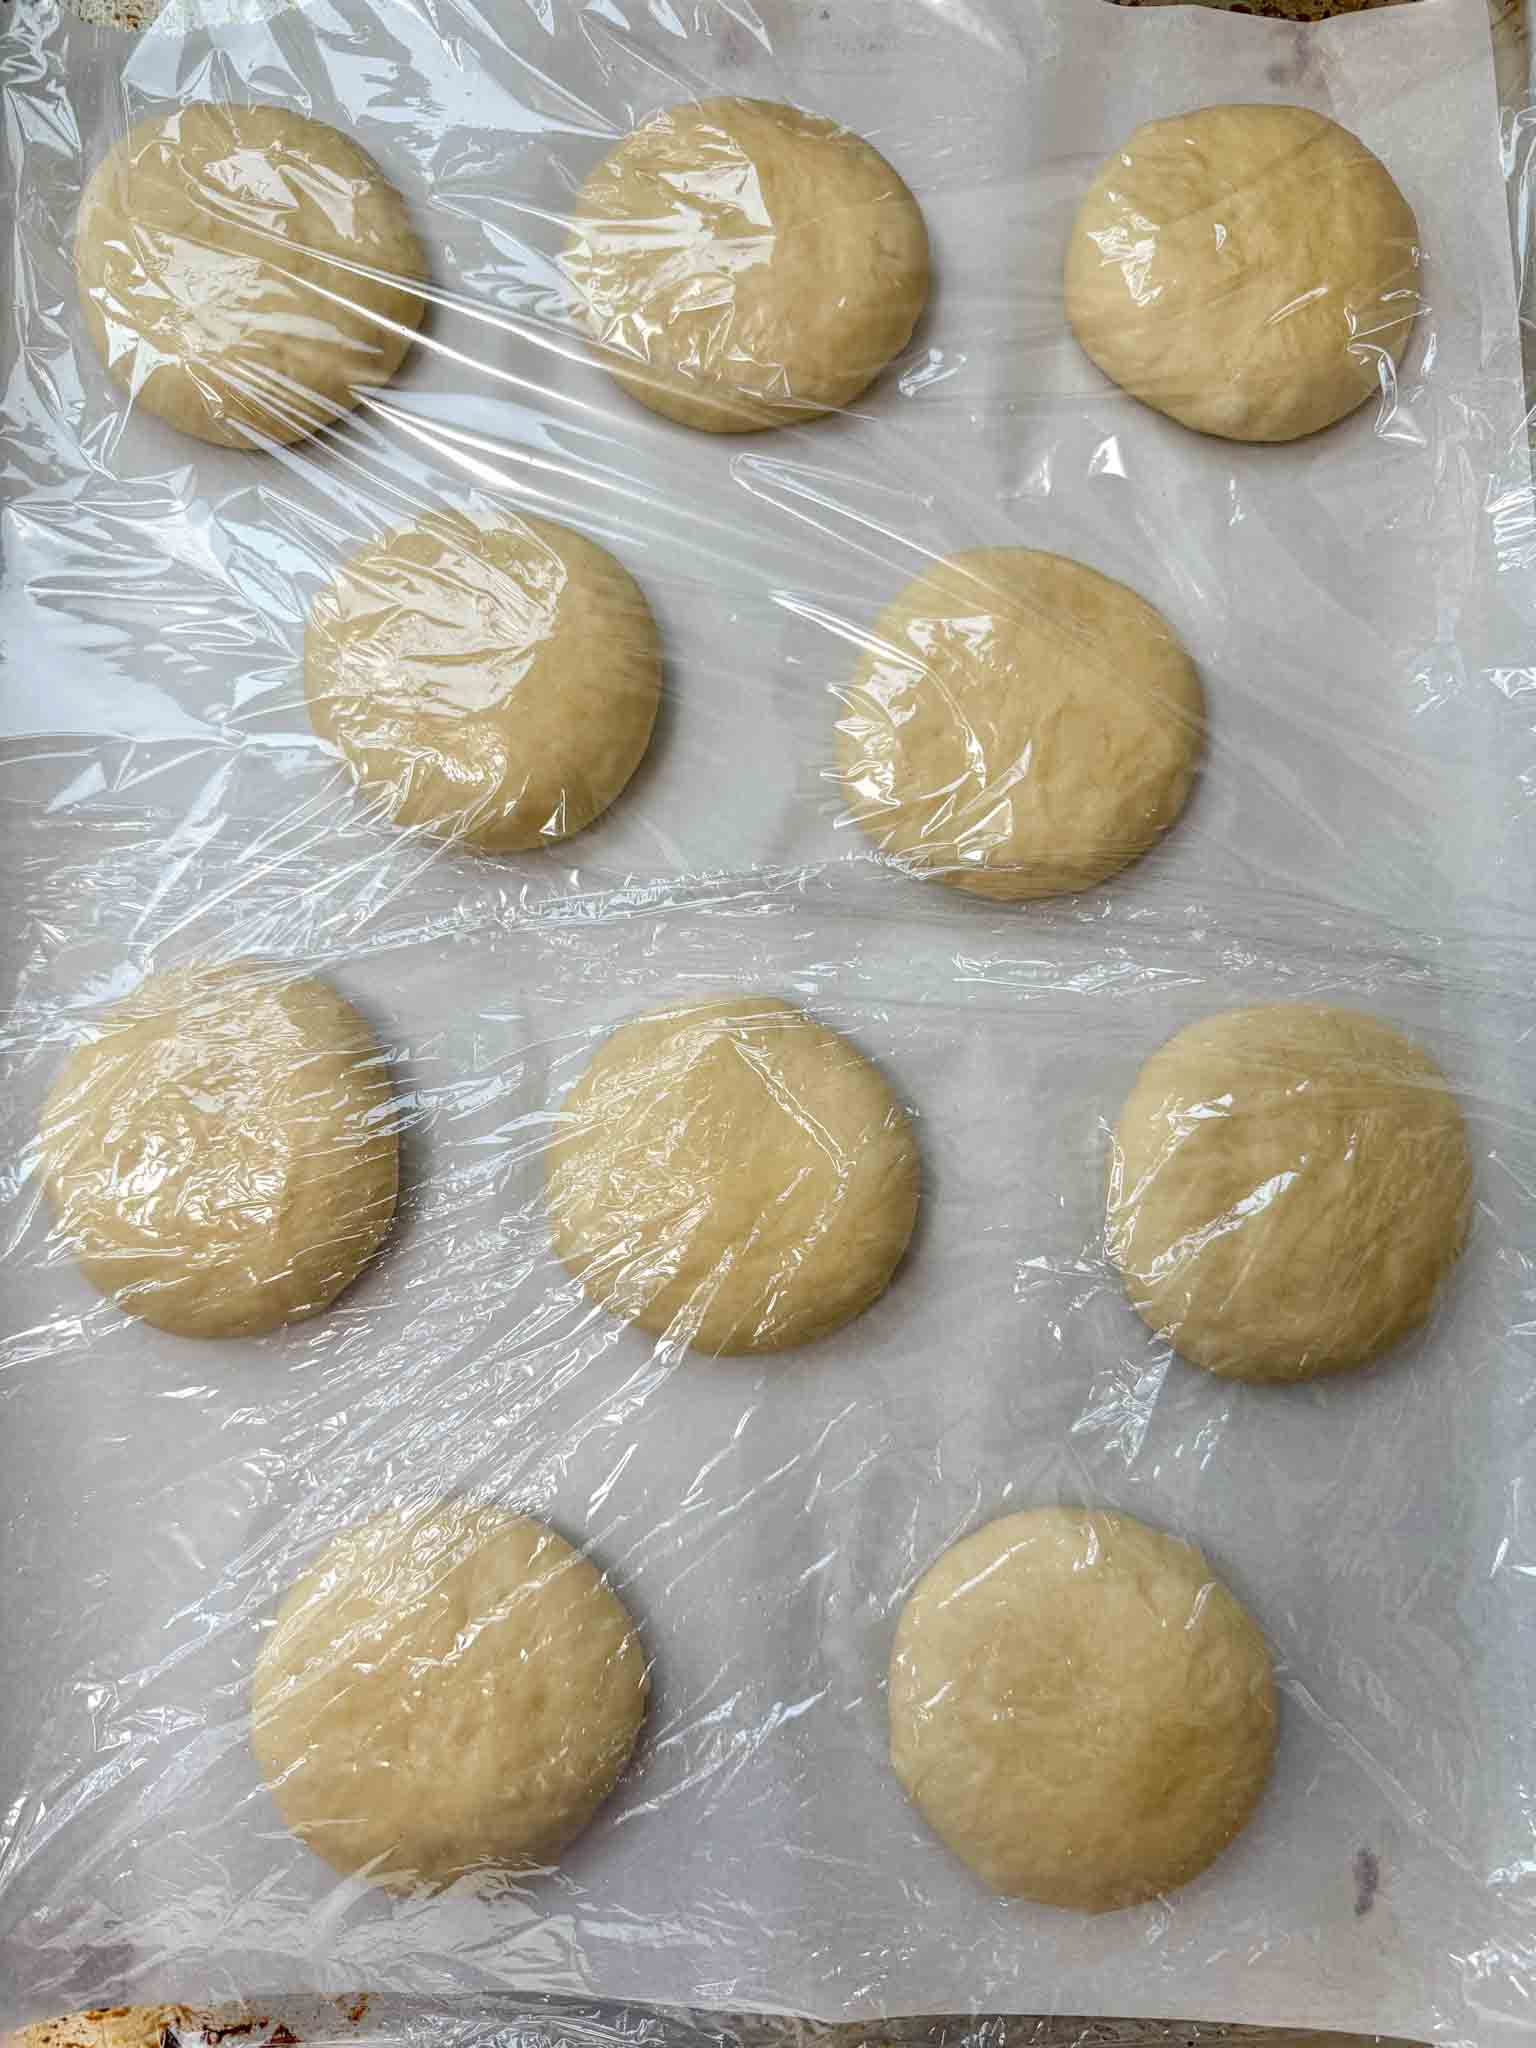
Flatten them with your palm until each ball is roughly about 3 - 3.5 inches in diameter. Cover with plastic wrap and let the dough balls proof again until they are doubled in size. This will take about 45 minutes. (Do not let them overproof though. Read the recipe description to find out more about proofing.) Meanwhile, pre-heat the oven to 375F / 190 C
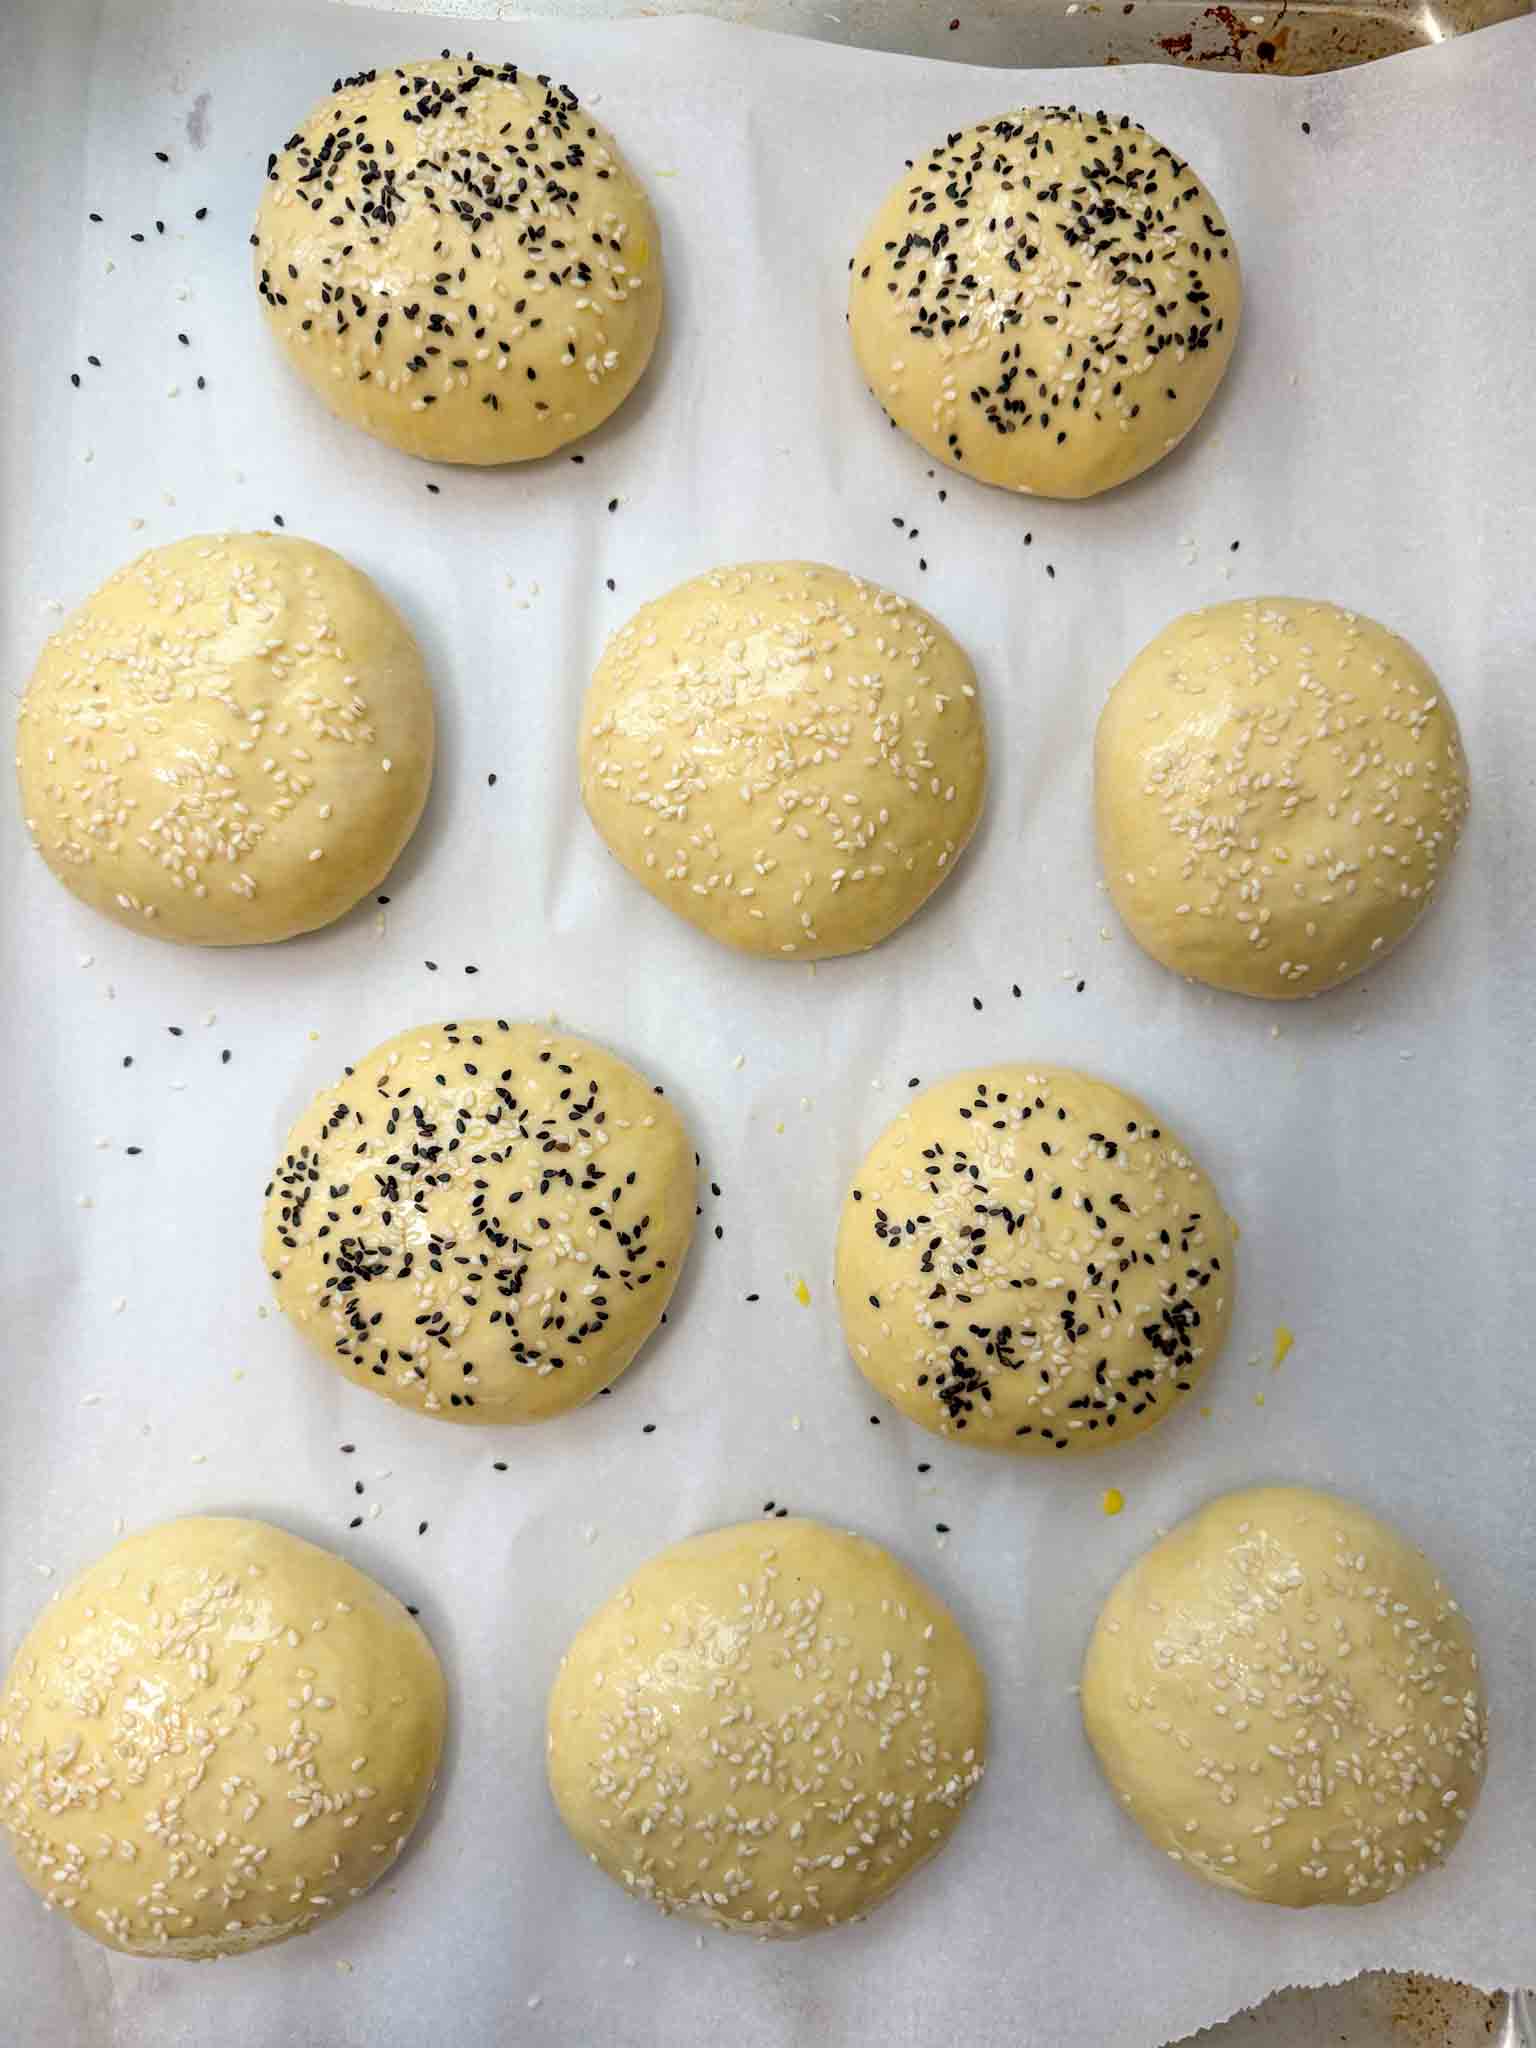
Mix egg yolk and milk together to make the egg wash. When the dough balls are done proofing, apply the egg wash using a brush and sprinkle sesame seeds on top.

Bake the buns for 15 - 18 minutes or until they are golden in color. Let the buns cool down for about 30 minutes before cutting them open.