Basic Sourdough Bread
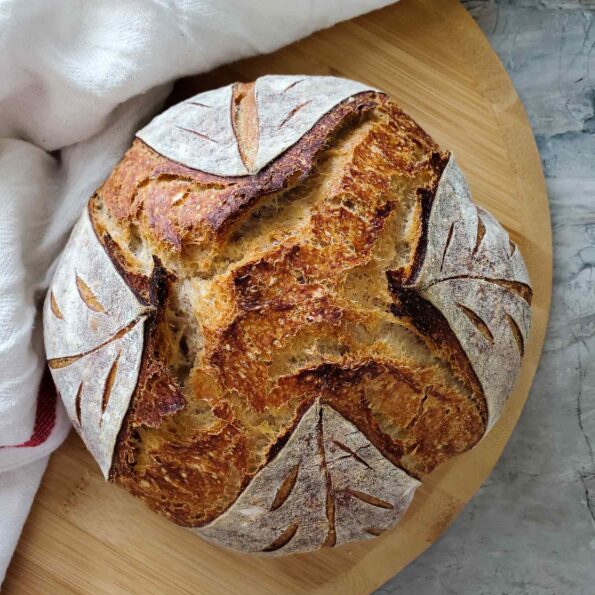
This basic sourdough bread recipe is perfect for beginner sourdough bakers. The process is very similar to normal bread baking and you can use your mixer too.
This is one of the basic sourdough recipes I use to make my sourdough bread. I particularly like this sourdough bread recipe because the method is very similar to a normal bread baking process. And this is a low hydration (60%) bread recipe which makes it easier to handle for a beginner. Plus I get to use my mixer which means I get to skip most of the stretch and folds.
If you don’t have a mixer, and you don’t like kneading, don’t worry. I will upload my other basic sourdough recipe later, which doesn’t need any kneading at all.
When you use the sourdough starter for bread, there are a couple of things you need to know before you start making the dough.
- Sourdough starter doesn’t work as quickly as commercial yeast. So sourdough bread making takes a lot of time. You’re going to need about 40% of the weight of your bread flour for this recipe. So, calculate how much starter you need and schedule everything ahead of time.
- The starter needs to be very active when you use it. So if you follow the 1:2:2 ratio, feed it 6 - 8 hours before you start making your bread. The time may vary depending on how active your starter is.
Pin this to your favorite Pinterest Boards
Some items that are mentioned in the recipe which would be needed for sourdough bread making (Affiliate Links)
Description
This basic sourdough recipe is perfect for beginner sourdough bakers. The process is very similar to normal bread baking and you can use your mixer too.
Ingredients
- 400 g strong unbleached bread flour
- 240 g water at room temp
- 8 g salt
- 160 g fed active starter (100% hydration)
Instructions
- Feed 40g of your starter with 80g of flour and 80g of water, 6 - 8 hours before you start mixing the dough. After 6 hours, do the float test to see if the starter is ready. Carefully take a spoonful of sourdough starter and drop that into a glass of water. If it floats, that means your starter is ready to mix with the dough. Always use the starter before it reaches the maximum rise.
- Now to the stand mixer bowl, add water and 160g of fed sourdough starter/levain. Mix until the starter dissolves in water.
- Now add flour and salt. Using the dough hook, knead the dough in the mixer for 10mins. The dough is wet. But don’t add any flour. Do the windowpane test. If the dough breaks when you stretch it, knead a bit more until you get that windowpane.
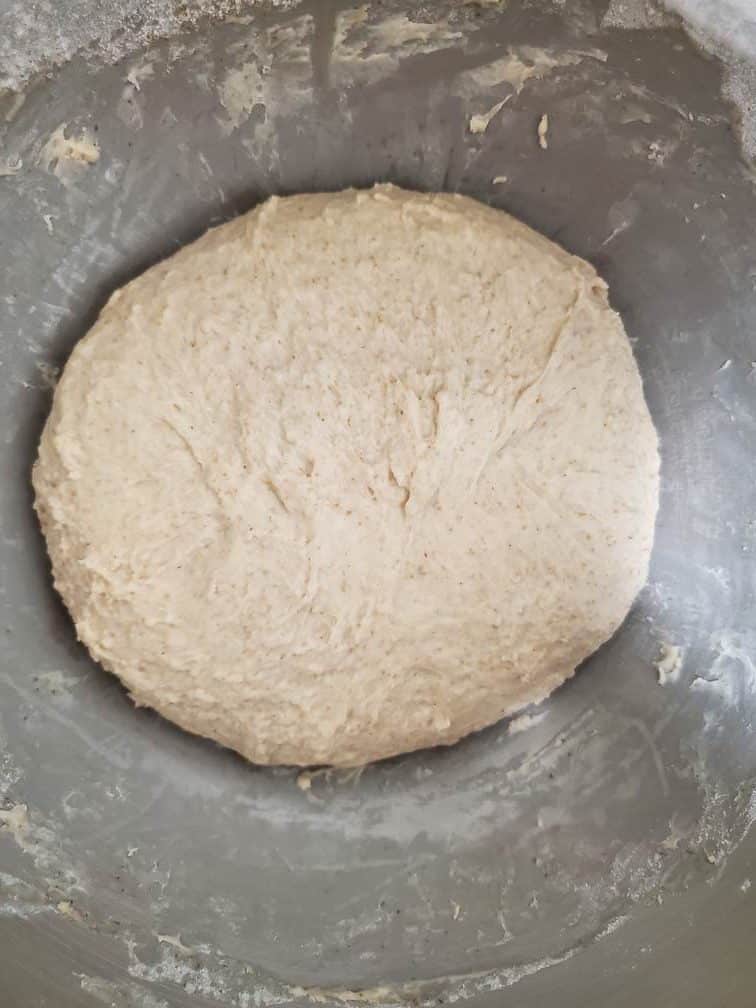
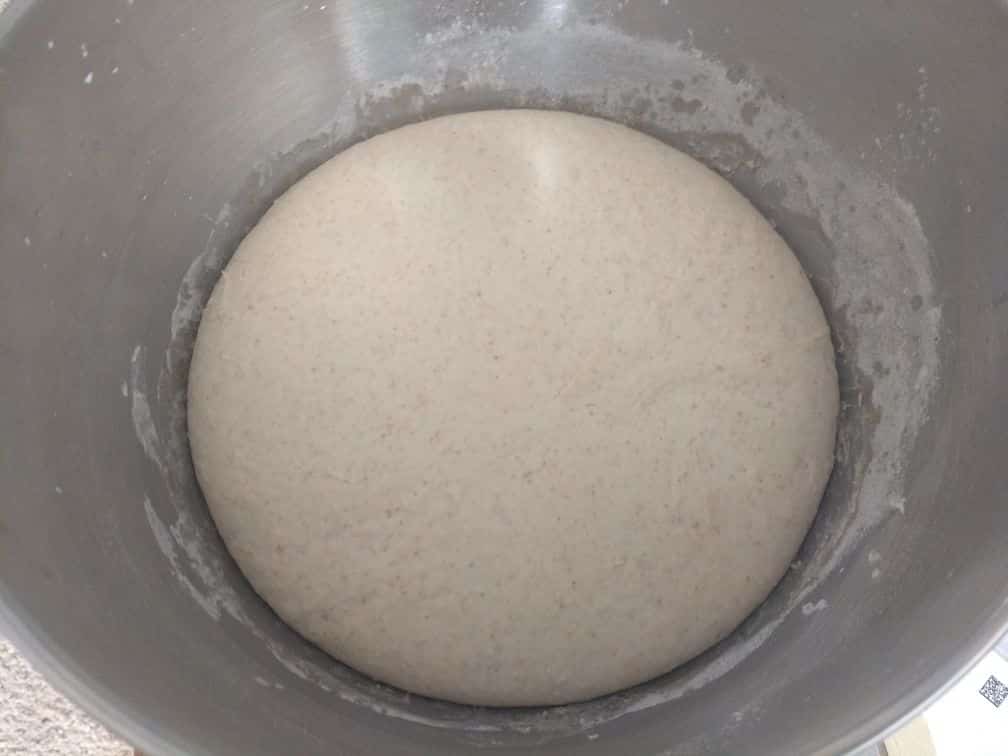
- Flour the benchtop. Scrape the dough out from the bowl. If you’re making a double batch, now is the time to divide the dough. Then flat the dough into a rough disk shape. Fold it and shape it into a boule. Stretch the skin of the dough by cupping your hands and pulling the dough toward you. Watch the video I linked in the notes below.
- Flour a banneton basket well. If you don’t have a banneton basket, line a bowl with a tea towel and flour it really well. Transfer the bread boule into the basket, seam side up.
- Now cover it with a plastic bag, put into the fridge for the final proof for 12 to 16 hours.
- Take the dough out of the fridge and do the finger dent test. Poke the dough gently with your finger. It should spring back up slowly but should leave a small dent. If it springs back quickly without leaving a dent, that means it hasn’t proofed enough. If it doesn’t spring back, that’s over-proofed. Your best bet at this moment would be to punch it back and let it rise for the third time.
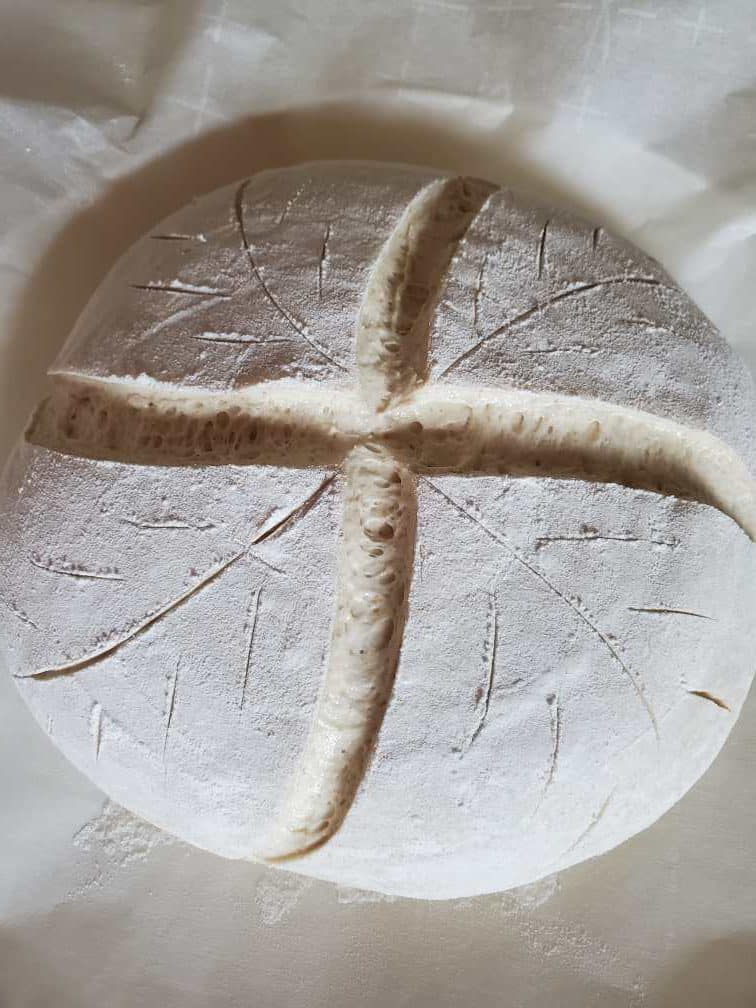
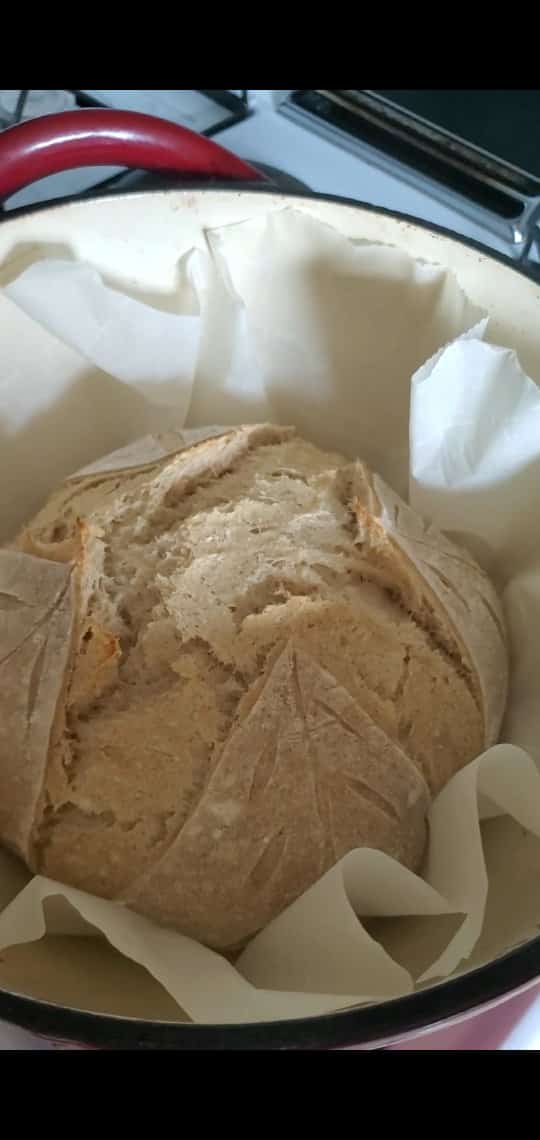
- Wait for it to cool down (at least an hour) before you cut it open.
Getting the starter ready
Mixing the dough
Bulk fermentation
Shaping
Final proof
Scoring and baking
Notes
I found this video on youtube and I thought this might help you to understand bread shaping.
sourdough, basic, basic sourdough, bread, sourdough bread, white bread, easy
Did you make this recipe?
